
The Trick to Black vs White Background Equine Portraits
"What's the trick to creating BLACK background equine portraits, vs WHITE background equine portraits?"
Lighting. It's all about the lighting.
*To start off, I ONLY use natural lighting, no artificial lights or reflectors. I achieve this by using a fully shaded doorway to the barn, wide enough where the horse can comfortably stand parallel to the edge of the door. This is most often the aisle way or a wide doorway into an indoor arena. I then adjust my camera settings to best capture the horse, ignoring the exposure of the environment around the horse as it will be fully replaced in editing.*

Black backgrounds - you want the shadows to wrap around the horse.
Below are examples of raw images that show the shadows wrapping around the horse, and the edited versions against the more suitable black background.


White backgrounds - you want the light to wrap around the horse.
Below are examples of raw images that have light wrapping around the horse, and the edited versions against the more suitable white background.


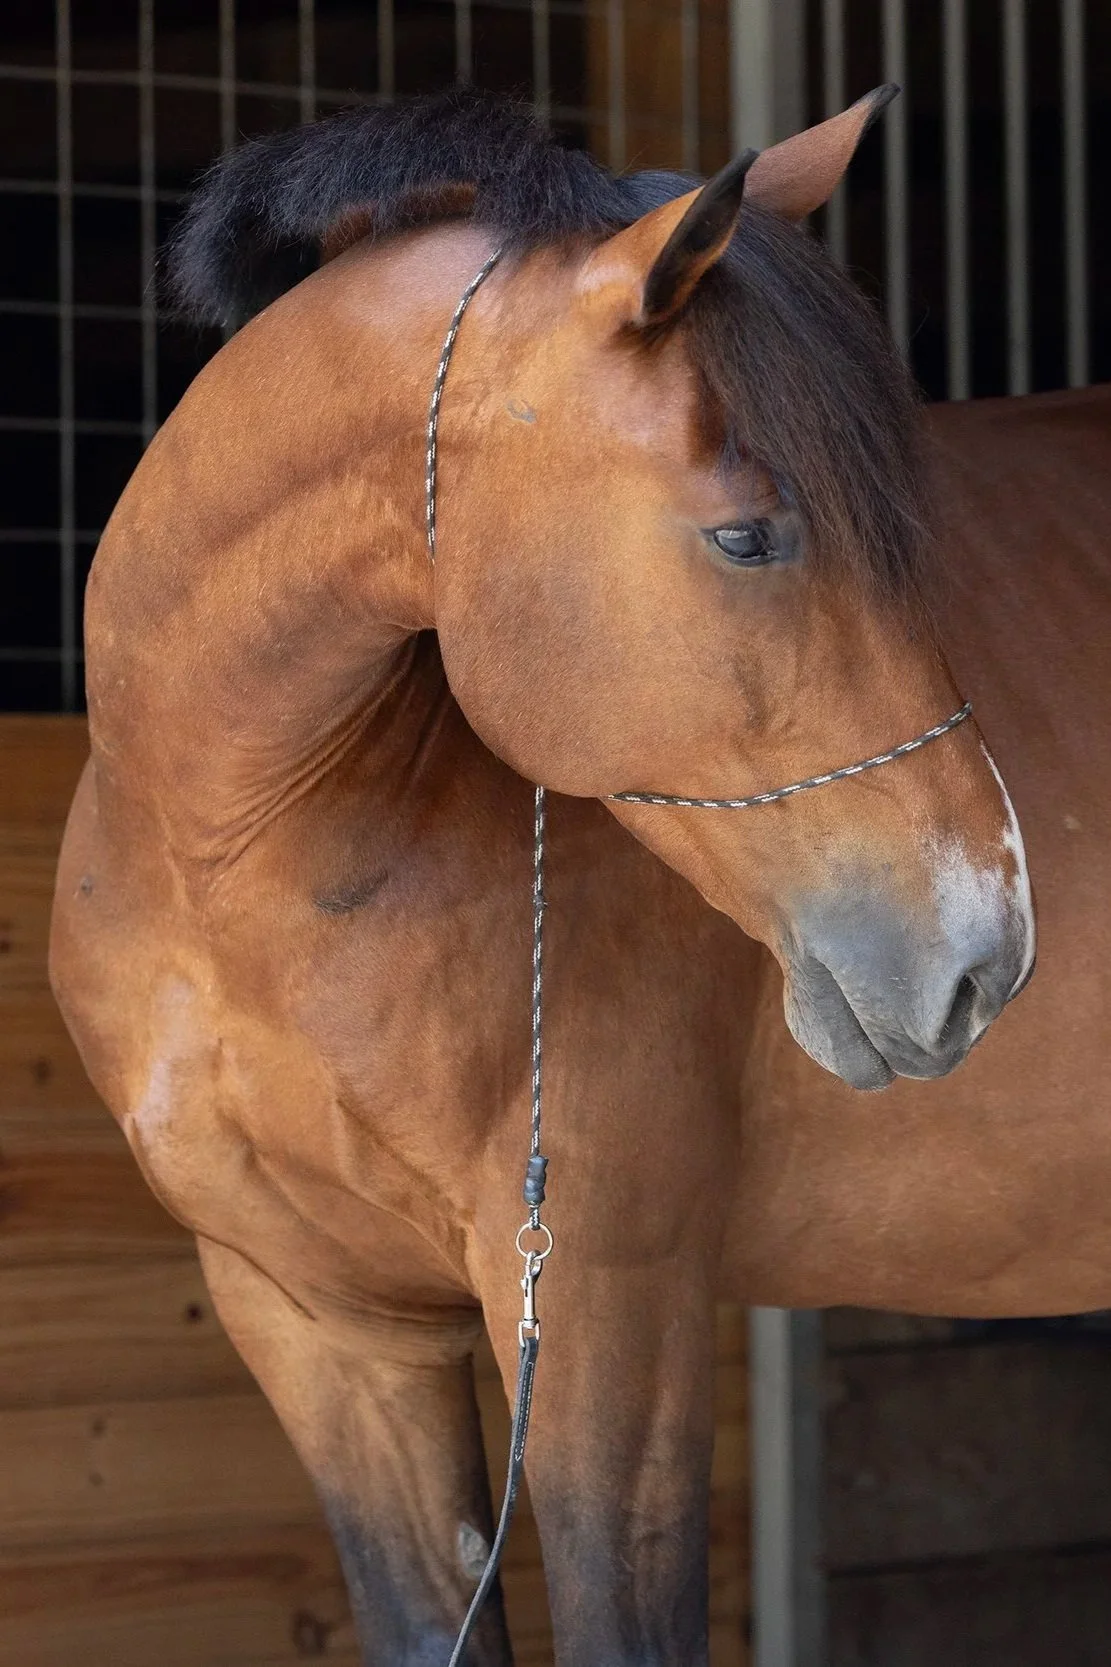
If you have an image with DARK shadows, it's going to be VERY obvious and look out of place against a white background. Below are some examples.
Can you see the shadows wrapping in the first (raw) image? Specifically by the withers, shoulder and the tail area? Now look at the edited version against the black background - which looks much more natural, and then the white background - which doesn’t match the lighting at all. Can you see the difference?


Here’s another comparison of the lighting setup being ideal for black backgrounds. Can you see how the shadows and dark points on the horse are TOO dark and don’t match the white background? Especially near the withers, the elbow and back of the legs. Can you see the difference?


If you have an image with halo or back lighting, it's going to be VERY obvious when you place it against a black background.
Below is an example of a lighting setup that would be ideal for white backgrounds. Check out the lighting that is coming from the left of the horse, wrapping around the neck, chest, face, and legs. It’s even spilling over the croup a little too. This creates a much more pleasing white background portrait than the black.


Now if the client wants a mix of both, or doesn't know if they want a black or white background, your #1 job is to find a location that has a more balanced lighting, where you can more easily lift lighter shadows and/or control an any extra light wrapping around the horse.
OR you can photograph specific poses in a location that is more suitable to black background portraits, then shift to a new location to photograph additional poses that are more suitable for white background portraits.
So let’s talk poses.
Poses where the horse’s body is perpendicular to the edge of the door, are going to be more suitable for black background portraits, simply because the lighting naturally gets darker as you go further into the barn. (If you have my Equine Portrait Posing Guide, some of the poses that are easier to shoot as black backgrounds are, Straight Forward, Ground Stretch, Booty Pop, The Walk Away, and 45*.)


Poses where the horse is parallel to the edge of the door, are going to be easier and more pleasing to edit for white background portraits. (If you have my Equine Portrait Posing Guide, some of the poses that area easier to shoot as white backgrounds are, Profile, Full Body Shot, Bow, Tail, Curtsey and Criss Cross.)


I hope this was helpful, and that you are able to approach black and white background equine portraits with a new mindset! And don’t forget to give yourself some grace as you learn to read the lighting - it takes time to hone that skill. But - nothing can be considered a failure, as long as you are learning something new every time you try. 💕 Now go have fun with your cameras at the barn!

Want to learn more?
I offer private virtual and in person mentorships, group workshops, and downloadable courses!