
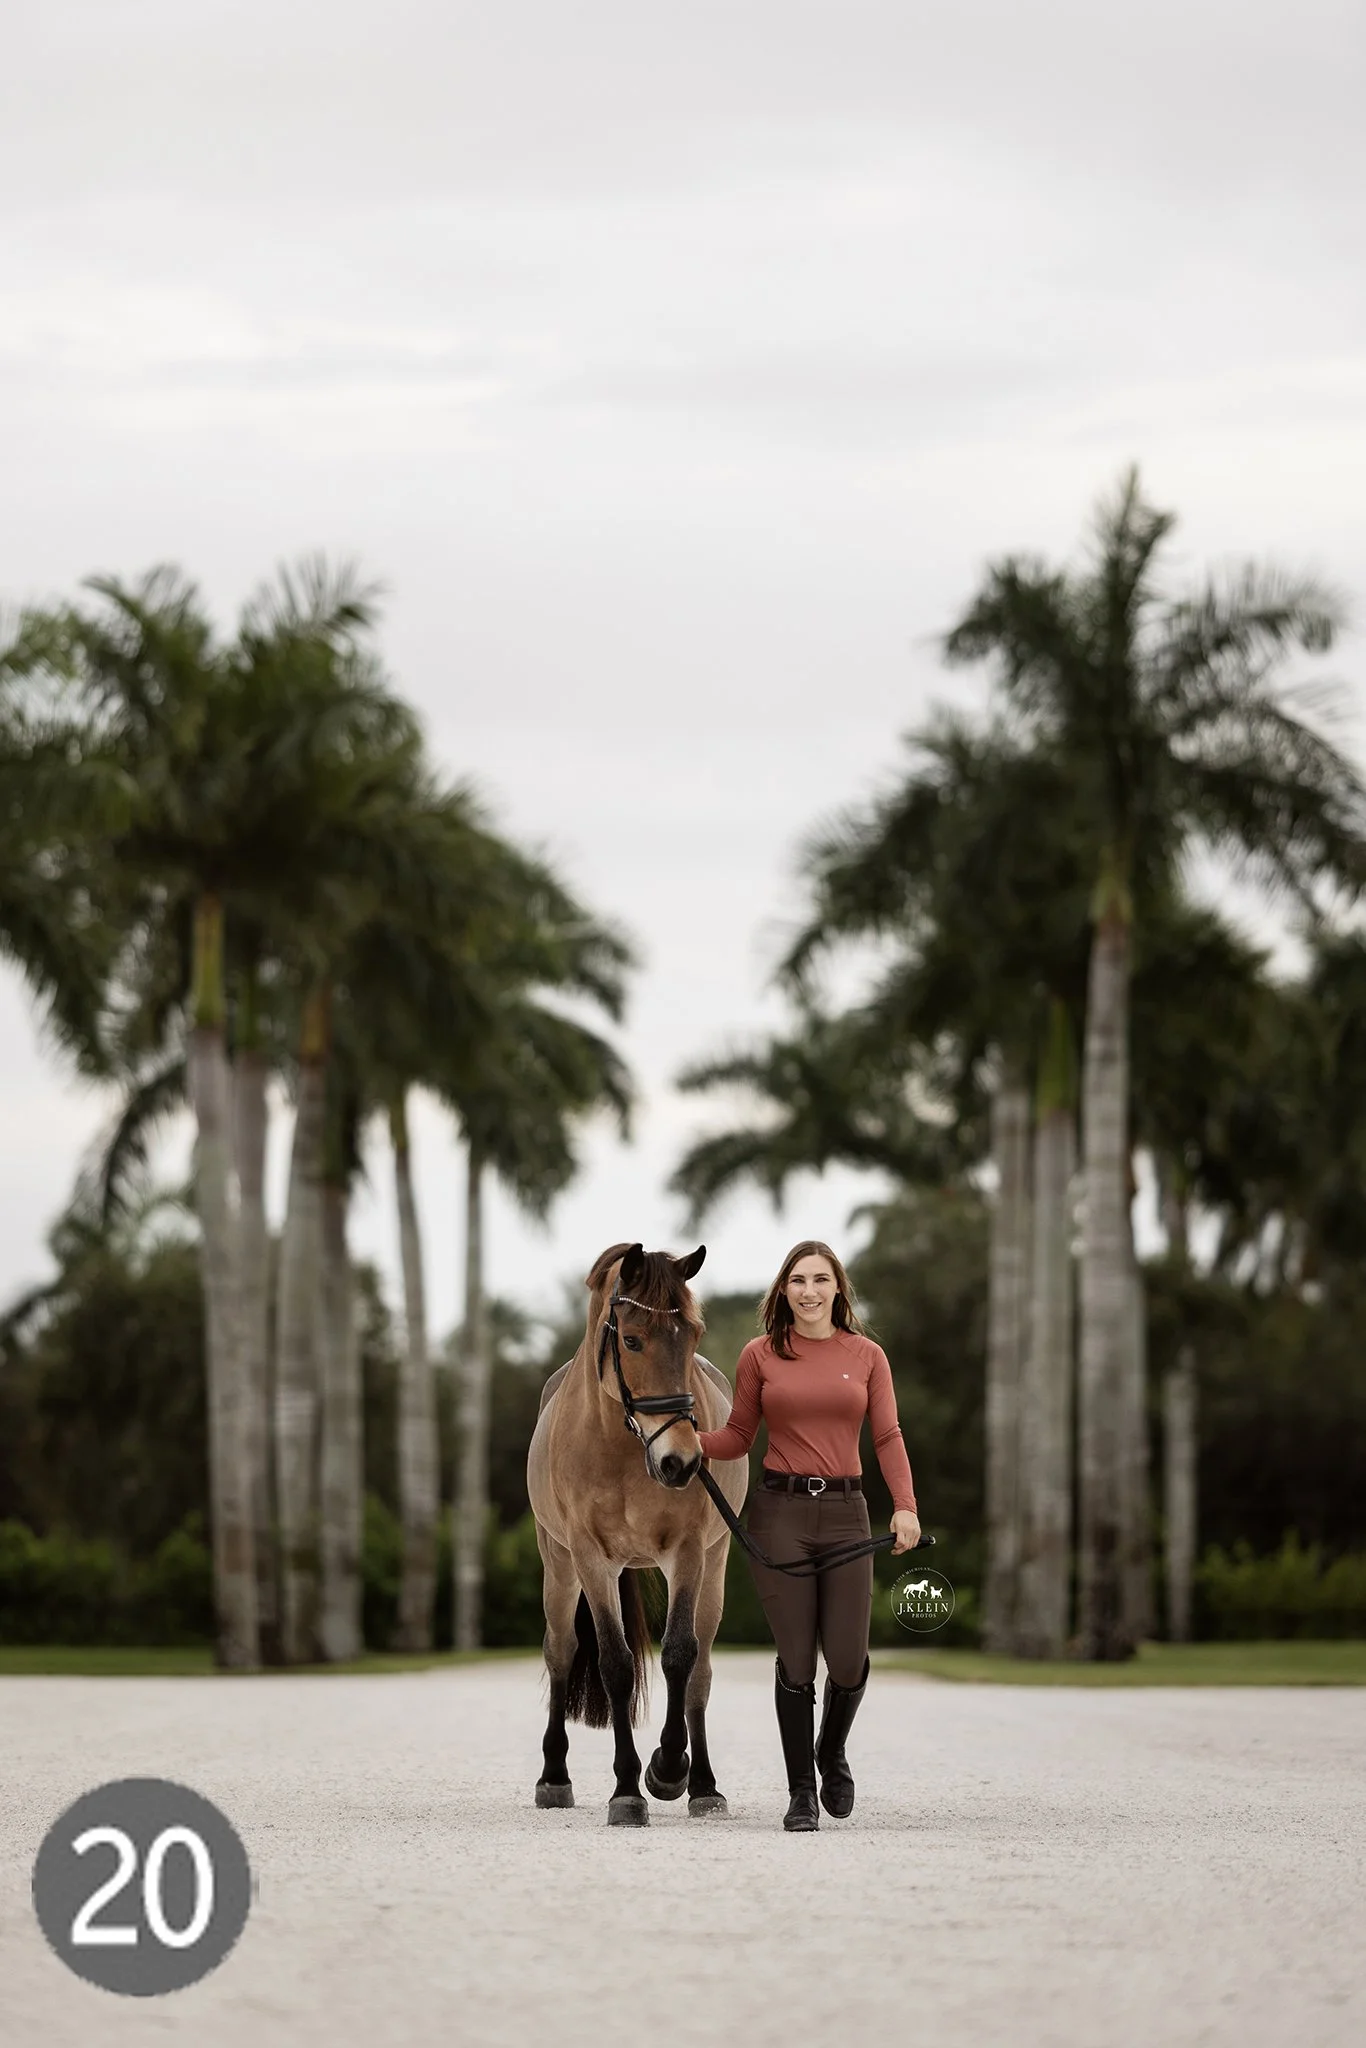
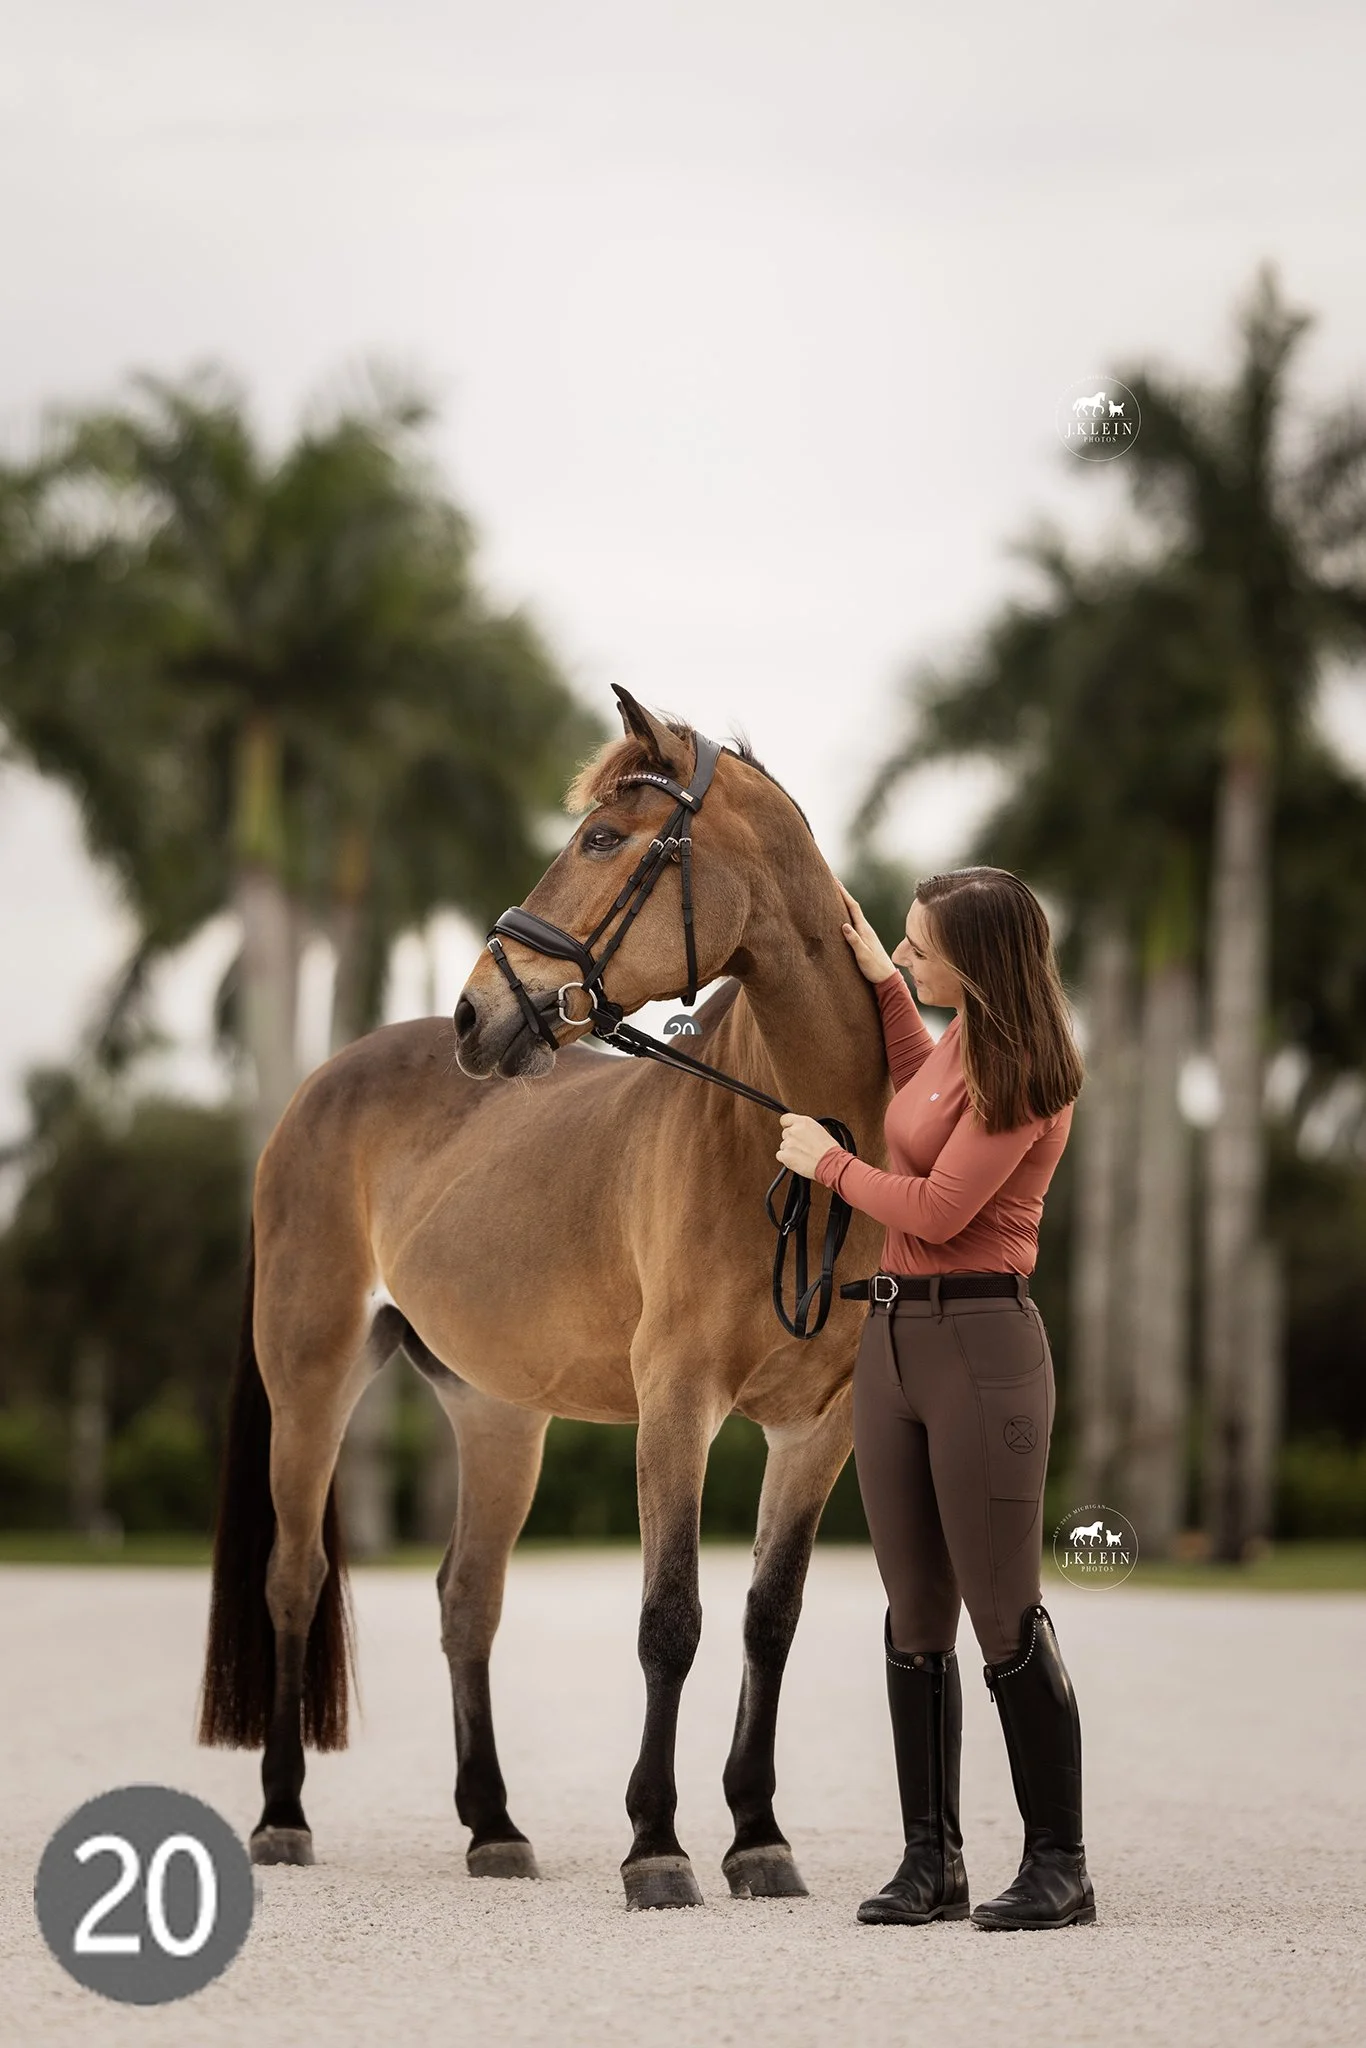
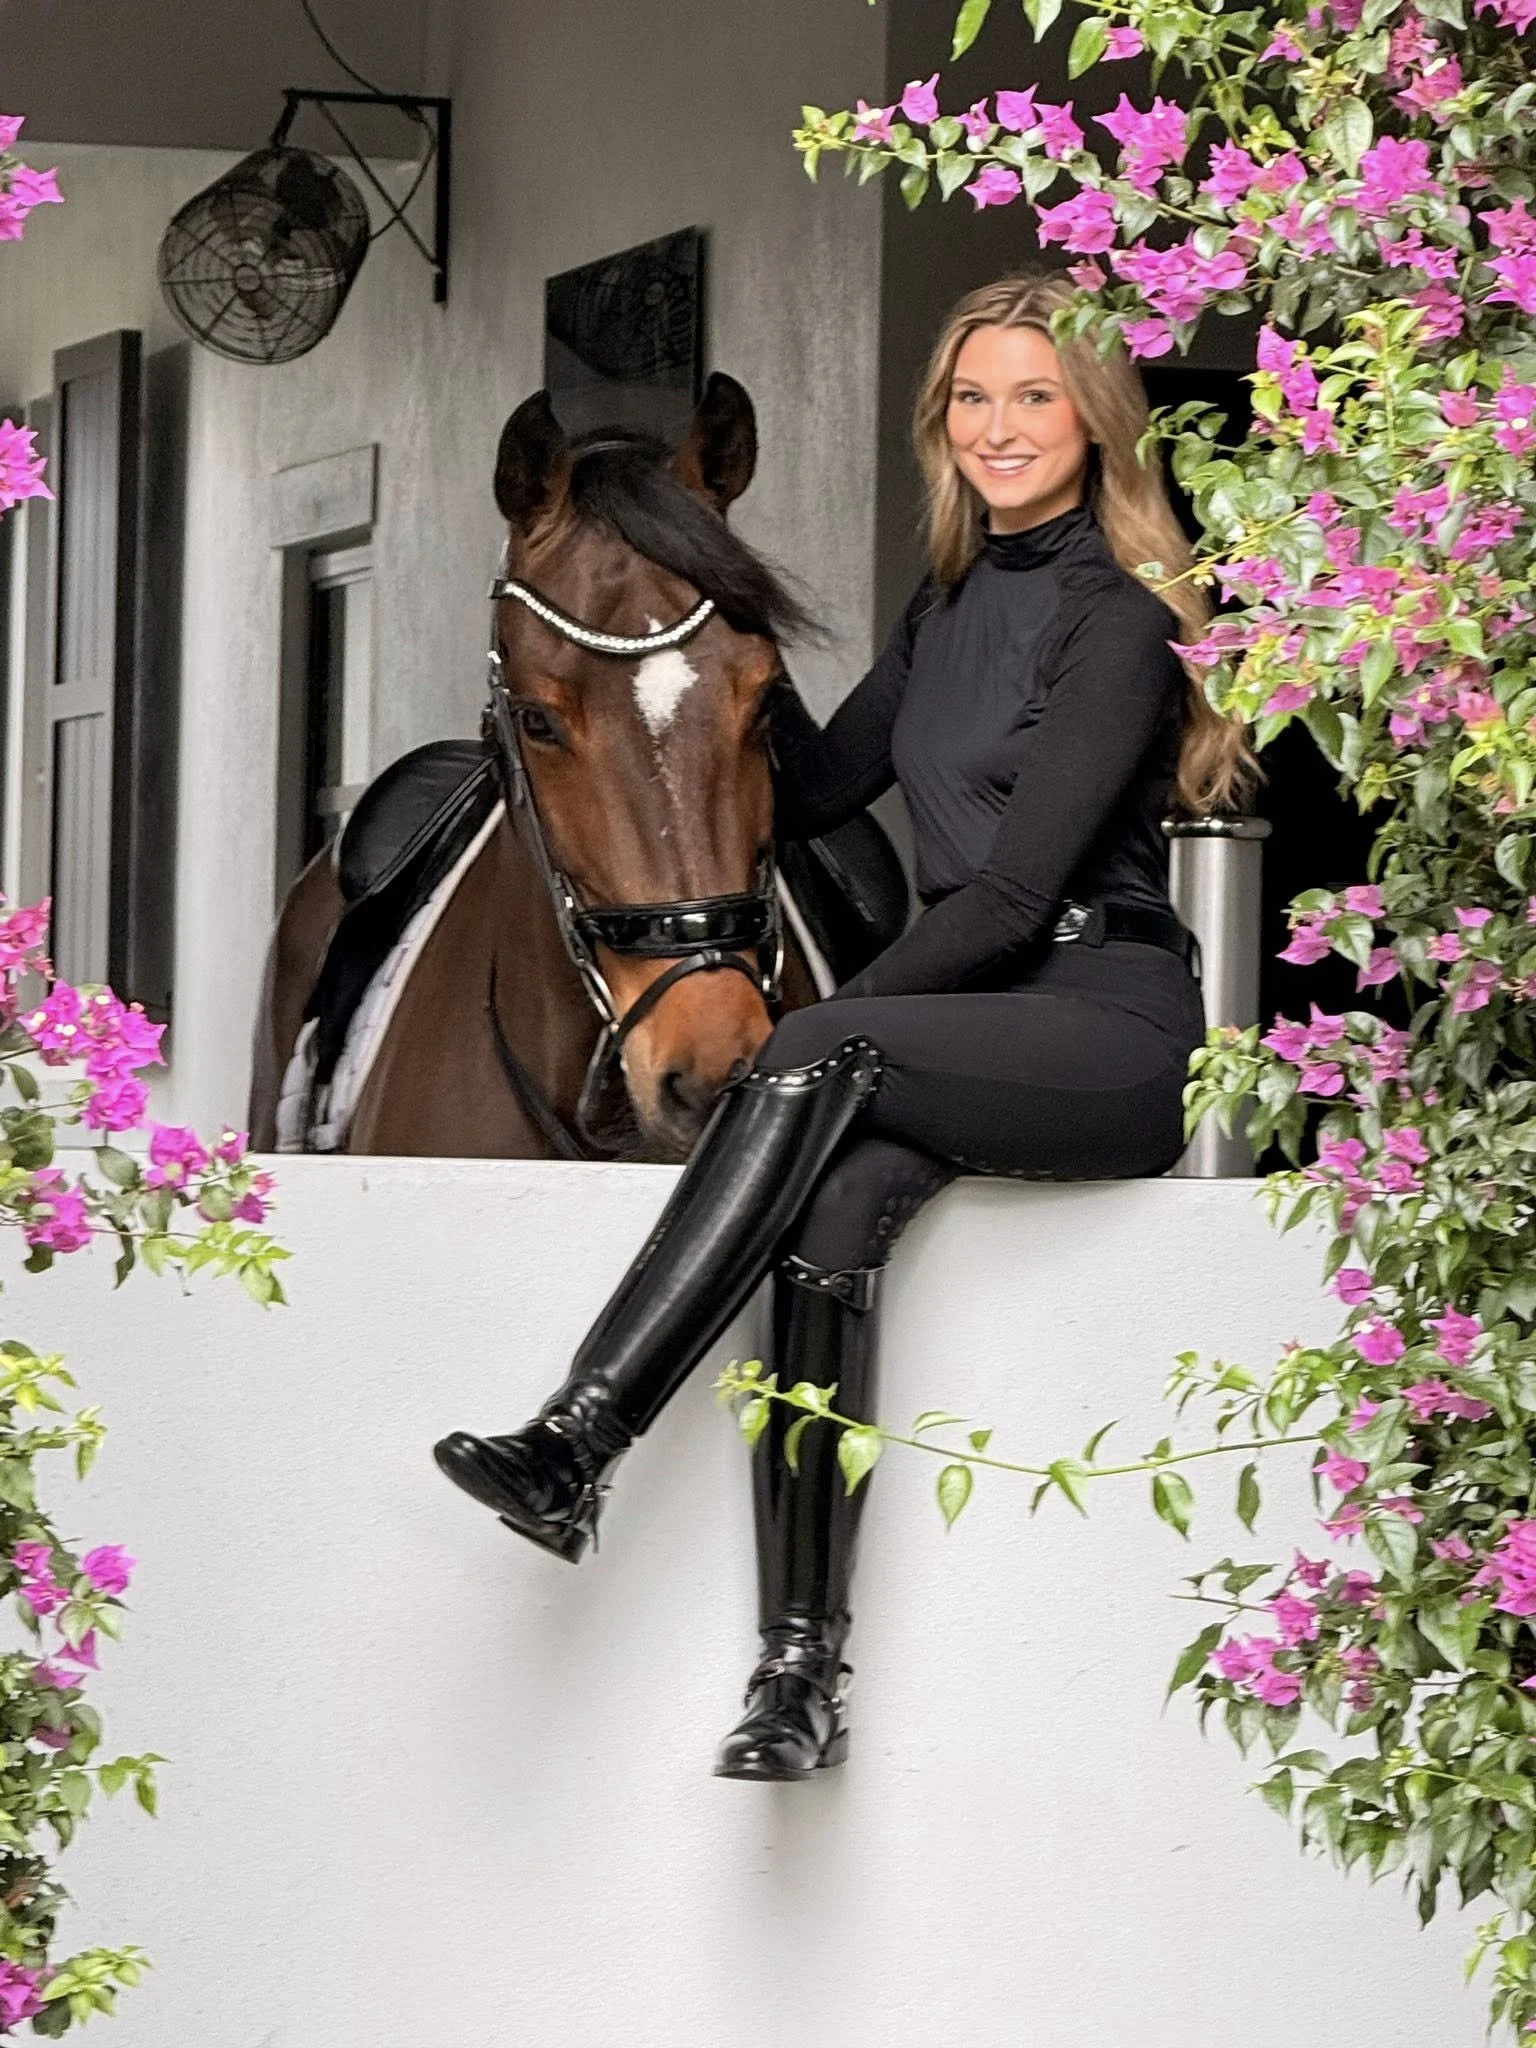
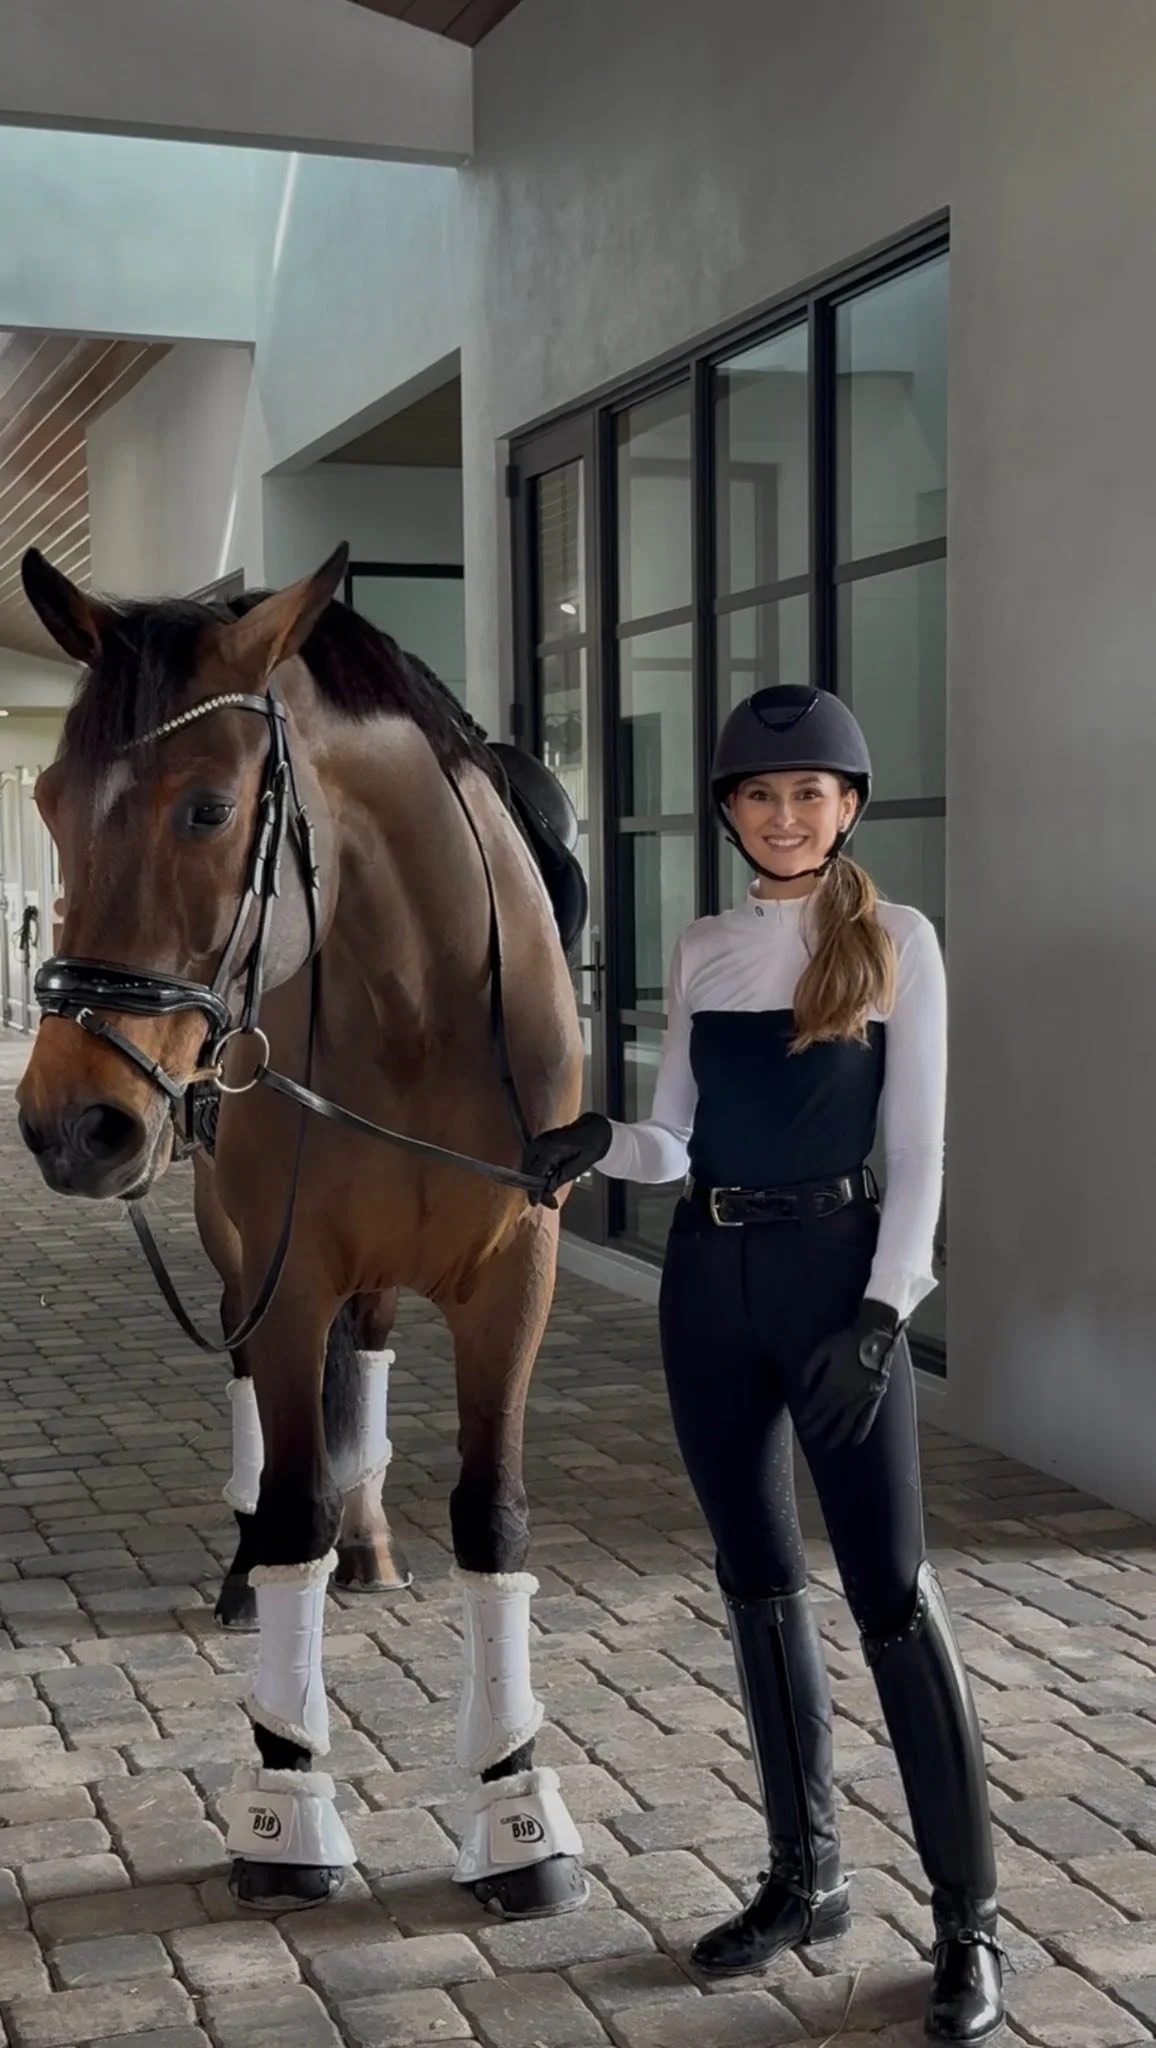
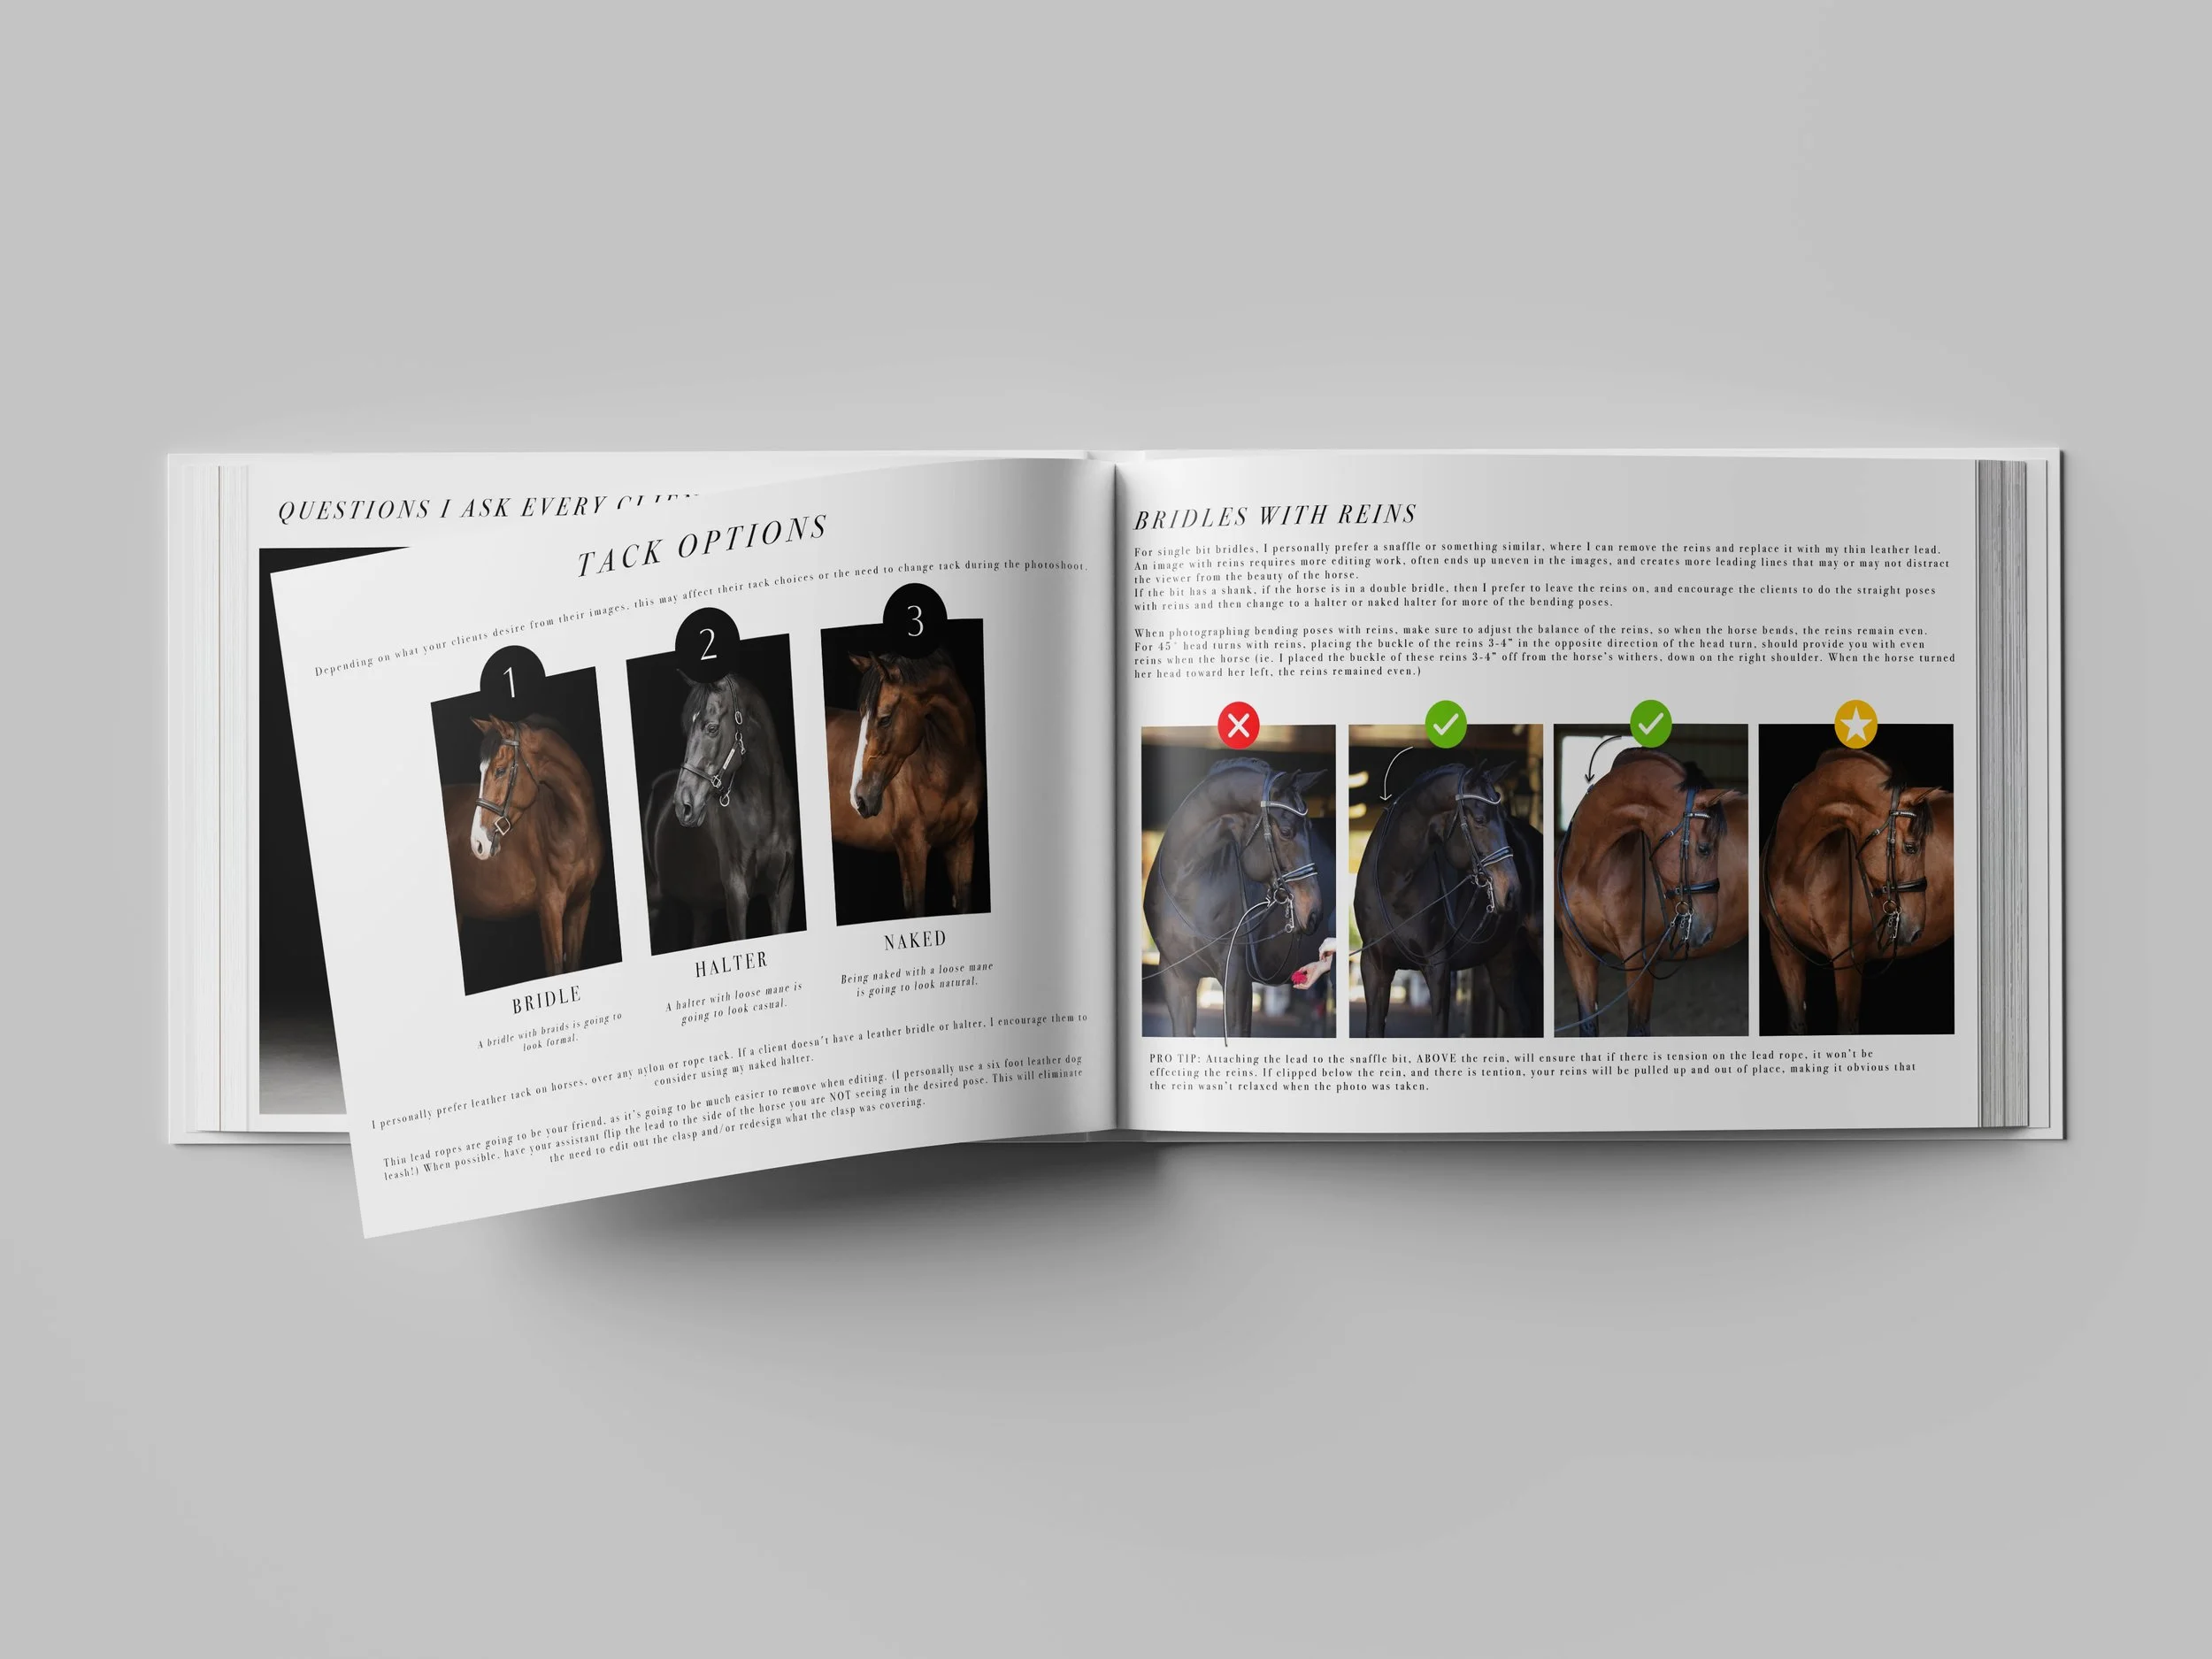
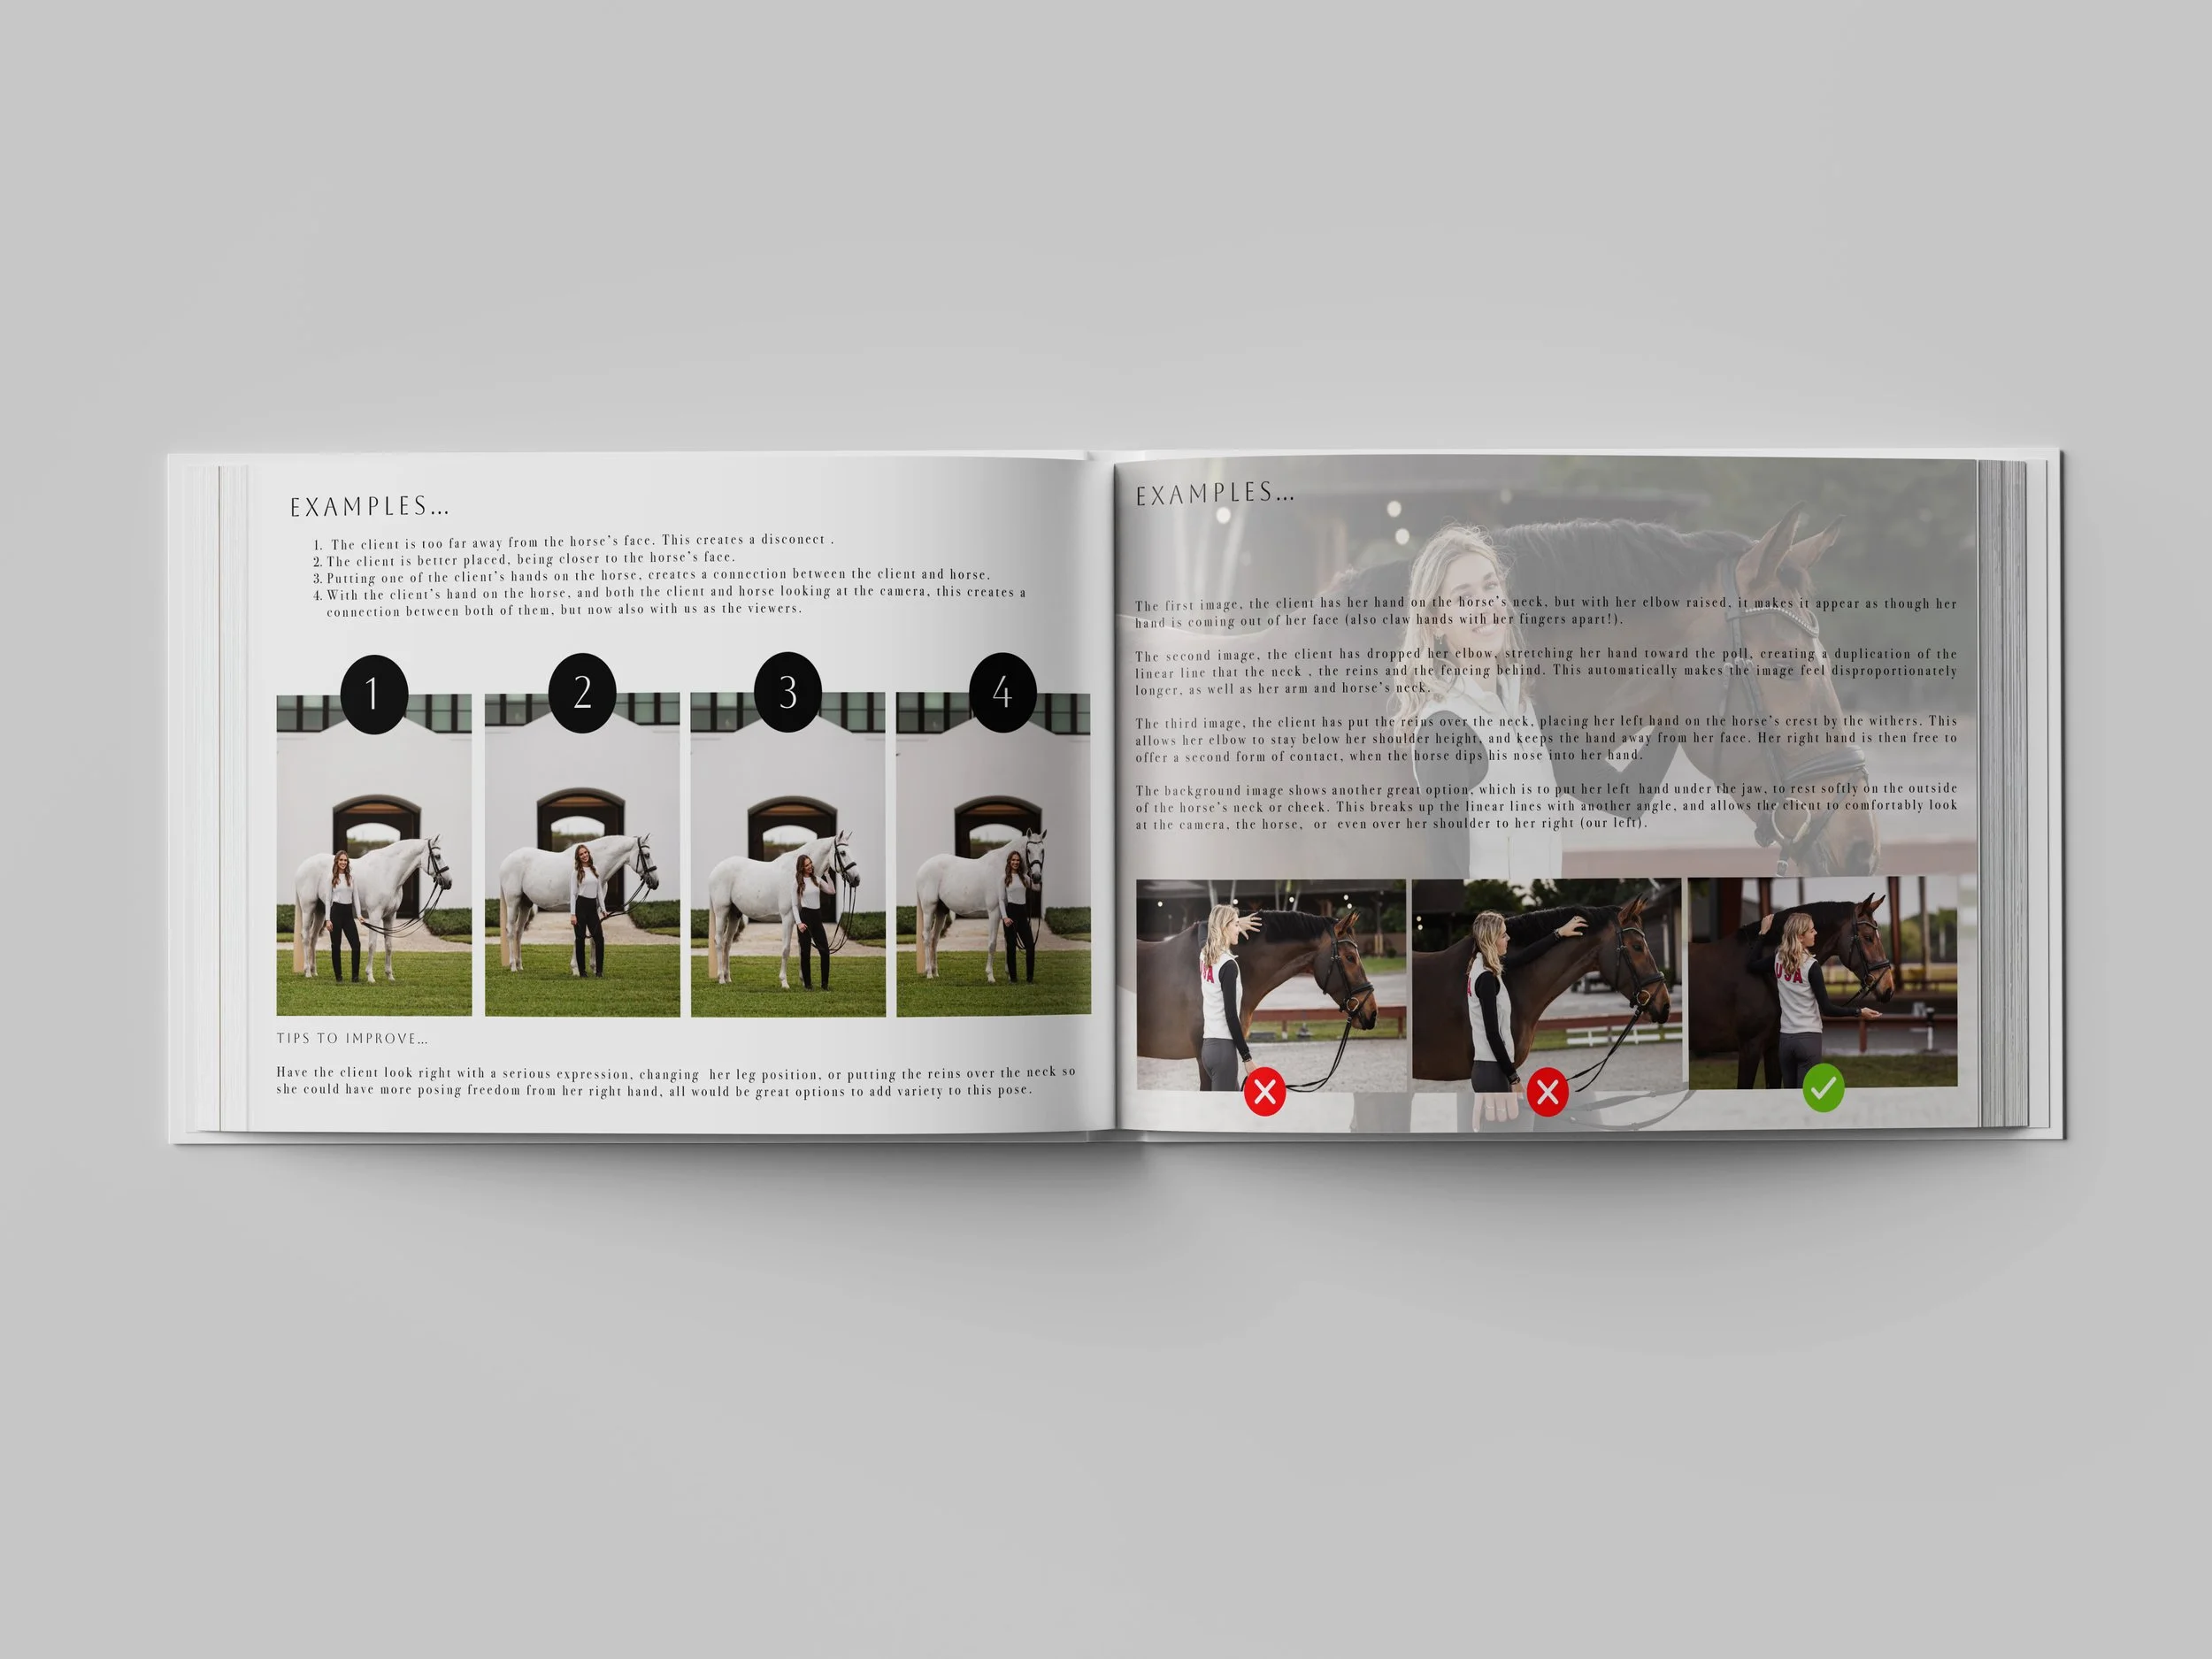
Finding Your Style
Finding your style of photography can be really daunting, and in a world where everyone and their brother is claiming to be a photographer, it can be difficult to know where you fit, how you are different, and what feels true to yourself and your vision as an artist.
You’re “Sense of Style” stems from your heart, how you specifically see the world, and the ways you consistency show that viewpoint. But before we can create consistency, we have to explore through creativity, to discover what we personally like - and don’t like. Those discoveries only need to feel good to YOU. My choices may be different, because I see the world differently. The world is big enough for everyone’s style, and we all need to celebrate our views, whether we are the same, similar, or different. It’s the beauty of being an artist.

I wanted to share a few tips and tricks that helped me develop my equine portrait style, and how I am continuing to grow within that style.
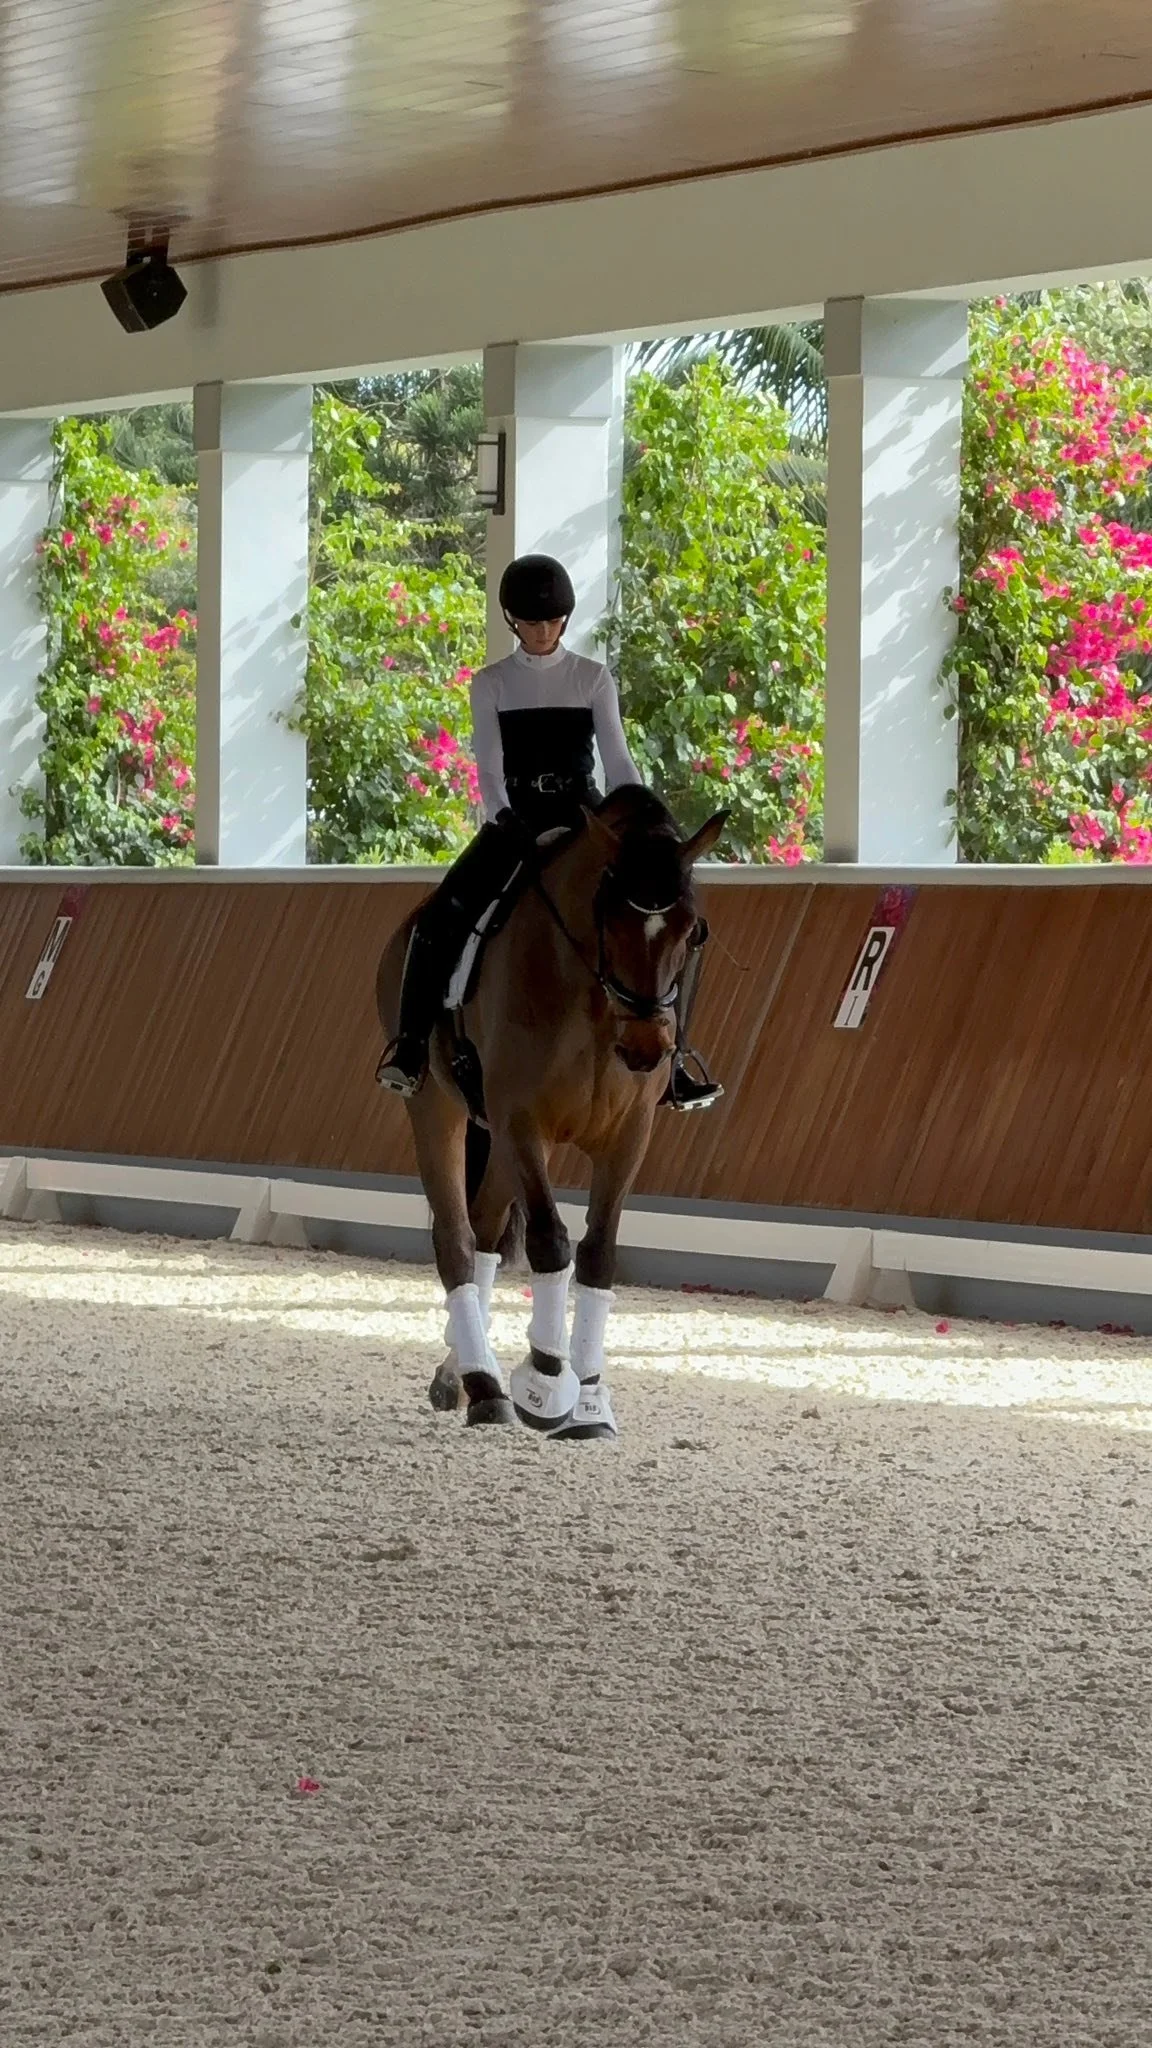
I’m going to use equine portrait (black background) images as examples, but know that any of these tricks, tips and examples can be applied to horse & rider or even canine photoshoots too! Equine portraits are easiest, as the background is being replaced (so we can ignore it!) and the lighting is the same throughout all sessions, so we’ll only be looking at the poses, and how to define your style through that.
Let’s look at a handful of photographs I took while teaching an Equine Portrait Workshop. We’ll be comparing the images, asking questions, and determining what we like, don’t like, how we can make positive changes, and from there, determining what our style will look like through the images we gravitate to. I encourage you to practice the same exercises with your own photos too!

Try photographing from a different angle.
If you love a pose, change it up and try photographing it from a different angle. This will help build a variety of images you can capture within a single pose, and may provide you with a new angle that you love MORE!
When looking at the original pose (in example, the left image below) you love vs the new angle of that pose (in example, the right image below) ask yourself…
What do you like about the new angle?
What don’t you like about the new angle?
Is it as strong as the original angle?
Is there a way to either crop, or move in closer to photograph details of this pose that may be a complimentary option to the original angle?
Do you need to adjust your angle again to find a better, more pleasing option?

Try photographing from different perspectives.
Once you have a pose figured out, try photographing it from different perspectives.
How does that change the overall story or emotion of the image?
Does it highlight areas of the horse you want the viewer to focus on?
Does it create more curved or straight lines? How does that balance out the rest of your images you love from this photoshoot?
If you love a new perspective, are there details you could refine or change, to make that image stronger?
Would this angle make a great image as an individual portrait of the horse, or would it be a desired angle if you were to build a composition and add in another animal (ie: horse or dog)?

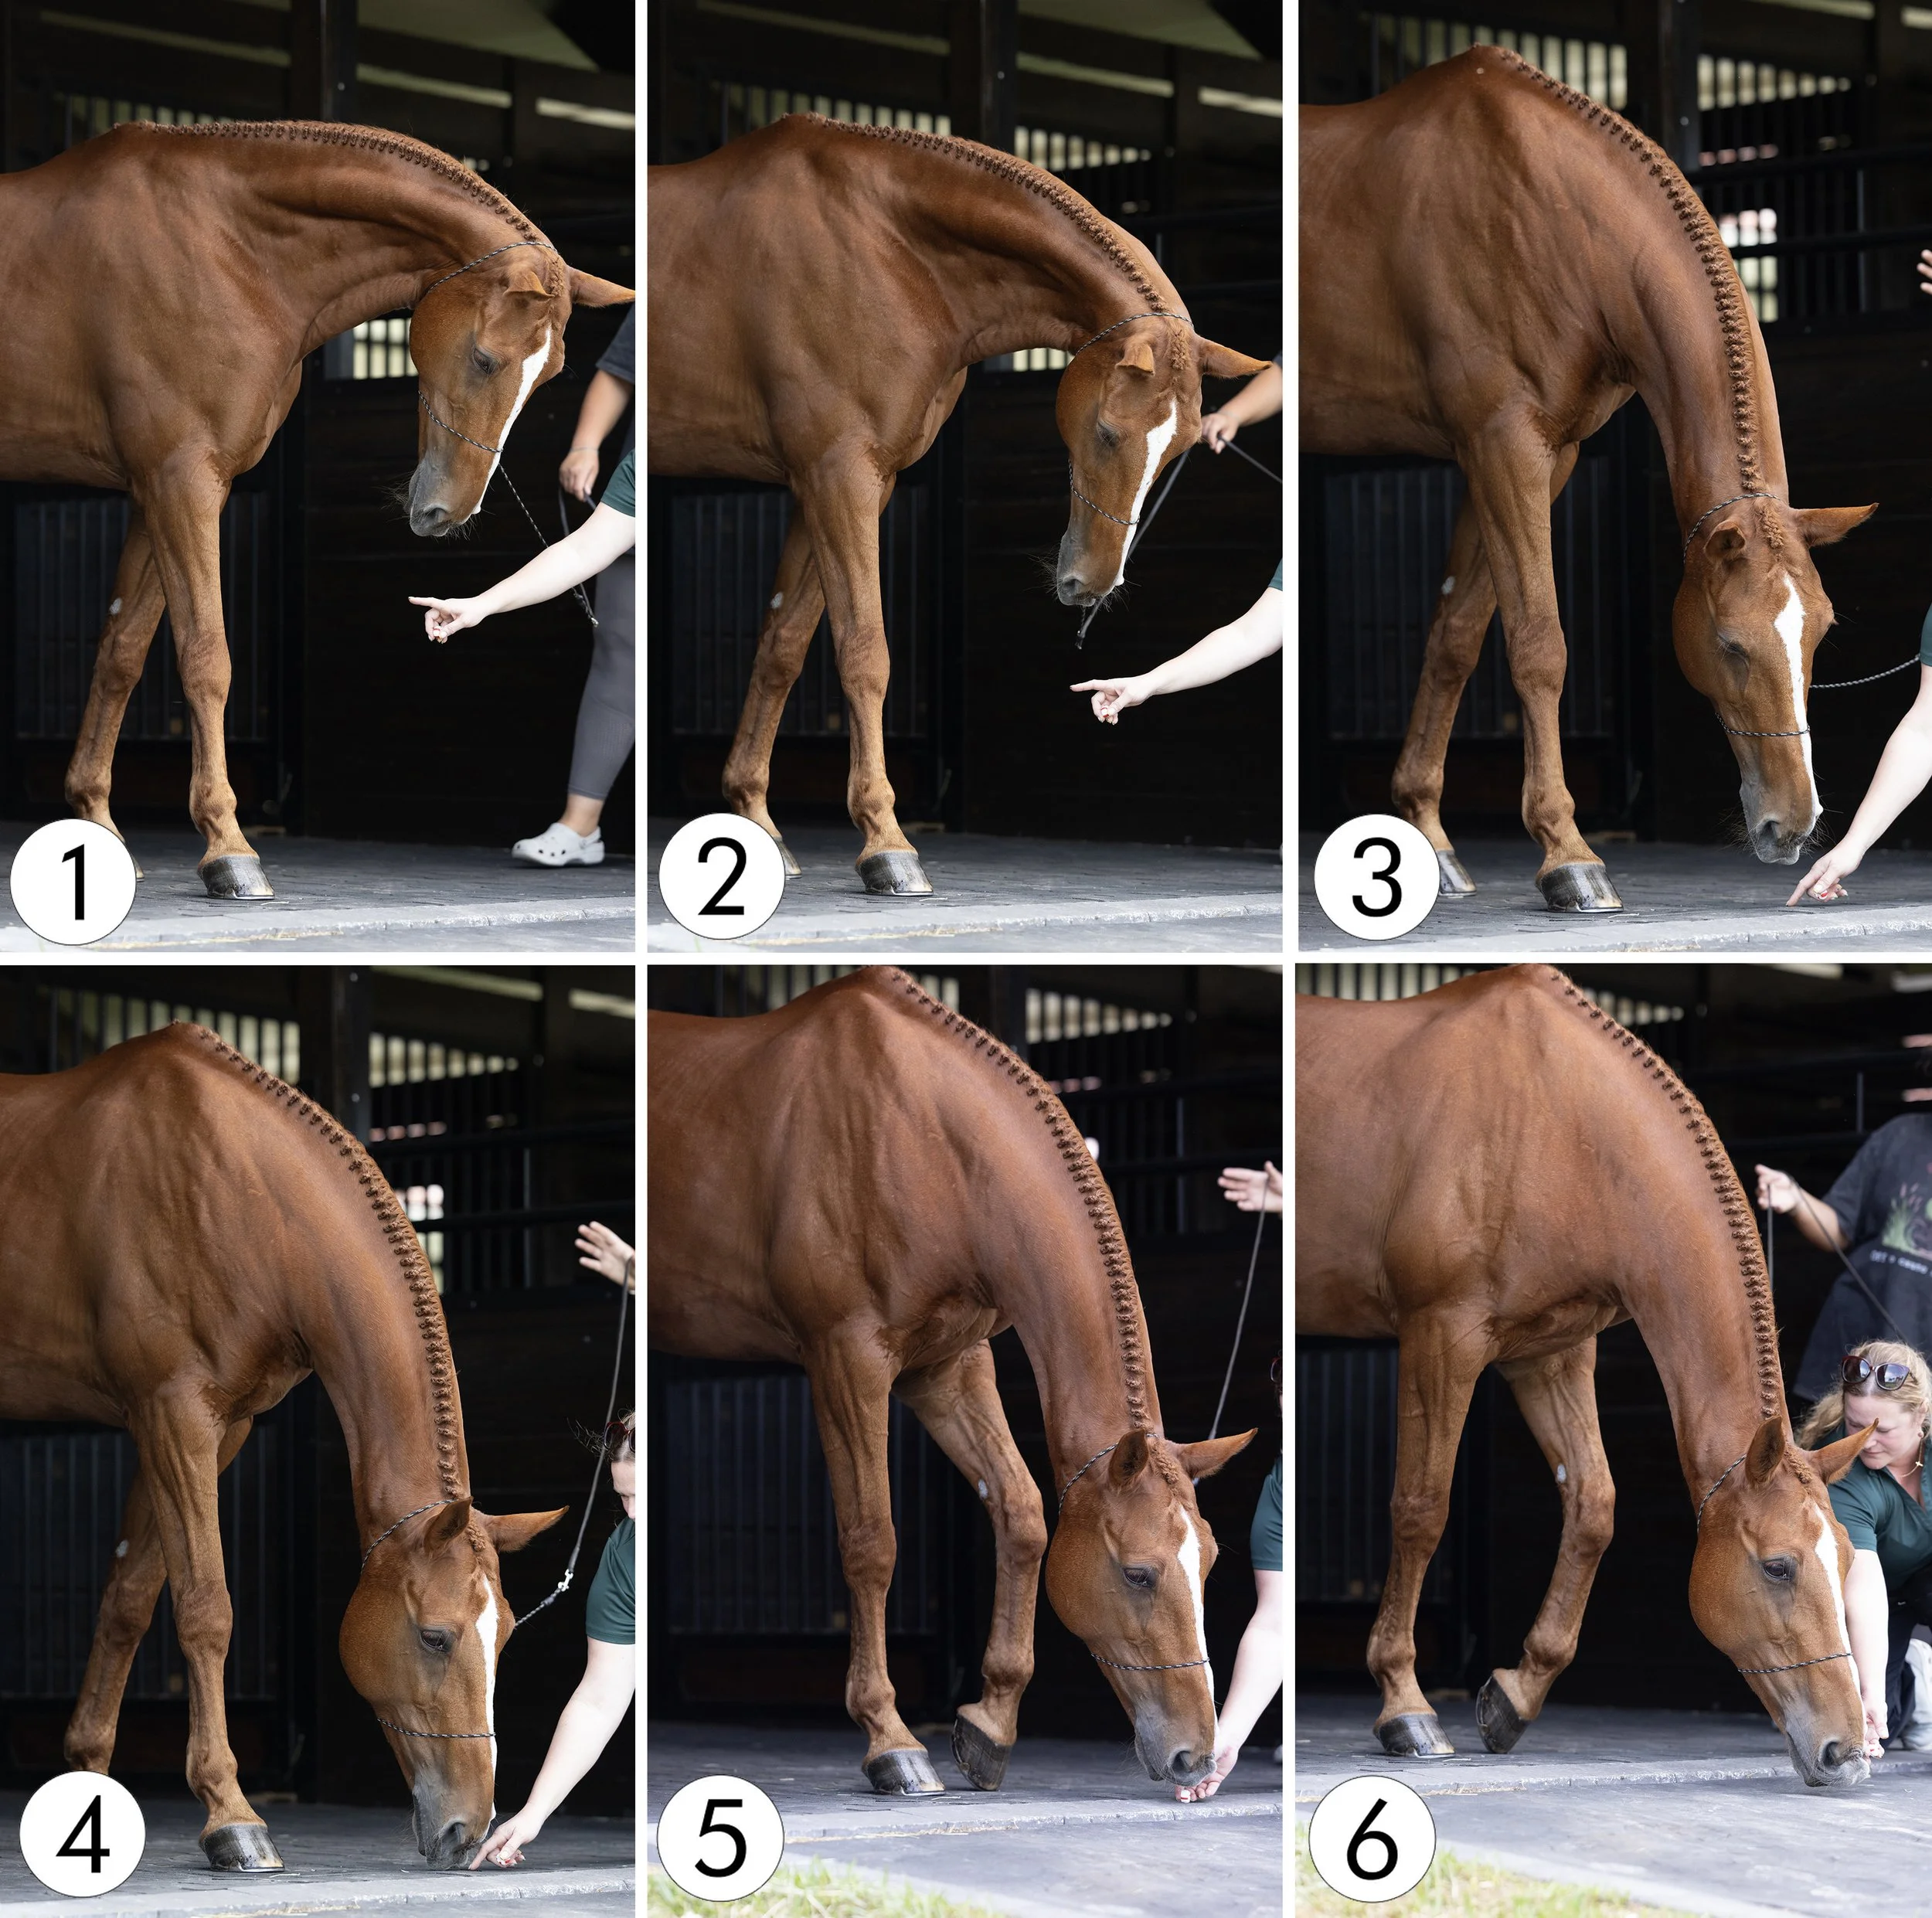
Shoot through the movement!
Let’s keep to the same pose, but now we are photographing it from a different angle, at a lower perspective. While your assistant is asking your horse for the specific pose, shoot through the movement. Compare the images side by side and determine what you like and don’t like about each image.
This was the start of the pose, lowering her head, and at this height, it would be better suited for a western discipline, but I like the softness of the horse’s expression.
I like how the horse’s expression is more alert and engaging, with a bit more stretch toward the ground. I also like how the front hooves are square.
I like seeing more of the horse’s facial marking, but I don’t love how far away from the hooves the horse is stretching it’s nose. The bend in the neck does make the muscles pop though!
I like how the horse’s nose is tucked in closer to the horse’s hooves, creating parralel lines between the legs, the neck, and the facial marking. This image feels more balanced, and would make a really nice vertical 1×2 ratio crop.
I like how the horse is still alert and engaging, but we now have the added movement from the step forward. It makes the overall pose wider, fitting better into a vertical 2×3 ratio crop. This pose can be a fun variation for all disciplines, but I would say this image, would fit better with western disciplines - cutting or reining specially coming to mind, where you want the head lower to balance their movement.
End of the pose. I don’t love how wide the horse looks through the chest, but this image may or may not be useable for a composition piece (could be cute if there is a small dog between the horse’s legs, and another dog or horse to the right, where the horse is reaching to interact.). At the very least, this shot can be a really soft and kind moment between the horse and your assistant, that could be a beautiful behind the scenes image, showing the kindness and love we as a team have for the client’s horses.
For my style - I like number 4 best. I think it compliments the long legs, the exquisite braid job, we can see the facial marking, the expression is soft but alert, and we have really lovely symmetry in the lines, and a balanced image - perfect for a 30×60” fine art piece! This image also compliments the other poses that have more curves.

Don’t be afraid to change it up and try again!
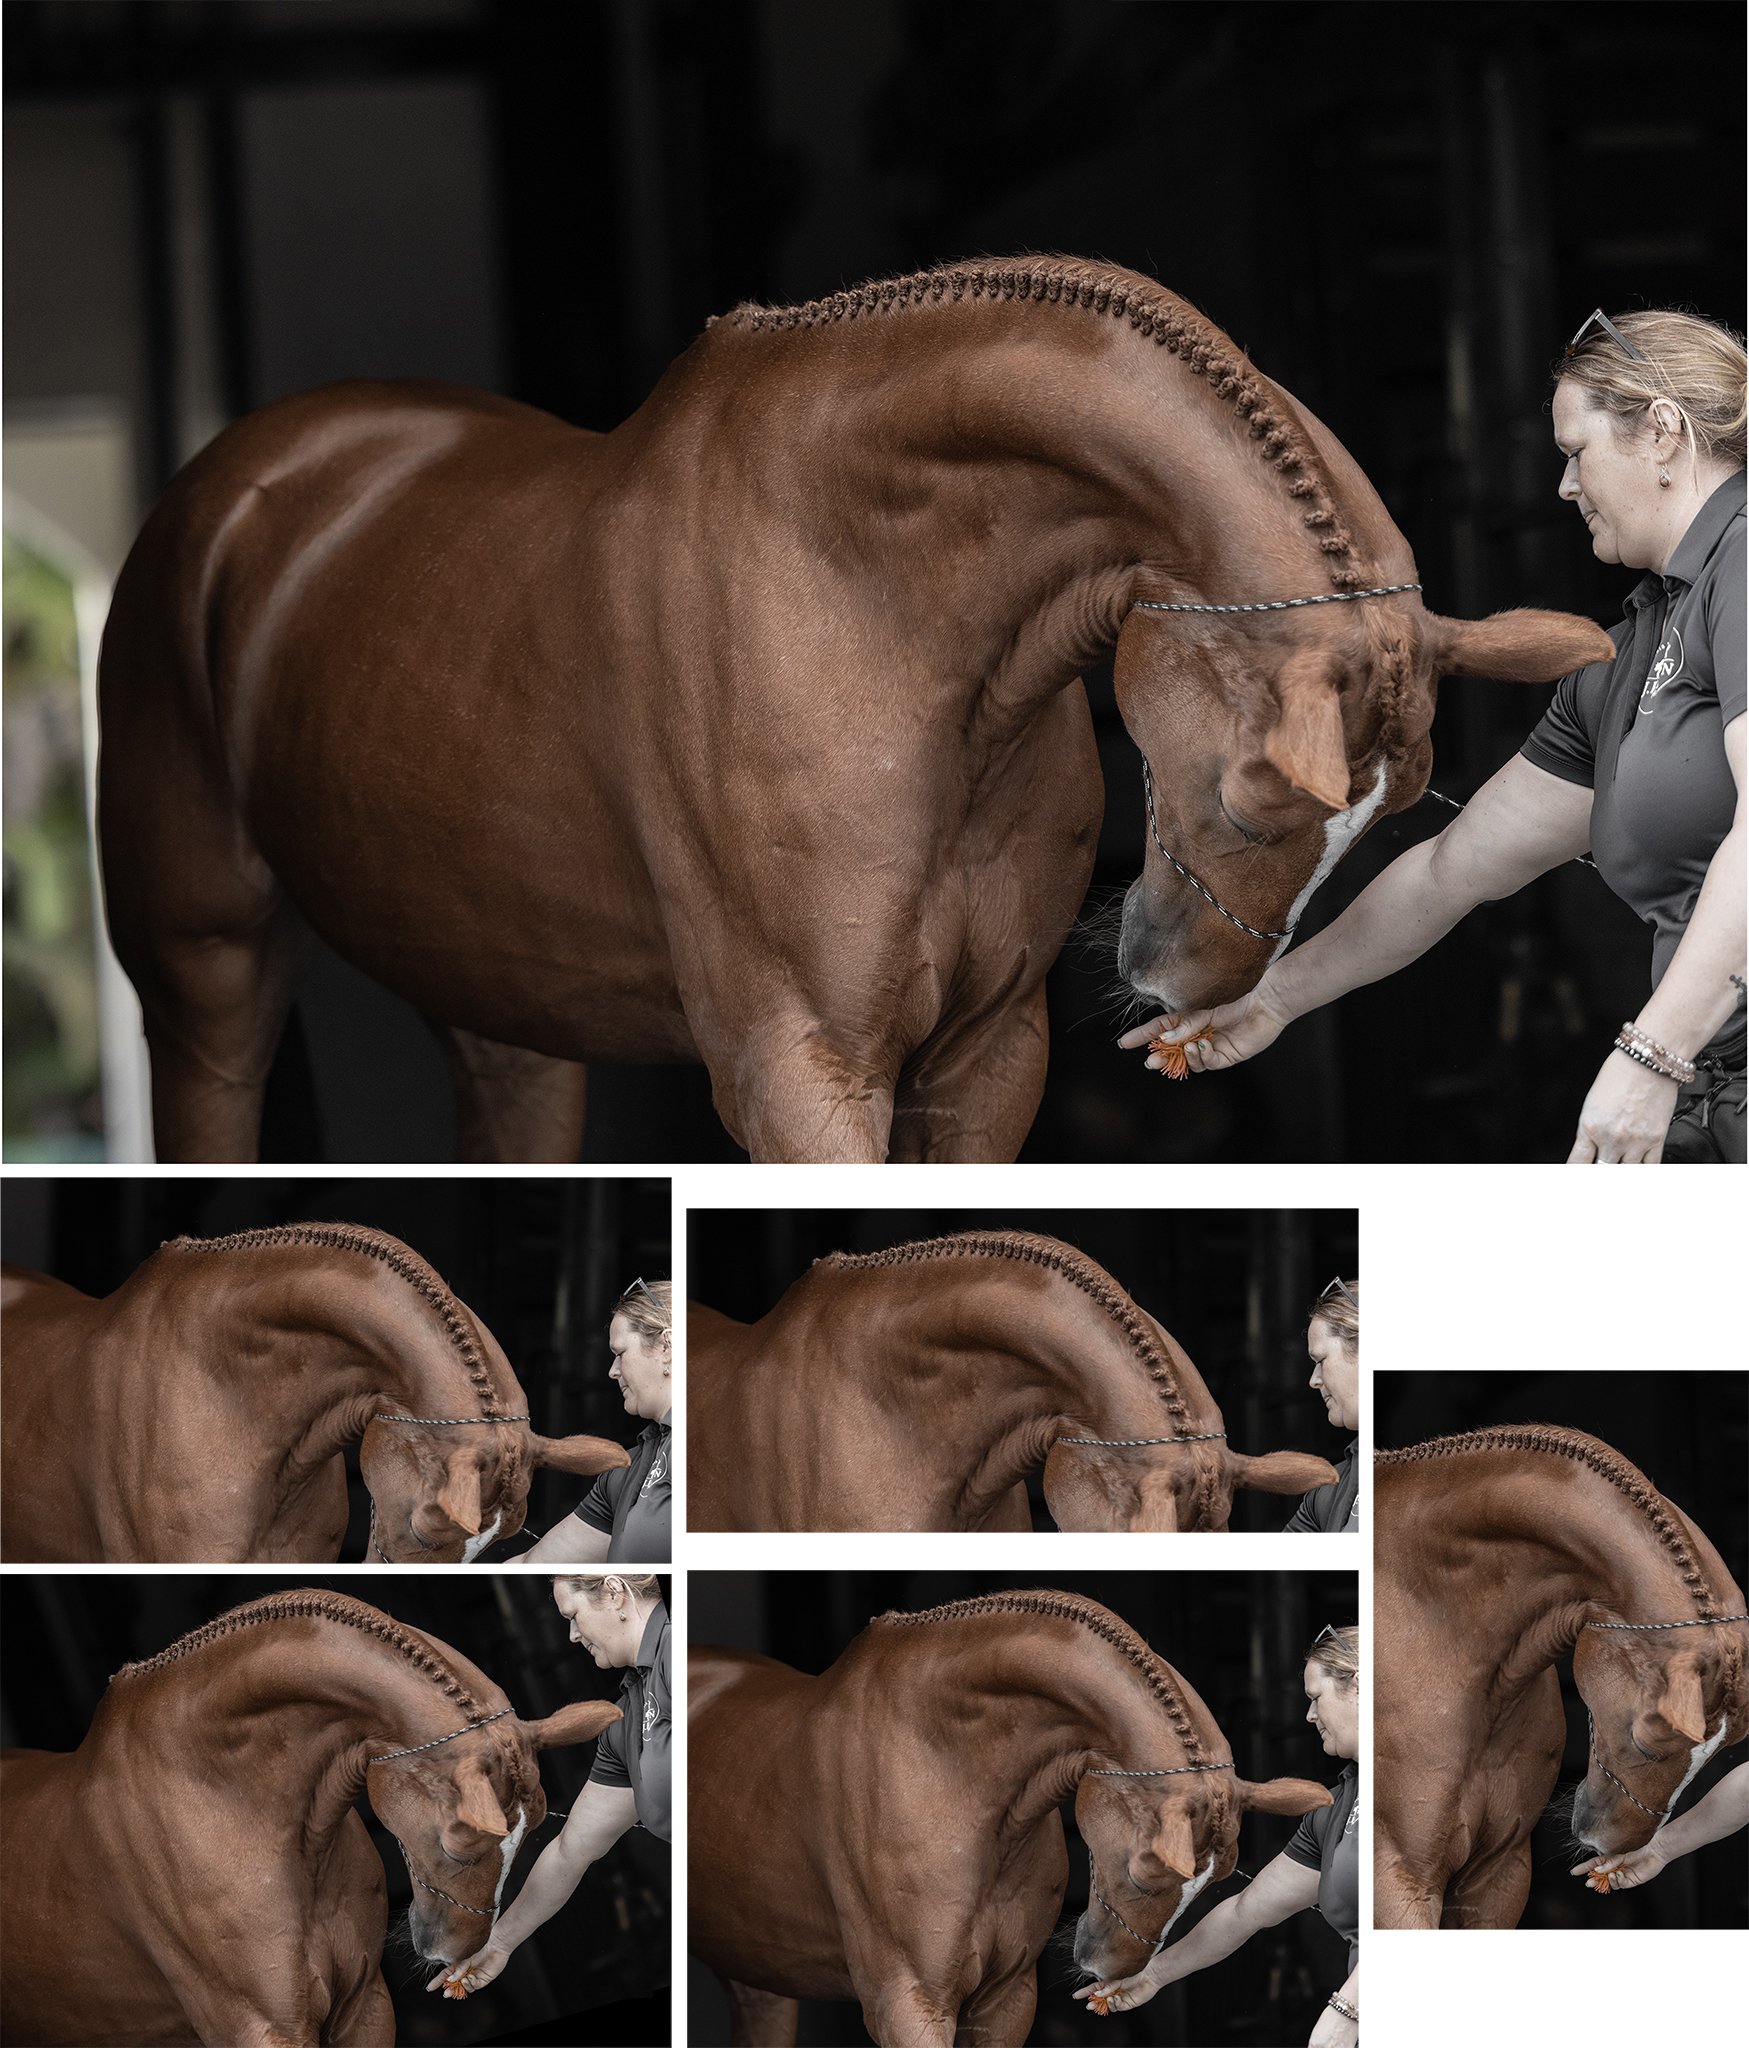
Okay, so we determined what the timing and exact image we liked best from the pose above. What happens if we change it up and have the horse start with it’s front legs not set squarely? … To avoid making the horse look as though it’s chest is wide, let’s place the leg closest to us forward, which creates a more criss-cross look, closing the chest to look narrower.
This image makes the neck muscles POP!!! Wow! This image says, “POWER” and “STRENGTH” to me, which contrasts the soft but alert look we liked previously. It would add variation to the collection of images provided to the client, and is different enough to not be duplicating the same pose twice.
We lose a bit more connection to the horse’s eye, but we get an overall softer look, and gain a better view of all the braids. This image is well balanced too.
This image is very similar to number three above! We’re able to see more of the facial marking, while still getting a great muscle definition throughout the neck. I like the eyes closed, and I think that having the legs NOT be square, balances this image better, especially since the angle of the leg closest to us matches the line of braids and facial marking, creating a bit of symmetry.
This image is VERY similar to the number four above, but it falls a bit flat in the expression, and isn’t as strong as the number 4 above, or the number three in this group.
We get a bit of movement now with the horse releasing the weight of the outside leg. It has a nice bent to it, but you can see the horse is collapsing it’s weight all on the closest leg, making the outside leg look limp. The expression falls a bit flat for me too.
The horse is now reaching further out - but we still have a limp outside leg and we lose the nice curve and symmetry of the neck, with it being broken at the poll. I feel like the horse is going to fall over at any moment… which is why I actually asked my assistant to stop and step away. It becomes a safety issue, and seeing horse’s off balance like that makes me immediately nervous - not the emotions we want to create for the viewer!
For my style - I like numbers 1-3 better. I like the contrast of strength and softness, as well as powerful muscles and a pleasing balance throughout the images. I think that any of the three would be a really nice option to compliment the same pose, photographed front a different angle, at a different timing throughout the movement.
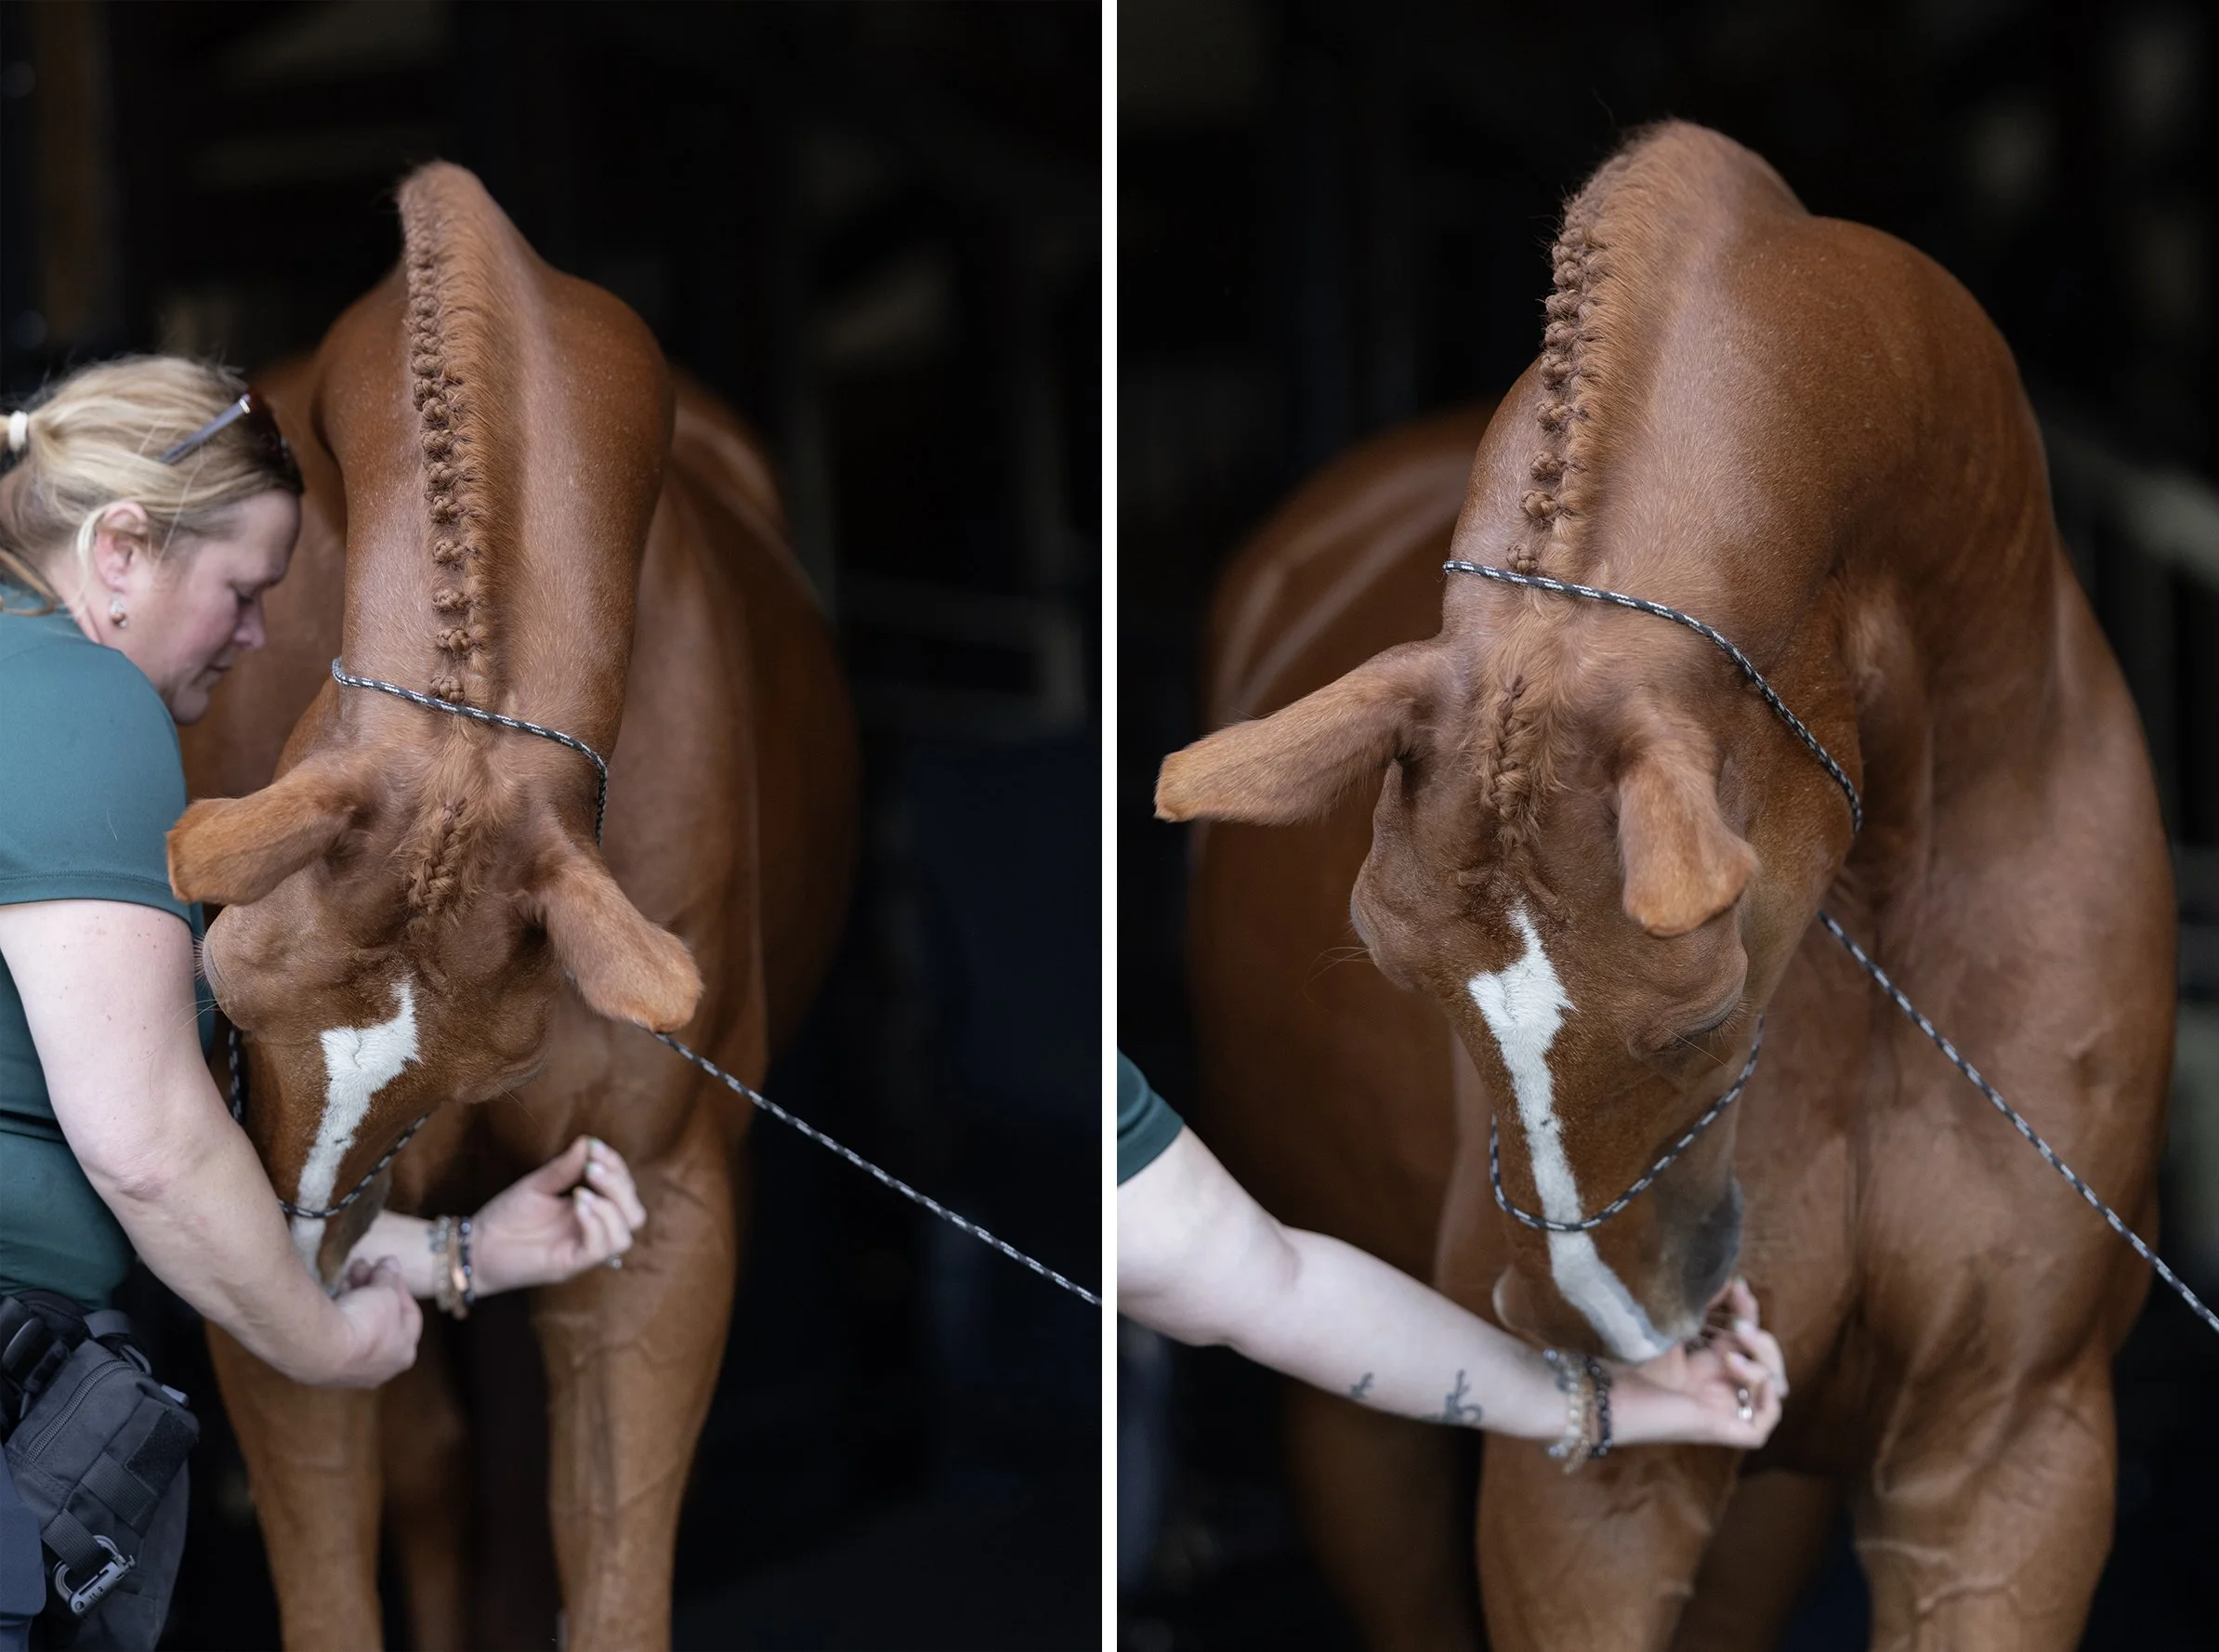
Creatively cropping to find the ideal frame.
When you are trying new poses, are at the angle you like, and are shooting THROUGH the movement, you may end up capturing an image that really intrigues you, but you may feel as though a slightly different frame may enhance the image even more. This is where playing around with cropping can help!
First - I am currently photographing on a Canon R5, which has 45 megapixels. This size provides me with some grace when cropping, but I always want to get as close to the ideal framing in camera. Ideally, I don’t want to heavily crop, because I’ll be sacrificing data and overall quality of the image.
However - When you are experimenting with movement, and trying to find new poses, use an image and try cropping it in several different ways. This will teach you what you like (and don’t like), and how to adjust your pose, position you’re photographing from, or how your assistant is interacting with the horse.
Here are some questions to consider when cropping…
How does it change the focal point of the image?
Does it highlight different areas of the horse’s body?
Does a vertical or horizontal crop look better?
Is a crop outside of the normal 2×3 ratio more flattering?
Does this pose work for this horse’s breed and discipline, or would cropping it work for another breed and discipline you may not have considered using before?
EXTRA TIP: When you are considering different crops, save each crop as it’s own image. I like to then take a break from the photos for 24-48 hours. When I return, there is always one crop I’m immediately drawn to, and of course there is always a crop that makes me go, “WTF was I doing there??!” 😆
Here is the original image (no cropping, but some camera raw color adjustments were done to these files before saving), and five different crops I had saved to consider.
For my style - I like being able to still see the horse’s barrel and legs. I really enjoy how the leading lines in the image continuously bring you back to the horse’s face, but accent the the horse’s strong next and details of the braids. While I’m not loving how to the horse’s left ear is horizontal (listening to my assistant who was on that side), I think it having it placed in the middle of the frame creates a kind of balance. I don’t feel as though it’s necessary to have the hind end in the image, as the highlights on the coat draw attention away from the head, neck, and braids.

Communicate with your assistant!
When you have established your style through your choice of perspective, angle, timing, and framing, make sure you stay constantly communicating with your assistant. They are seeing the horse at a completely different angle, aren’t sure exactly when the peak timing of your shot may be, and they may not realize that they are being counter productive to the image - in this case, being too close to the horse and blocking the horse’s face, chest, shoulder, barrel and back.
Pausing to show recognition in that your assistant posed the horse beautifully (it would have been a great shot!!), taking a moment to show the assistant the image on your camera, and working together to brainstorm how to create the same image, without blocking the horse - is going to be wildly beneficial to your success together as a team, for the client in their resulting image, and for you as an artist, able to expression your style in the best way possible!
The more curious you are with your photography, either through posing, photographing, culling and/or editing, the more you will grow. The more you grow, the more consistent you will become with your images and sense of style. Overtime, with consistency and gravitation toward everything you LOVE about your images, the more you’ll become known for that sense of style.
Next Steps
If you don’t have images from a recent photoshoot, I encourage you to dedicate time to photograph - whatever type of photoshoot your heart desires. This could be with a friend, a family member, a favorite client, or someone new from a model call.
When you upload the images, take time to really critique your images.
What do you like about each image?
What don’t you like about each image?
Can you determine what you could do different to elevate that image - either during your next photoshoot, or through creative cropping or editing?
Is this an image you love and want to recreate as much as possible?
If you responded ‘YES!’ to the last question - than you are one step closer to determining your ‘style!’
Remember your critiques, make notes for the next photoshoot if you need help remembering, and go photograph again. Rinse and repeat.
Are you finding patterns throughout your photoshoots, whether that’s through posing, lighting, lines, compositions, colors, editing, etc.? Are you able to recognize the positives within your images and the areas for potential growth?
If you responded ‘YES!’ to either of those questions, then you are on the right road - KEEP GOING! 👏🙌🏻 Overtime, you’ll build consistency, and you’ll become recognized for how you view the world, and the style - or how - you share that beautiful view with everyone.

Feeling like you need a bit more guidance?
I am happy to help! Let’s schedule a virtual mentorship, an in person mentorship, or have you join a workshop. If you prefer learning at your own pace, check out my online education (and posing guides!).

The Biggest Mistakes
Having a website is essential for any business who wants to be taken seriously!
Think of your website like a brick and mortar store. This is where past and future clients can visit, that provides a legitimate and professional atmosphere, where they can learn quality information about who you are, what you offer, where you’re located, and how to contact to book your services.
Sure, social media is where everyone hangs out, but when you want to book a service, social media won’t be able to provide you with the quality information and details you need to
Ensure that this business aligns with your needs
Review the different services offered
Connect with someone at the business
Schedule a date
Quality websites will guarantee you with quality clients. Your website has to communicate the level of professionalism and quality of work your business is proud to stand behind, otherwise, potential clients will quickly leave and find another business to give their money too.
These are 10 of the biggest mistakes I see on websites…
Slow loading times. If your website takes more than 8 seconds to load, your potential client is going to close the site and move on. Slow loading times are most likely the result from having high resolution images or videos. If possible, and without losing quality, adjust your images and videos to a smaller resolution to avoid any lag time. Pet peeve of mine… when I scroll on a website and have to wait for things to animate into place so I can read or view images. This creates a lag time before you can access that information, and as photographers - we need to put the emphasis on our images - not the animation of text.
Outdated websites. If your website looks like it’s from 2005, you need to updated it - TODAY! If you want to reflect a luxury and professional service, you need to position yourself in the market as a business that values quality and can deliver in a timely manner. An outdated website instantly makes me wonder if this business is still open… and if so… is the information outdated? Will someone even answer if I complete the contact form??
Non existent or confusing mobile experience. In the last 30 days, this website has received 60% of traffic from a mobile phone, and 40% of traffic from a desktop or tablet. This means that if my website design isn’t compatible, or becomes frustrating to navigate with a phone, I could easily lose 60% of potential clients. Read that again - 60% of potential clients could walk away before I could even tell them what my business offers. YIKES!
Difficult or confusing navigation. Your visitors want - and NEED - easy and straight forward navigation. All important information (who you are, where you’re located, what you offer, and how to book) needs to be easily accessed within 4-5 clicks. Anything more, the potential clients will get confused, lost, and because we have a shorter attention span than a gold fish, they will leave to find an easier business.
On the flip side, too few options could leave the clients feeling as though your business doesn’t have the depth and quality of a luxury service.Not having your location or what you offer listed on the home page of your website. Potential clients want to go to the website and immediately recognize that this business offers the service they need and at the location they can access.
IE: If I’m looking for a canine photographer in Muskegon Michigan, I want to open a website and immediately see they offer canine photography and are located in Muskegon - or nearby that I am willing to travel for it. I don’t want to spend 20 minutes digging through a website, only to find on a 3 year old blog that they no longer offer canine photography, and are actually located in Anchorage Alaska. Neither is helpful, and has left me with a bad experience related to that business.
Generic messaging. IE: “I like taking photos. I also like puppies. Hire me!” If you’re a canine photographer, it’s kind of a given that you like photographing puppies...
Potential clients want to know what makes you different from the other businesses, and why should they hire you. Your messaging needs to speak to your dream clients, sharing what makes you different, the perks to hiring you over anyone else, and how you can provide a professional, luxury, and quality experience that fulfills their individual needs. If your text could apply to any photographer in your field, than it needs to be rewritten and customized further to your business.Too much text. Your potential clients aren’t here to read a novel or hire a writer, they want simplified text with headlines, bold or underlined for the important text, bullet points or numbered lists, and/or expandable text blocks if they want more information. Your images should be front and center, and should out weight the amount of text.
Outdated examples of your services or end products. As artists, our work grows with us, and our styles - or services - may change overtime. Your website needs to reflect your current work, and requires updating regularly. Imagine if my storefront was decorated for Christmas… and then never updated. If you walked into it in April, would you question the integrity of the business? If you frequent that business, wouldn’t you want to see updated decorations when visiting? We cannot rely on social media providing the updated work, because if your work doesn’t match the quality or style that is presented on your website, your potential clients will follow you on social media, but never trust the business enough to book with you.
Not having a clear call to action. Your CTA’s are like cash registers, no matter where the potential client is on the website, there should be a clear way for them to say ‘YES’ to the service and hand you money instantly. Again - if it takes them more than 8 seconds or 4-5 clicks to figure out how to book the service as soon as they conclude they want it, you’re missing out on potential clients, and they’ll either get distracted or frustrated, leaving before you’re able to close the sale.
Non existent or lacking on SEO. Search Engine Optimization helps search engines understand your website’s content, and will recommend your website as options to potential clients inquiring about your services or expertise. You can integrate your SEO into the file names of your images and/or videos, use clear keywords throughout your website, publish relevant and authoritative content, have internal and external links, etc. A website that is updated and has regularly new content, will be recommended over stale or outdated websites, or websites that lack SEO. This is the long game, but just as important as social media, email blasts, and networking at events.
I hope this helps in providing an inside look on what is most important for your website! If you’re interested in learning more, check out the private mentorships, workshops and online downloadable courses I offer. Every day is a great day to invest in your education and elevate your own photography business and experience for clients!
How Stalking Makes My Business Better!
Did you ever think that stalking may help your photography business? I didn’t, until I started using Google Maps as a tool to provide better customer service, elite organization in my photoshoots, and a wider range of locations in the final collection of images.

So how do I use stalking to benefit my Horse & Rider Photoshoots?
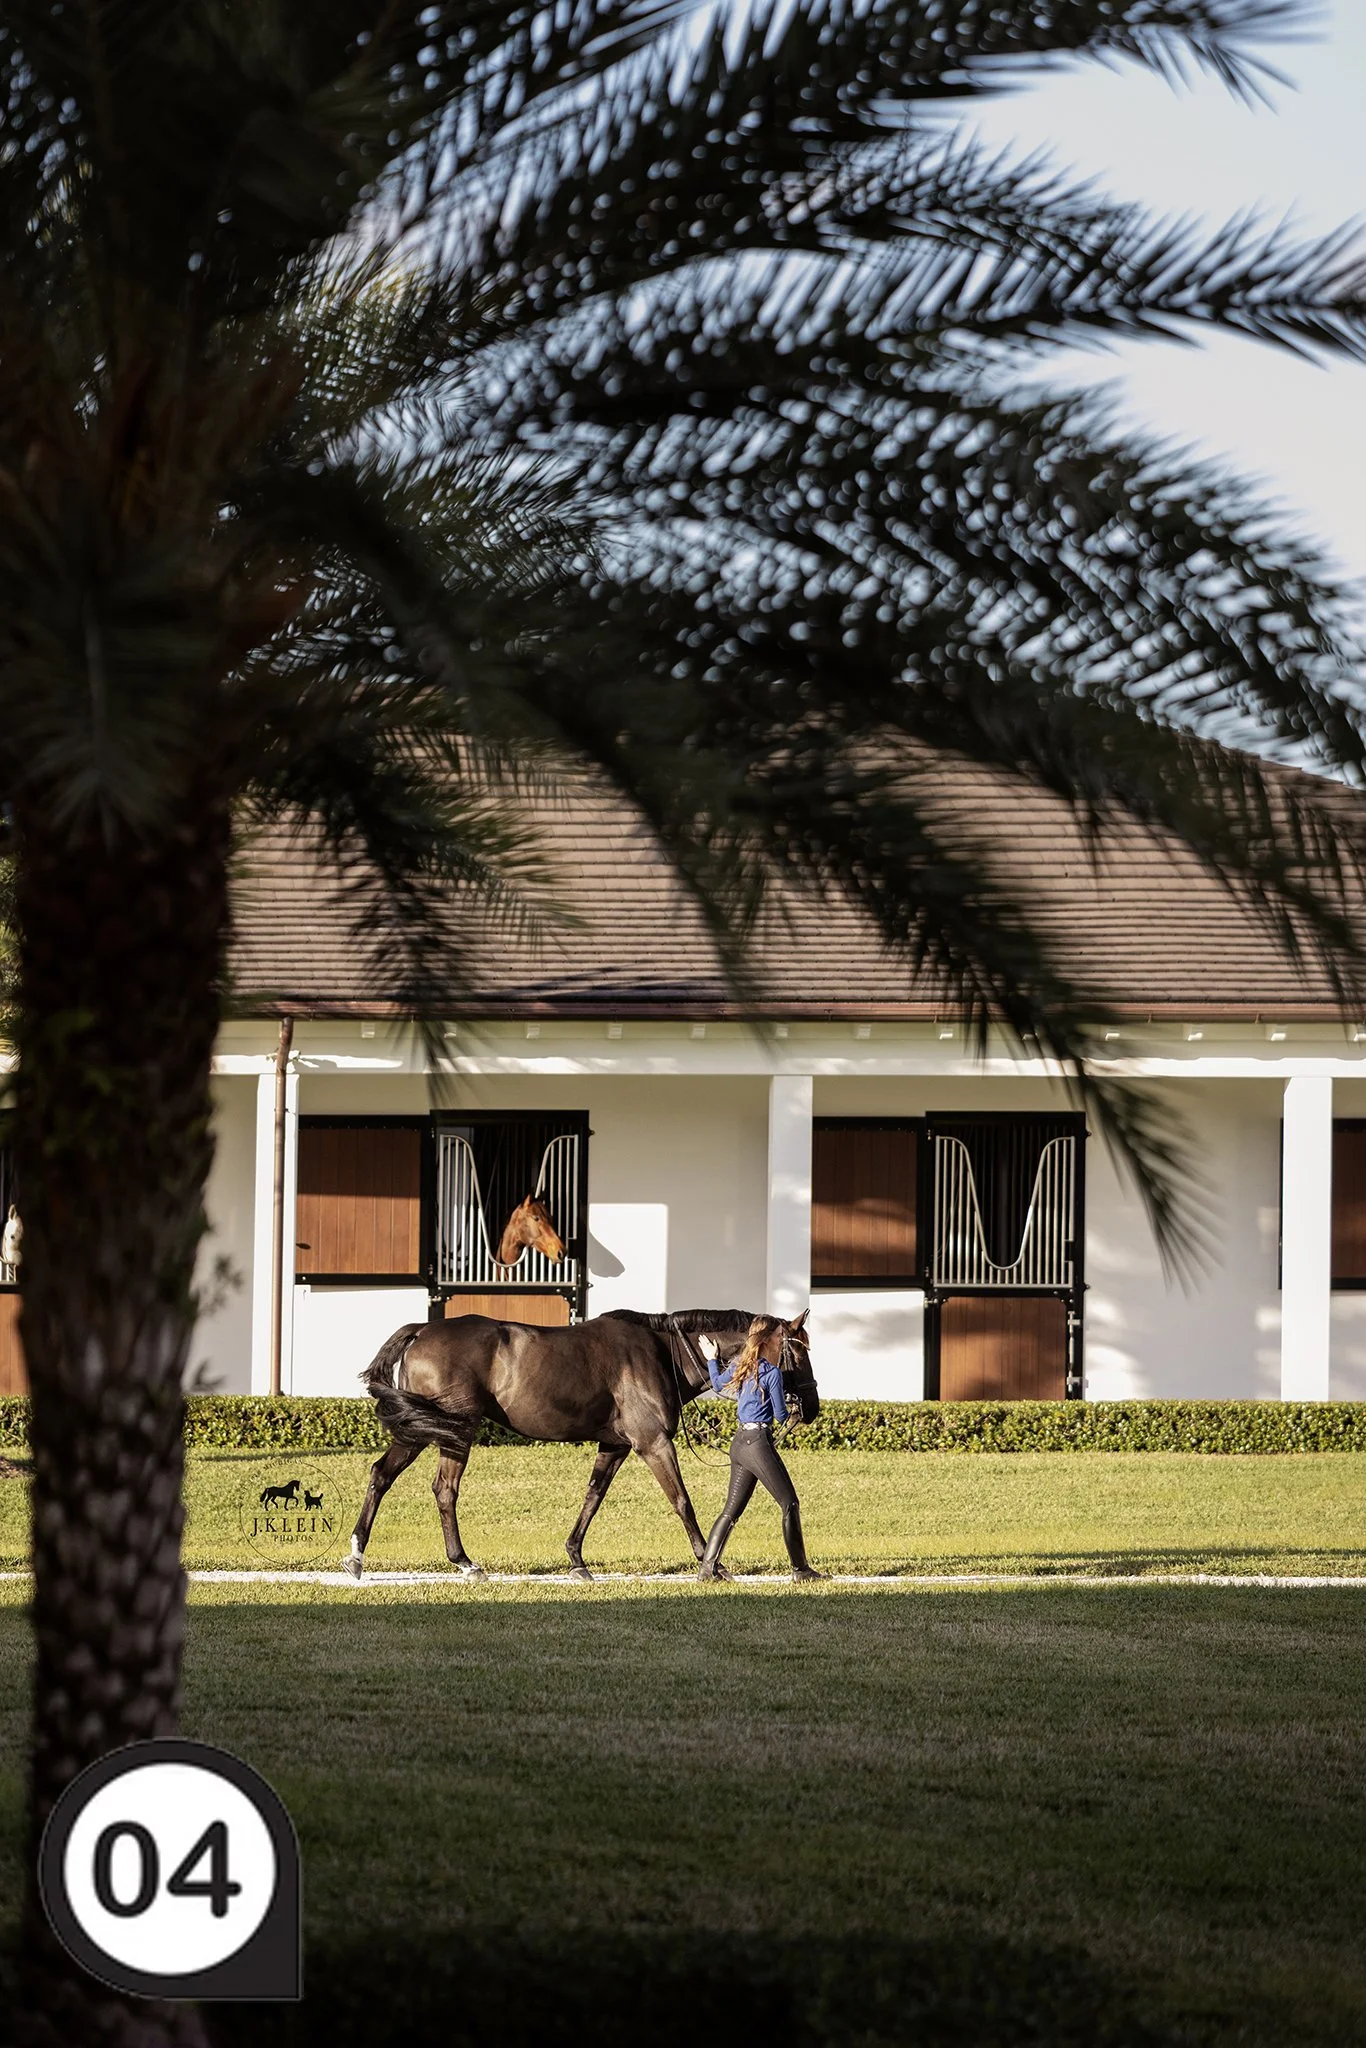
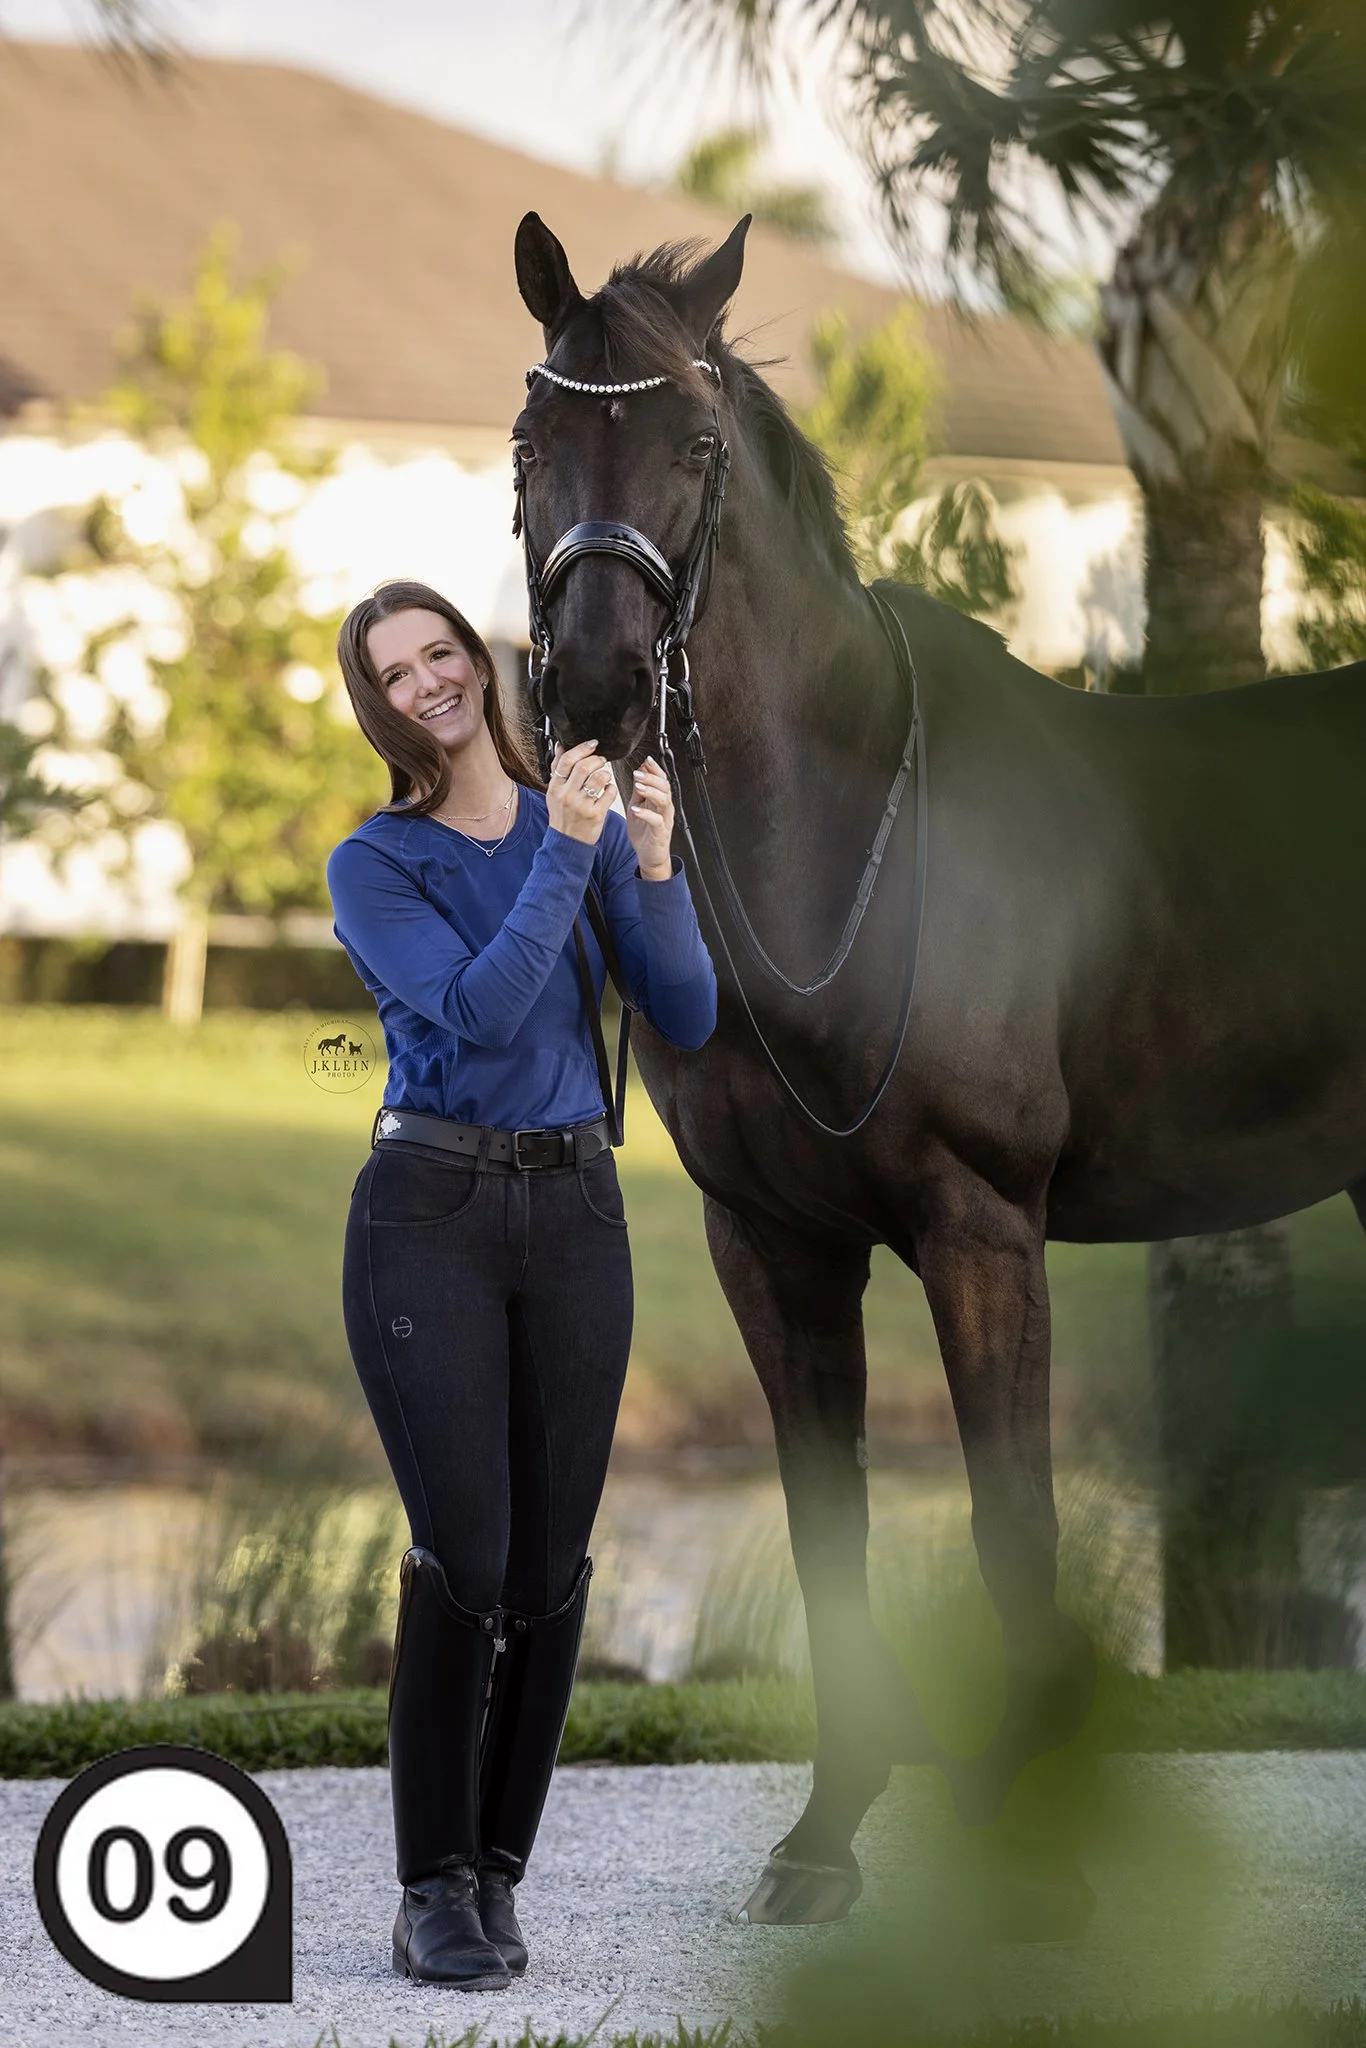
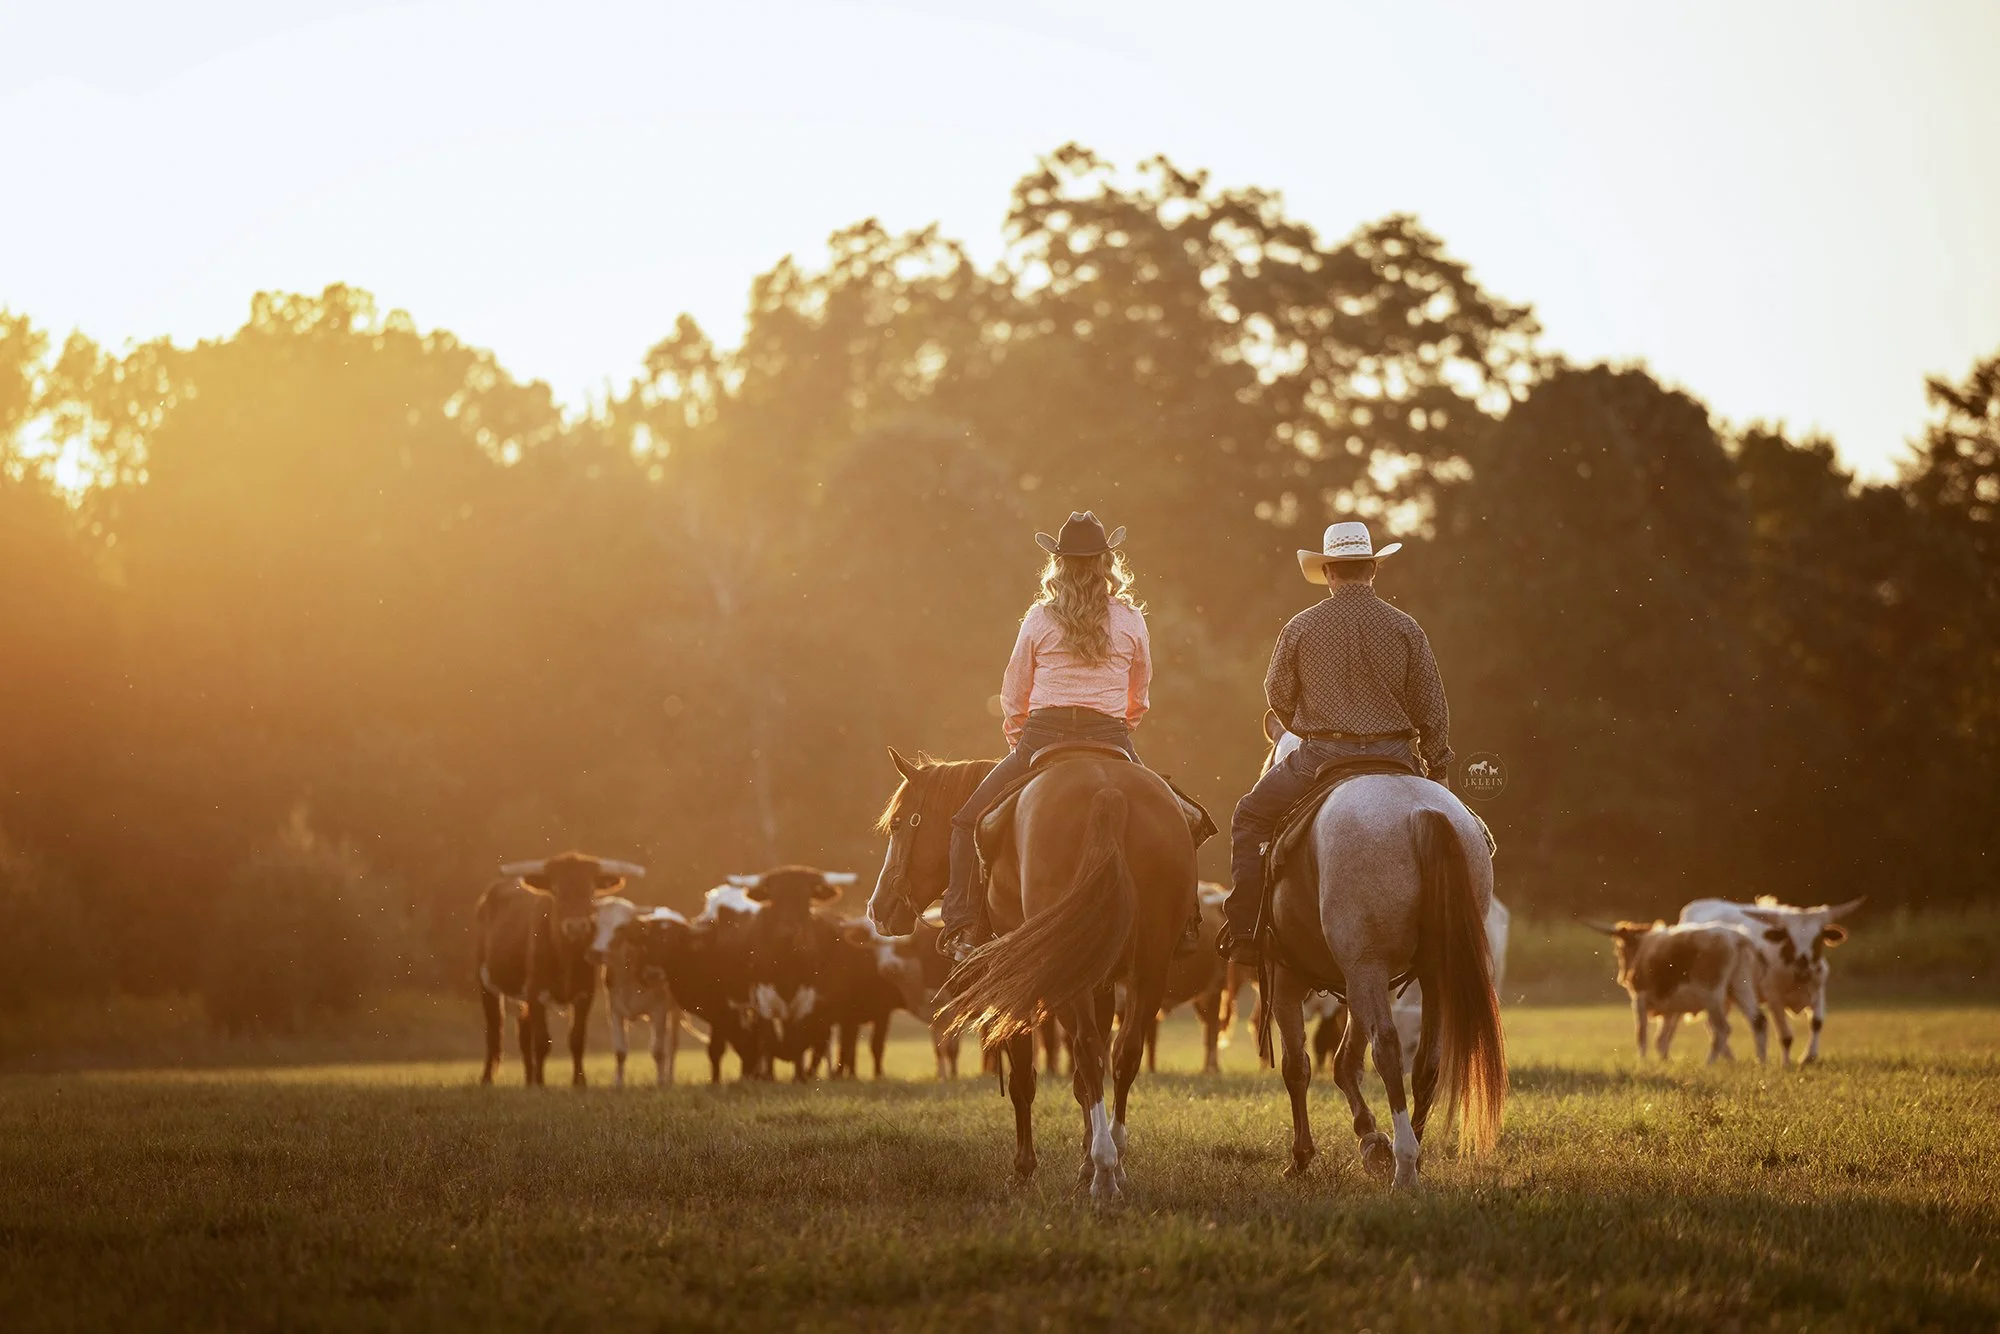
I ALWAYS ask the inquiring client what the address of their barn is before I provide open dates and times for booking. I plug that address into google maps and begin planning what the photoshoot might look like. Here is one of my favorite Florida barns, Deermeadow Farm, owned by the lovely Claudine Kundrun, and home to olympic rider, Ali Brock.

The first thing I look at, is what direction is the property orientated to the sunrise (east, which will be our right hand side) and the sunset (west, which will be our left hand side, of the image above.). To give me more information on this property, I can click the “3D” button on the right hand side, under the compass, and it will provide me with a “2D” view. Pair that with rotating the map using the compass, I can gain even more viewpoints! I can now start to see the architecture of the barn and more areas that may be of interest to use.
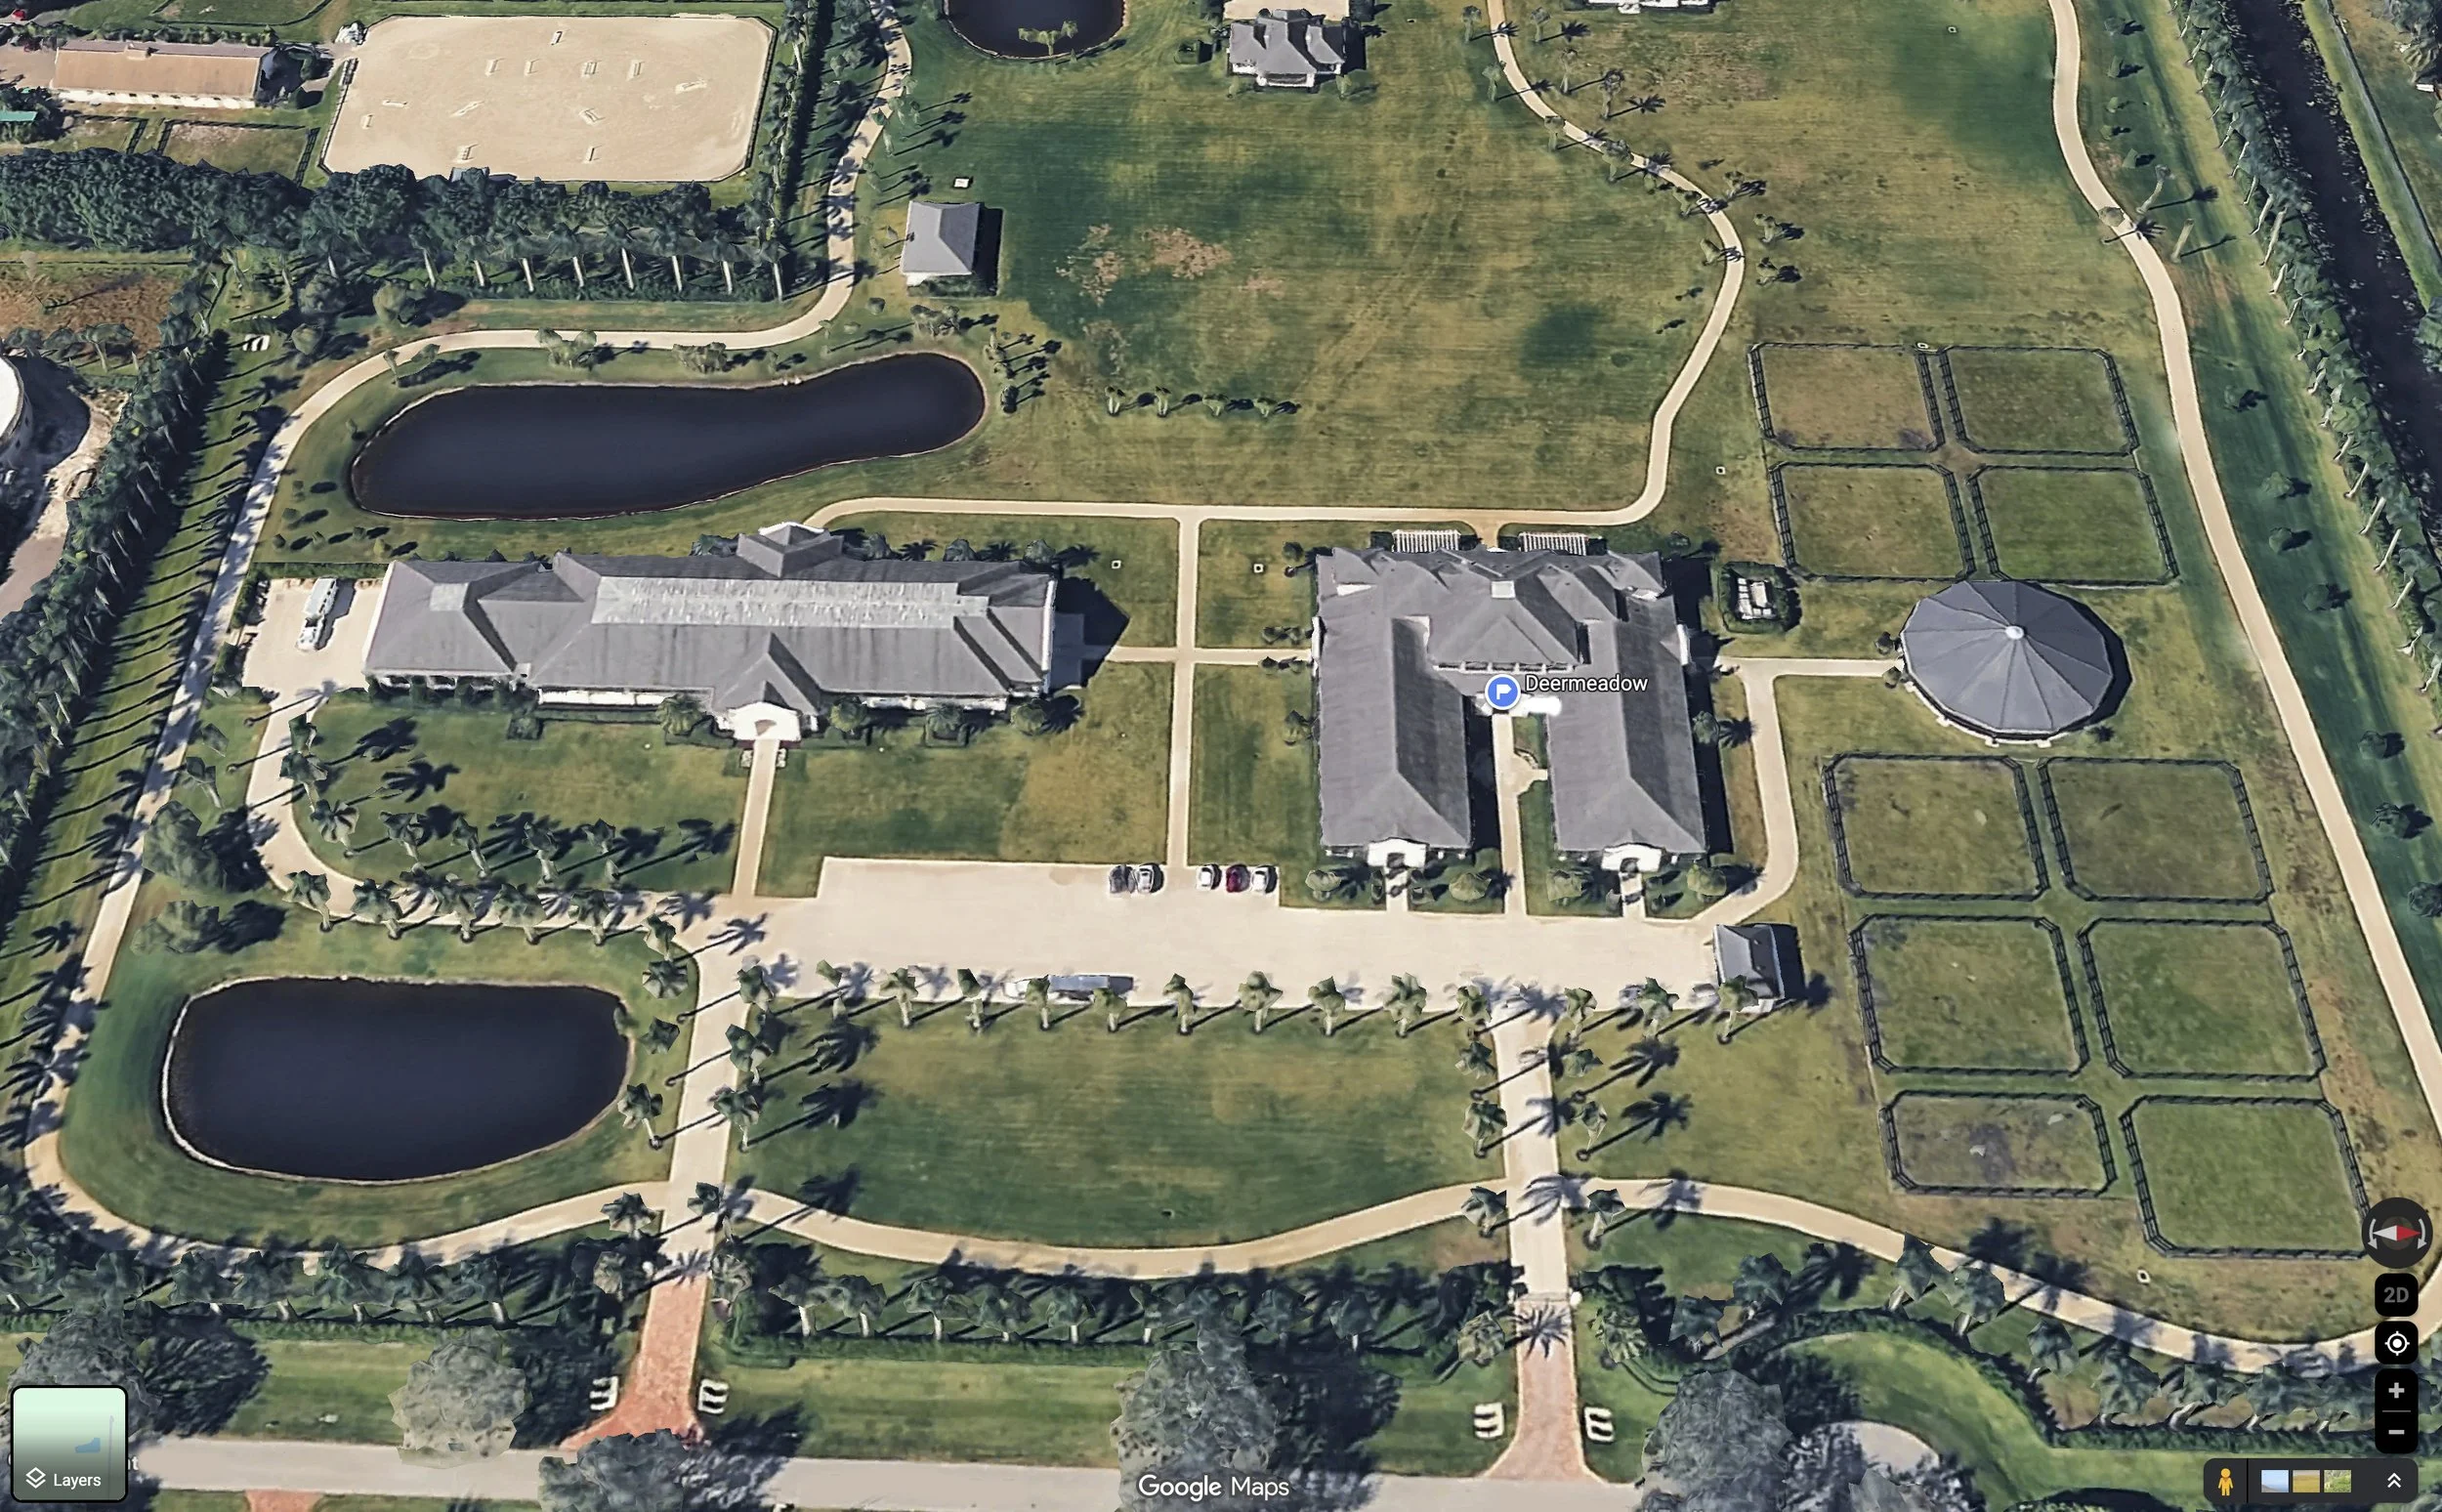
I prefer photographing my Horse & Rider photoshoots using either flat shade, backlit sun, or a warm and golden setting/rising sun. With that in mind, I begin to look for ideal locations on the property that might provide me a variety of backgrounds, using a variety of lighting.
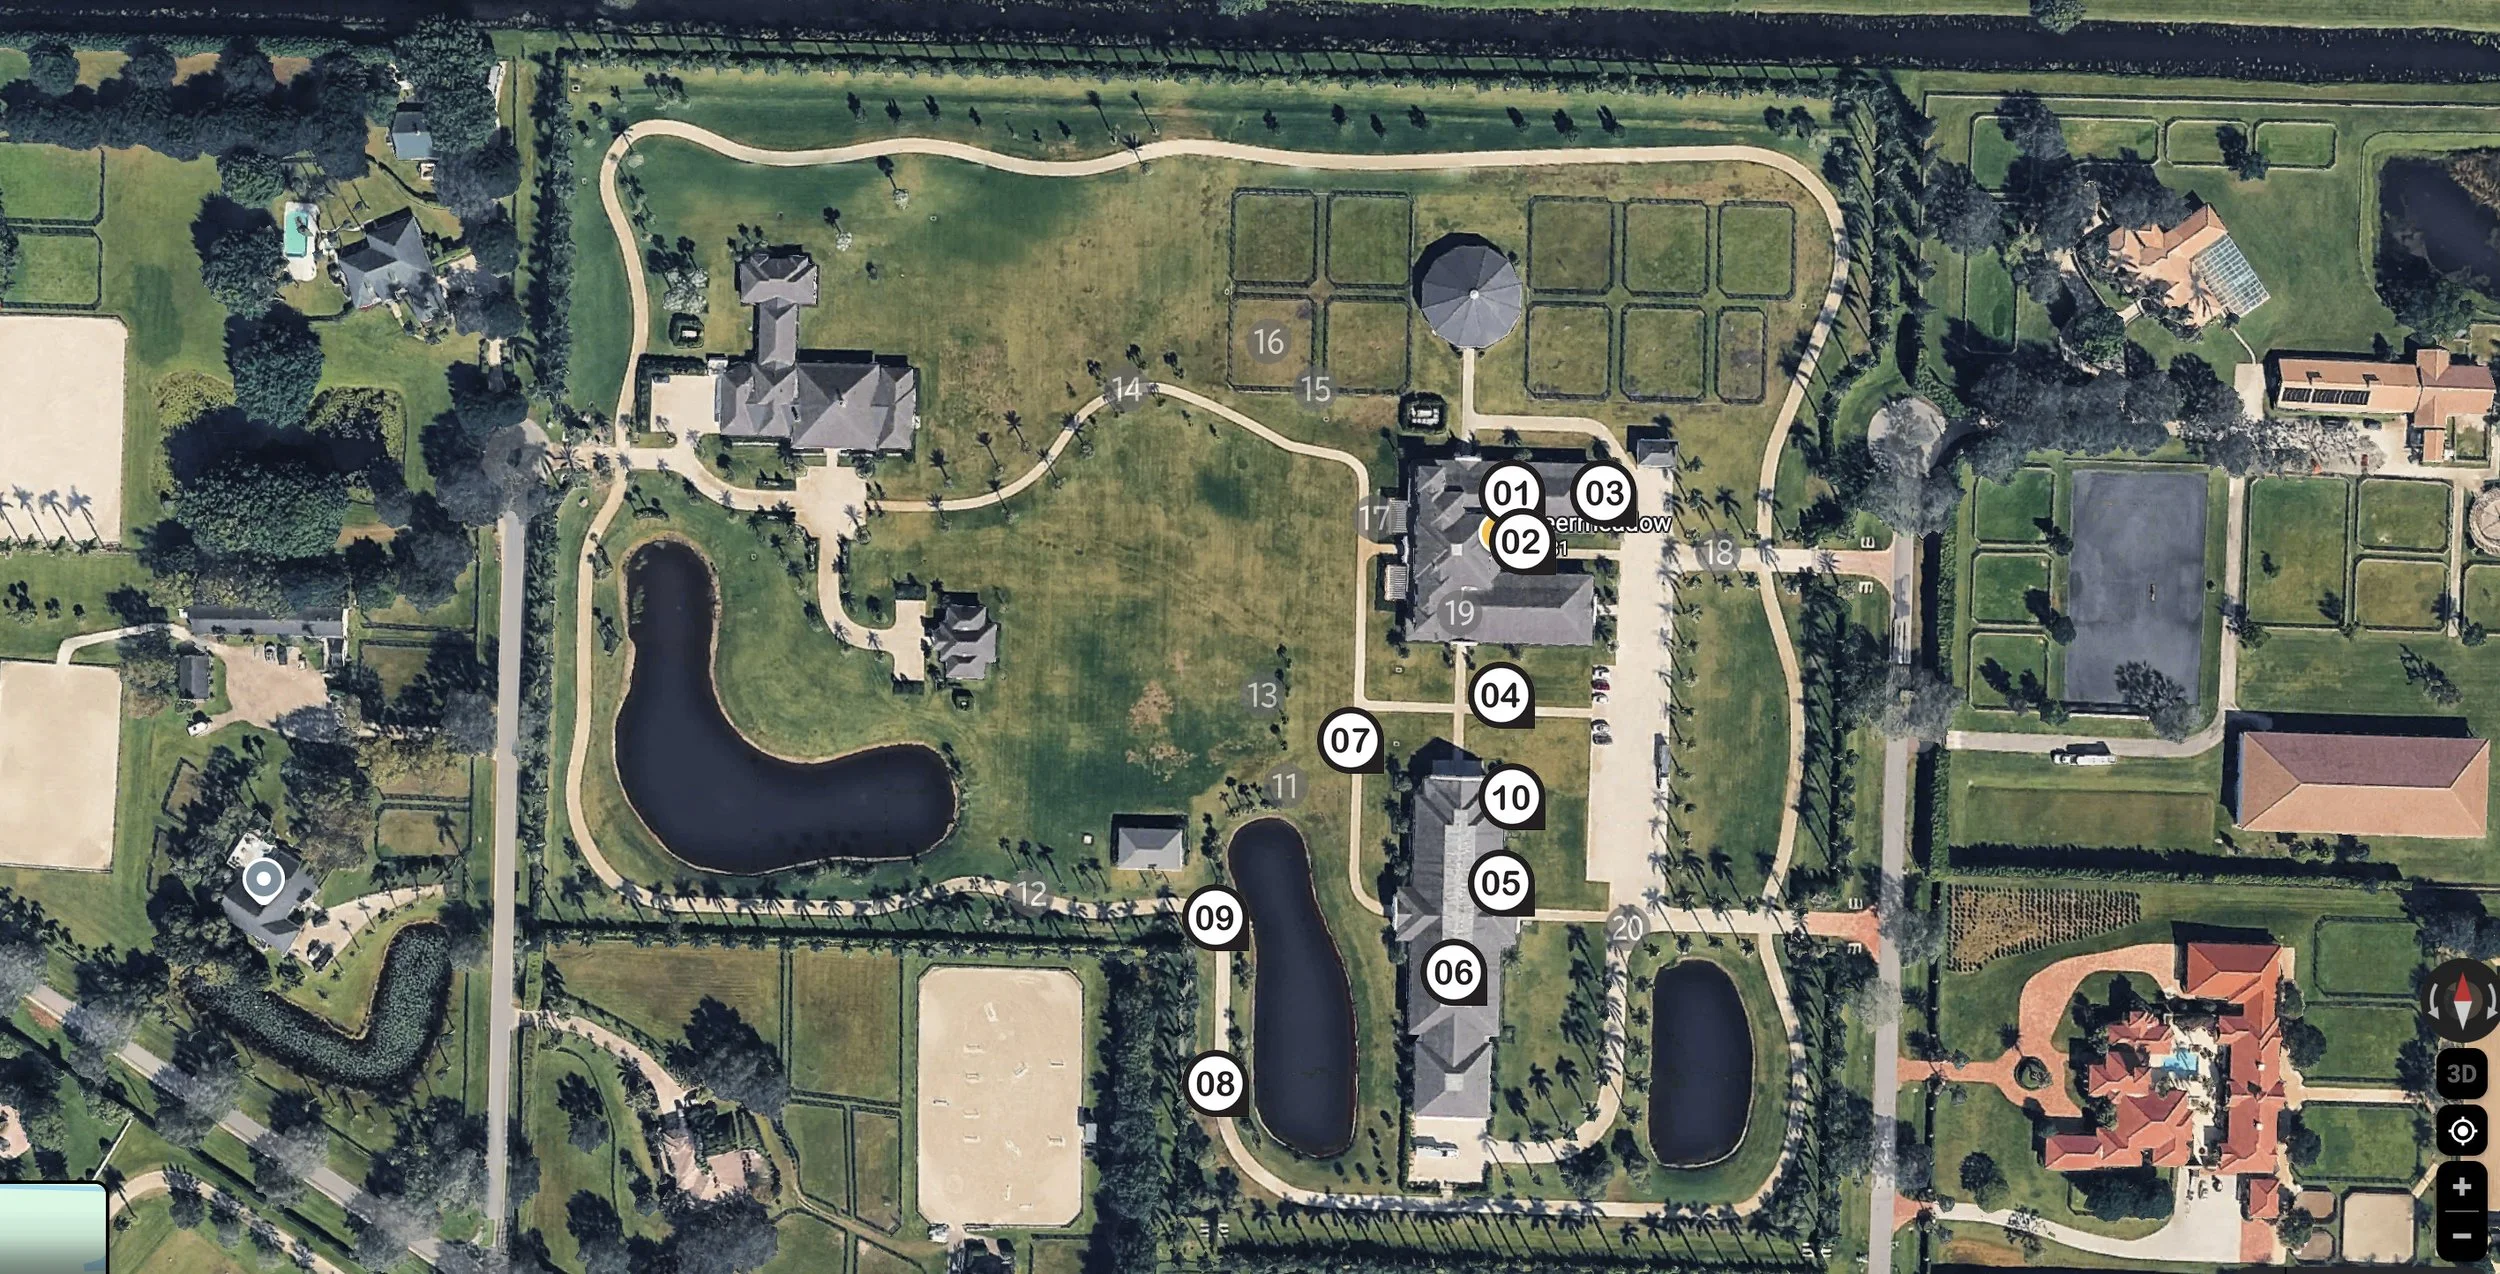
Things I like to consider are…
Driveways or walking paths (non edible surfaces are easier for horses to behave on!)
Doorways or courtyards in/around the barn or arena
Stall doors or windows horses can put their heads through
Gardens or planted trees and if they’ll over shade, leading lines, or patterns.
Wooden fences for leaning or sitting on
Locations clients can sit, if not on a fence (mounting block, jumps, stairs, etc.)
Outdoor arenas, or covered arenas that may offer different lighting (also non edible surfaces!)
Empty pastures or open fields for golden hour or silhouettes
Fun features on the property (ponds, horse statues, fancy property gates or pergolas)
(For the sake of this blog - I have added 10 black/white numbers to demonstrate the locations I utilized during Marin and Jug’s photoshoot, but wanted to include an additional 10 grayed out numbers, that would be great backup options, and ones I’ve used in the past for other photoshoots on this property.)
Now we have location options chosen, will I be able to create a better collection of images at sunrise or at sunset?
This property, has AMPLE opportunities for either sunrise OR sunset. From personal experience, my clients prefer sunset photoshoots, because it gives them time to get the barn chores done in the morning, ride their horses, and then bath/prep their horses (and themselves!) for an evening photoshoot.
However - if the property has better locations for sunrise - I let my clients know PRIOR TO BOOKING, that I recommend a sunrise photoshoot to maximize variety through backgrounds and lighting. This provides the client with a great first impression of your organization skills and expertise on useable locations! If they opt for the sunset time, going against your recommendation, than do your best, but know that it was ultimately the client’s choice.
When you email the client a click to sign service agreement/photography contract, I encourage you to add a spot where the client can list what they hope to capture during the photoshoot and/or if they have any specific photographs they want to capture. This always helps me narrow down the locations I have already scouted out on Google Maps, to ensure that the locations fit the client’s goals.
For example…
If the client is wearing a riding outfit and is celebrating a huge accomplishment in the arena, I would opt to use the barn or arena as locations to highlight those moments of teamwork and efforts, leading up to the exciting accomplishments.
If the client is wearing a long flowing dress, and has retired her horse, and she is wanting photos of the love and bond they have developed over the years, I would opt to use more greenery and open spaces, such as fields, pastures, ponds, or even the pathways lined with trees.
If the client has both outfits - I tend to like the idea of a riding outfit first, where the sun is still higher in the sky, and then transitioning into a dress as the sun sets and offers golden lighting.
Before we begin photographing on the day of the photoshoot, I like to ask the client if there is anywhere on the property the horse is not comfortable. These will be places I want to scratch from my location list immediately, as it’s not worth the horse becoming a fire breathing dragon, or the safety risk of the client, for photos.
I then want to ensure that my client’s goals for the shoot are met and accomplished, and then I start exploring more locations that offer a variety of colors, textures, lines, and lighting, capturing a variety of poses as wide angle shots, full body shots, headshots, and detail shots. Don’t be afraid to revisit a location if the lighting has drastically changed too! This will balance and expand the final collection of photos I provide to the client. (If you need posing ideas - I highly recommend my Horse & Rider Posing Guide. It is more like a novel, with more in depth information that I could provide even during a private in person mentorship, and is a great tool to use as you learn poses!)
When you get 75% of the way through the photoshoot, ask the client again, “Have you thought of any additional poses or photos you wanted to capture while I’m here?” Sometimes clients are nervous about being photographed, or think their horse may be a knucklehead during the shoot, so they don’t expect or ask for a lot of specifics in the beginning. As you work with them and both client and horse settle into the fun experience, they may request additional poses/photos.
If your horse’s battery is running low - make sure you end the photoshoot on a positive note, before the horse decides to leave the premise on their own demise! You can always return to that property to photograph additional locations on a new day, with a fresh horse.
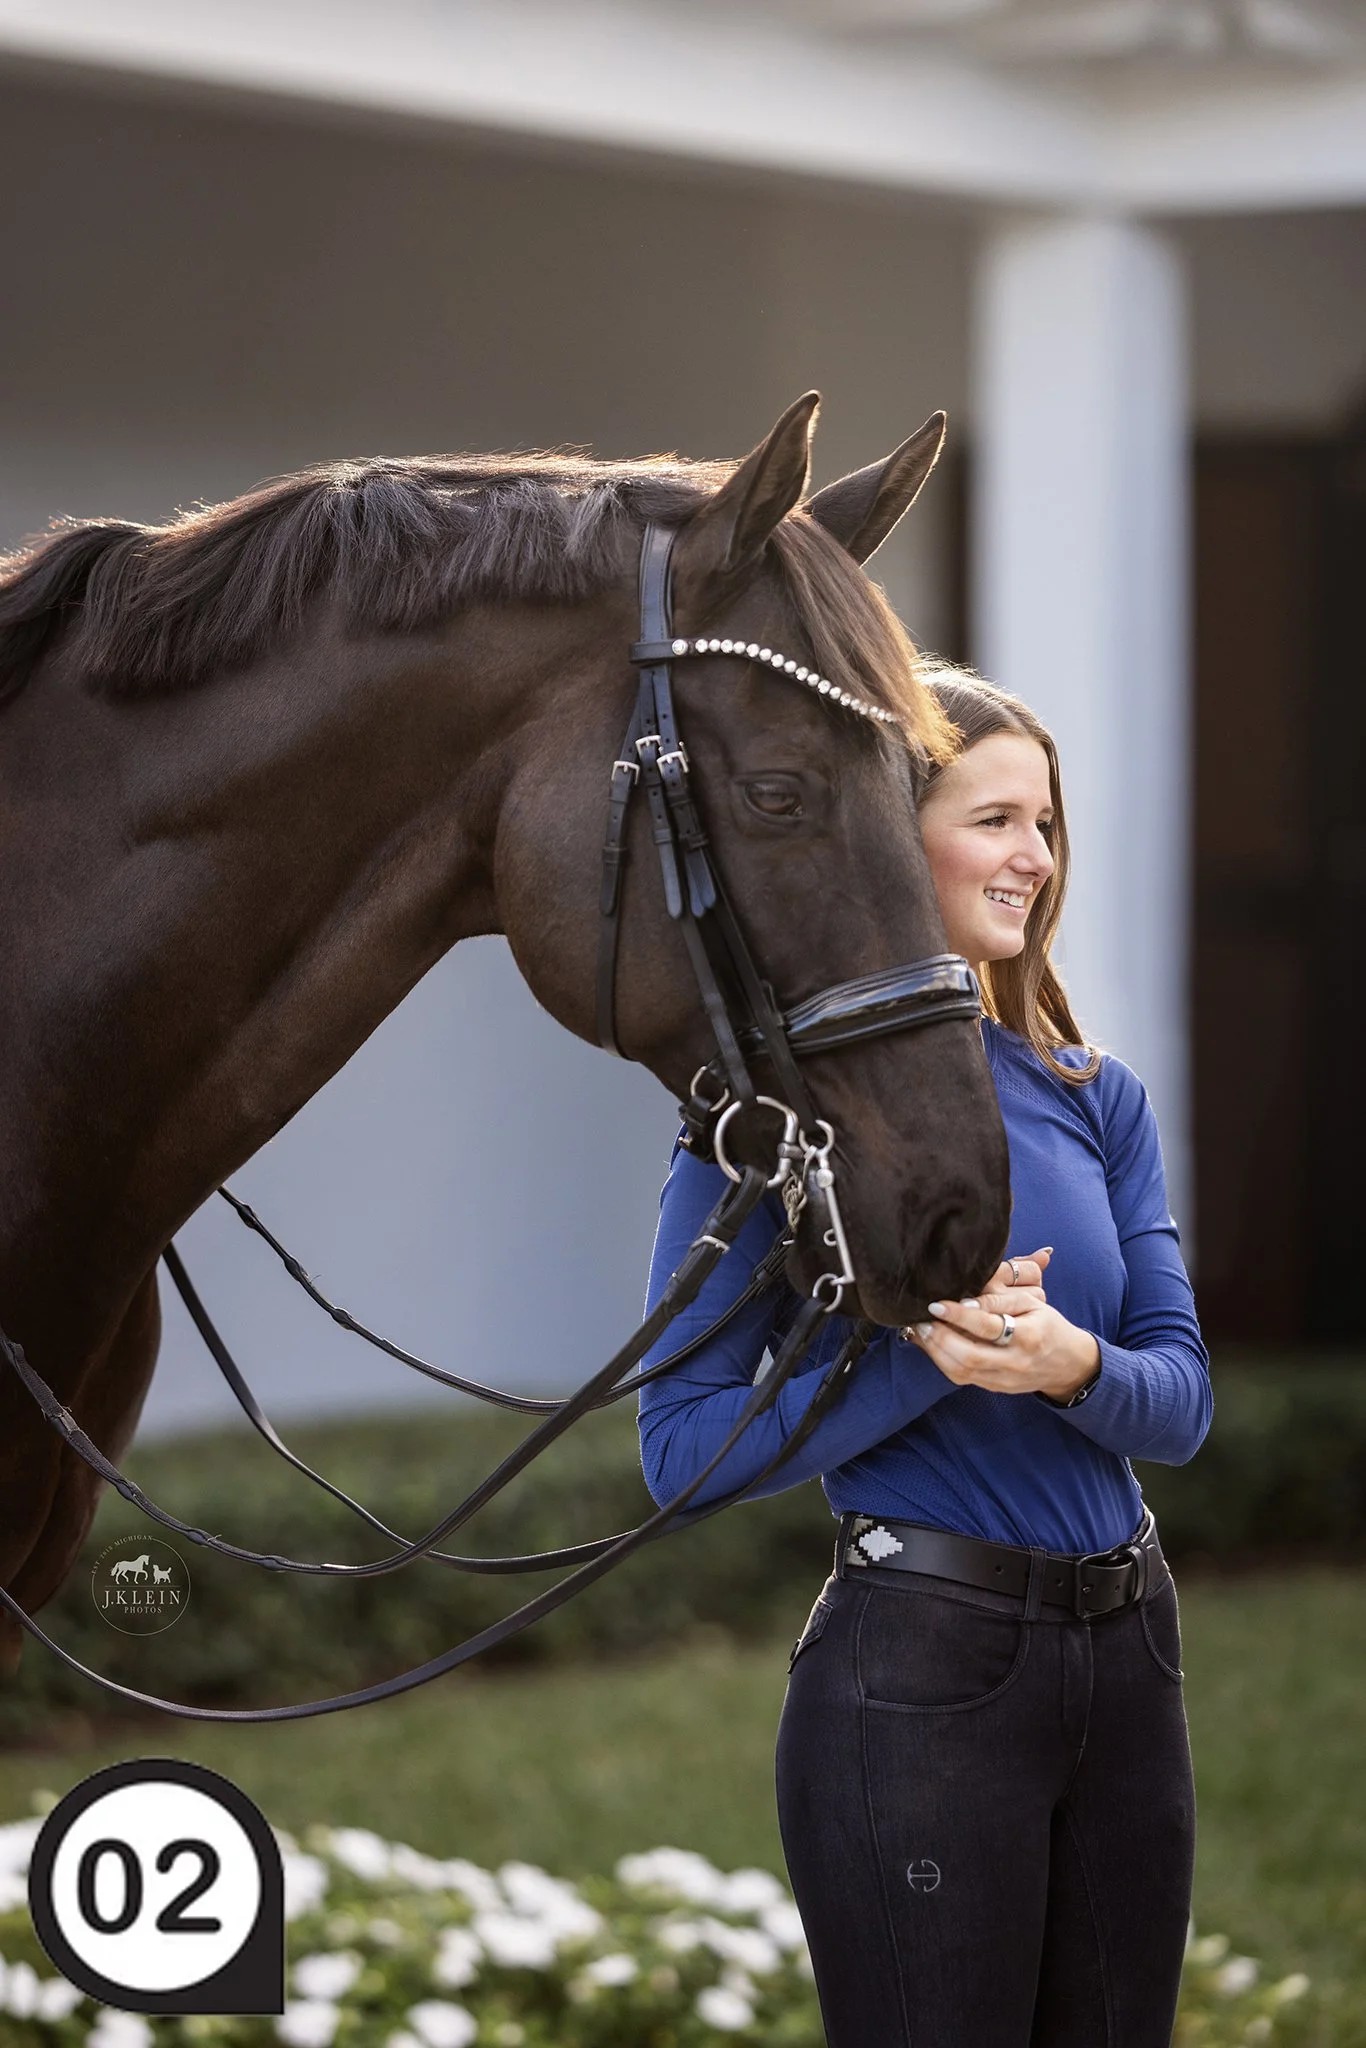
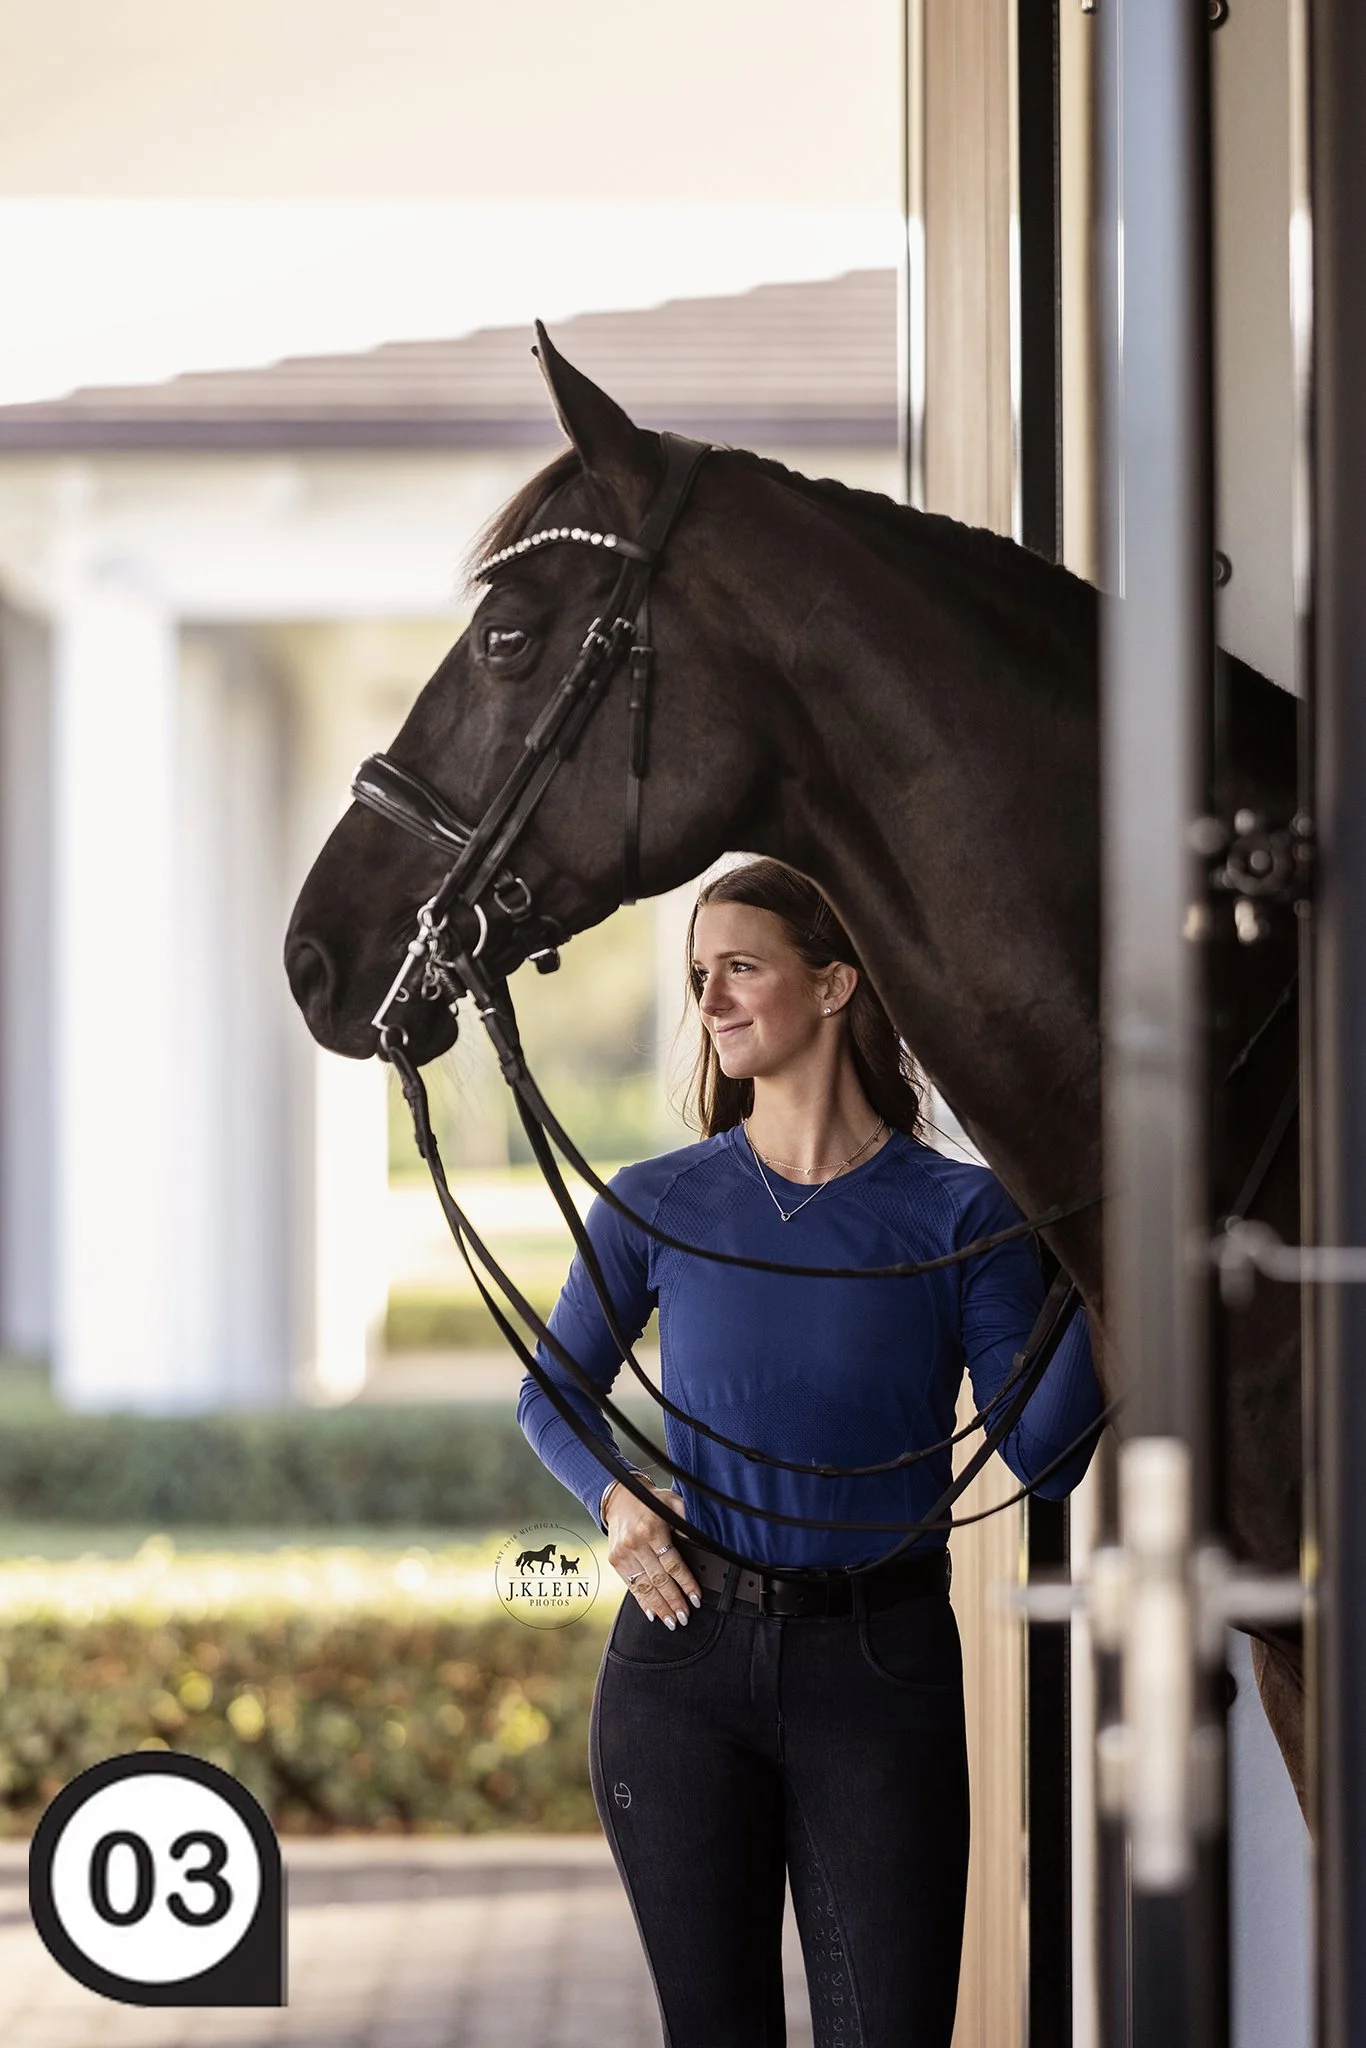
Okay, enough education, I want to show you some of the images I capture of Marin and Jug on this gorgeous property!
(I have added numbers to each photo, that correspond with the property map numbers above.)


And here are some additional photos throughout the farm property from three other photoshoots! 👇


I hope this helps in providing an inside look on how I schedule and organize photoshoots by stalking on Google Maps! If you’re interested in learning more, check out the private mentorships, workshops and online downloadable courses I offer. Every day is a great day to invest in your education and elevate your own photography business and experience for clients!

Finding Growth in Your Horse & Rider Photoshoots
Do I consider my photography the best? No.
Do I understand that it is a work in progress? Absolutely!
I critique my own work every single time I get home. I sit down with the images and figure out what I did well and what I need to improve for the next photo shoot. I am always pushing myself to be better, and self critiquing has allowed me to grow within my own style, and find confidence with every photoshoot.
Does that strive to always be better come from a child who never received praise in whatever I gave was never enough? Yes.
Has it helped me as a photographer? Yes.
But I need to balance it out with recognizing what I did well, and also realizing that every photoshoot is going to be different, as well as the individual horse and rider, the landscape, the lighting, the colors, the textures, the camera setting the atmosphere, etc. etc. Even if I photograph the same horse and rider two days in a row, I will never be able to create the same image. Instead of getting frustrated, this actually encourages me to push my creativity and allows me to nitpick and refine every pose and every emotional moment that is encouraged in front of my camera.
So how do I foster self growth?
When I go to a photo shoot, I have a list of goals in mind. I write these down and have these easily available either on my phone or on a written paper. These goals include the following…
Client goals or “must have” images provided when they signed the contract.
New client goals realized since signing the contract, or as we talked prior to the start of the photoshoot.
A realistic goal for myself.
A stretch goal in case the horse and rider are amazing and I can push myself to practice or learn new skills.
With that in mind, I also understand that every horse and rider are going to be different.
For instance, if you have a horse that cannot stop moving, capturing portraits of a horse with a soft expression, snuggled up with the owner may not be a realistic goal.
Or if the rider struggles with listening to direction, it is going to limit the poses, or the ability to refine the poses.
Two things you don’t have control over, but depending on your approach, you may be able to excel and capture photos you are obsessed over!
Here are some ideas for your own realistic goals or stretch goals
(remember to start small, increasing difficulty as you master the previous goals):
Insuring I have a wide angle shot, a full body shot, a head shot, and a detail shot.
Confidently directing and photographing 5 different poses.
Practicing 360˚ Posing to recognize new quality photos from the same pose.
Utilizing 3+ locations with variation throughout the backgrounds (barn, pasture, arena, etc.)
Finding 2+ different lightings (backlit, full sun, silhouette, etc.)
Encouraging different expressions from the rider (happy smile, serious, totally in love with their horse, etc.)
Capturing candid moments where the horse and rider aren’t posed.
Bloopers that will make the client laugh and fall in love with their horse more!
So what will that look like for goals and the resulting images? Here is an example:
Client Goal: “I want to highlight the beauty of the property, and capture memories around the barn and under saddle from our first year in Florida.”
MY Realistic Goal: I want to utilize as much color outside and contrast that with the modern, state of the art architecture of the barn.
MY Stretch Goal: I want to capture a balance of horse & rider portraits, portraits of just the horse, and under saddle photos, in a timely fashion, with quality results (I tend to extend the photoshoot timeline to photograph more images, and then am guilted into editing WAY more photos - because I can’t leave any out!).
MY Stretch Goal: I want to find ways to capture the beauty of the facility and landscaping through creative framing or angles, when using the outdoor arena for under saddle photos.
These were a handful of the resulting photos, shown in the order that we captured them. 👇


Realistic outcome resulted in…
Client goal fulfilled! ✅
My realistic goal fulfilled! ✅
My stretch goal:
Horse & Rider Portraits ✅
Portraits of just the horse ❌ The horse hadn’t settled into the new facility, so we opted to photograph these another day, but I did get a head shot of the horse in the arena working under saddle.
Under saddle photos ✅ /❌ We were restricted to the indoor, so while I capture the photos the client wanted, I wasn’t able to fully meet this goal, as we didn’t use the outdoor.
Photoshoot completed in a timely fashion with quality images. ✅
Bonus opportunities:
Photos of the horse learning Spanish Walk! ✅
Photos of the horse, rider and the rider’s mom! ✅
Silly bloopers of the horse smiling! ✅
An incredibly client experience and open door to come back whenever I had time or wanted to push myself creatively. 💕
What did I do well: This facility was STUNNING and I struggled with focusing on staying on time, while creating quality images. I wanted to photograph everything, everywhere, so this was a struggle for me! I felt like what I was able to capture was more than enough, and the skills I have practiced leading up to this paid off. 💪
What could I have done better? I could have utilized google maps to look at locations on the property I had my heart set on, and asked a head of time, if the horse would be comfortable there, or if they could spend time in that area to ensure the horse was comfortable for the day of the photoshoot. I could have also changed up the horse’s “outfit” and done some images in just his bridle, instead of all images in full tack. That would have provided even more variety in her photos. Her trainer was present, and I could have easily grabbed the trainer and added her into 1-2 of the photos, capturing more of the horse & rider’s memories and their excitement of working with the new trainer. 📝
Client happy ✅ Beautiful photos ✅ New personal growth ✅ Business growth from a good client experience ✅ I call that, a job well done!! (pats my head and eats a piece of chocolate. 😂)
Most importantly…
Always remember to recognize what you did well. Carry that confidence with you, and over time you’ll become an expert at your own style of photography! Now go practice this and HAVE FUN!
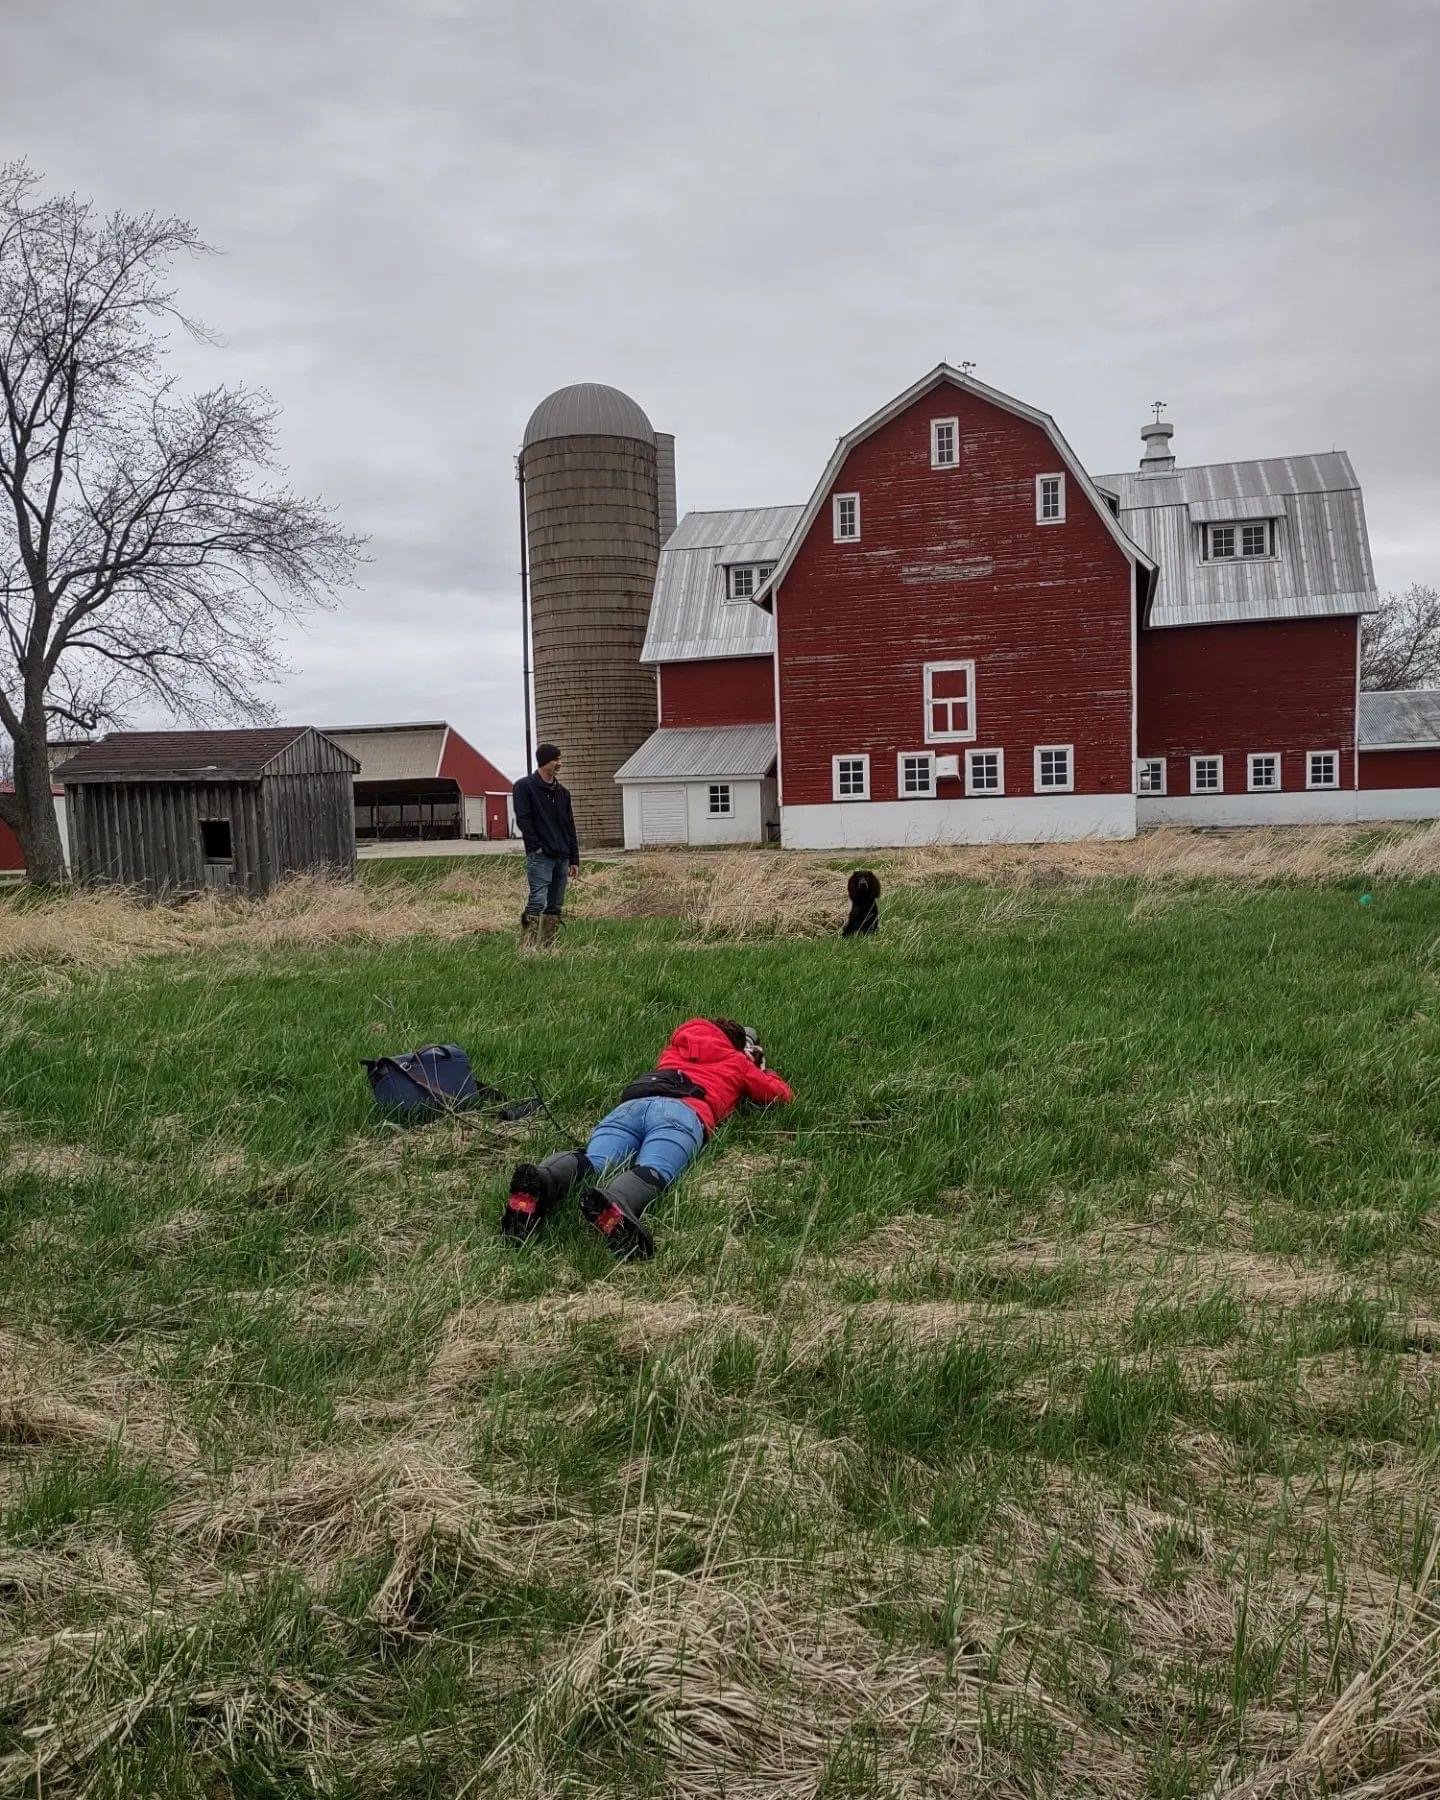
Behind the scenes photos from this photoshoot - curtsey of the client’s mom. THANKS MOM!! 💕

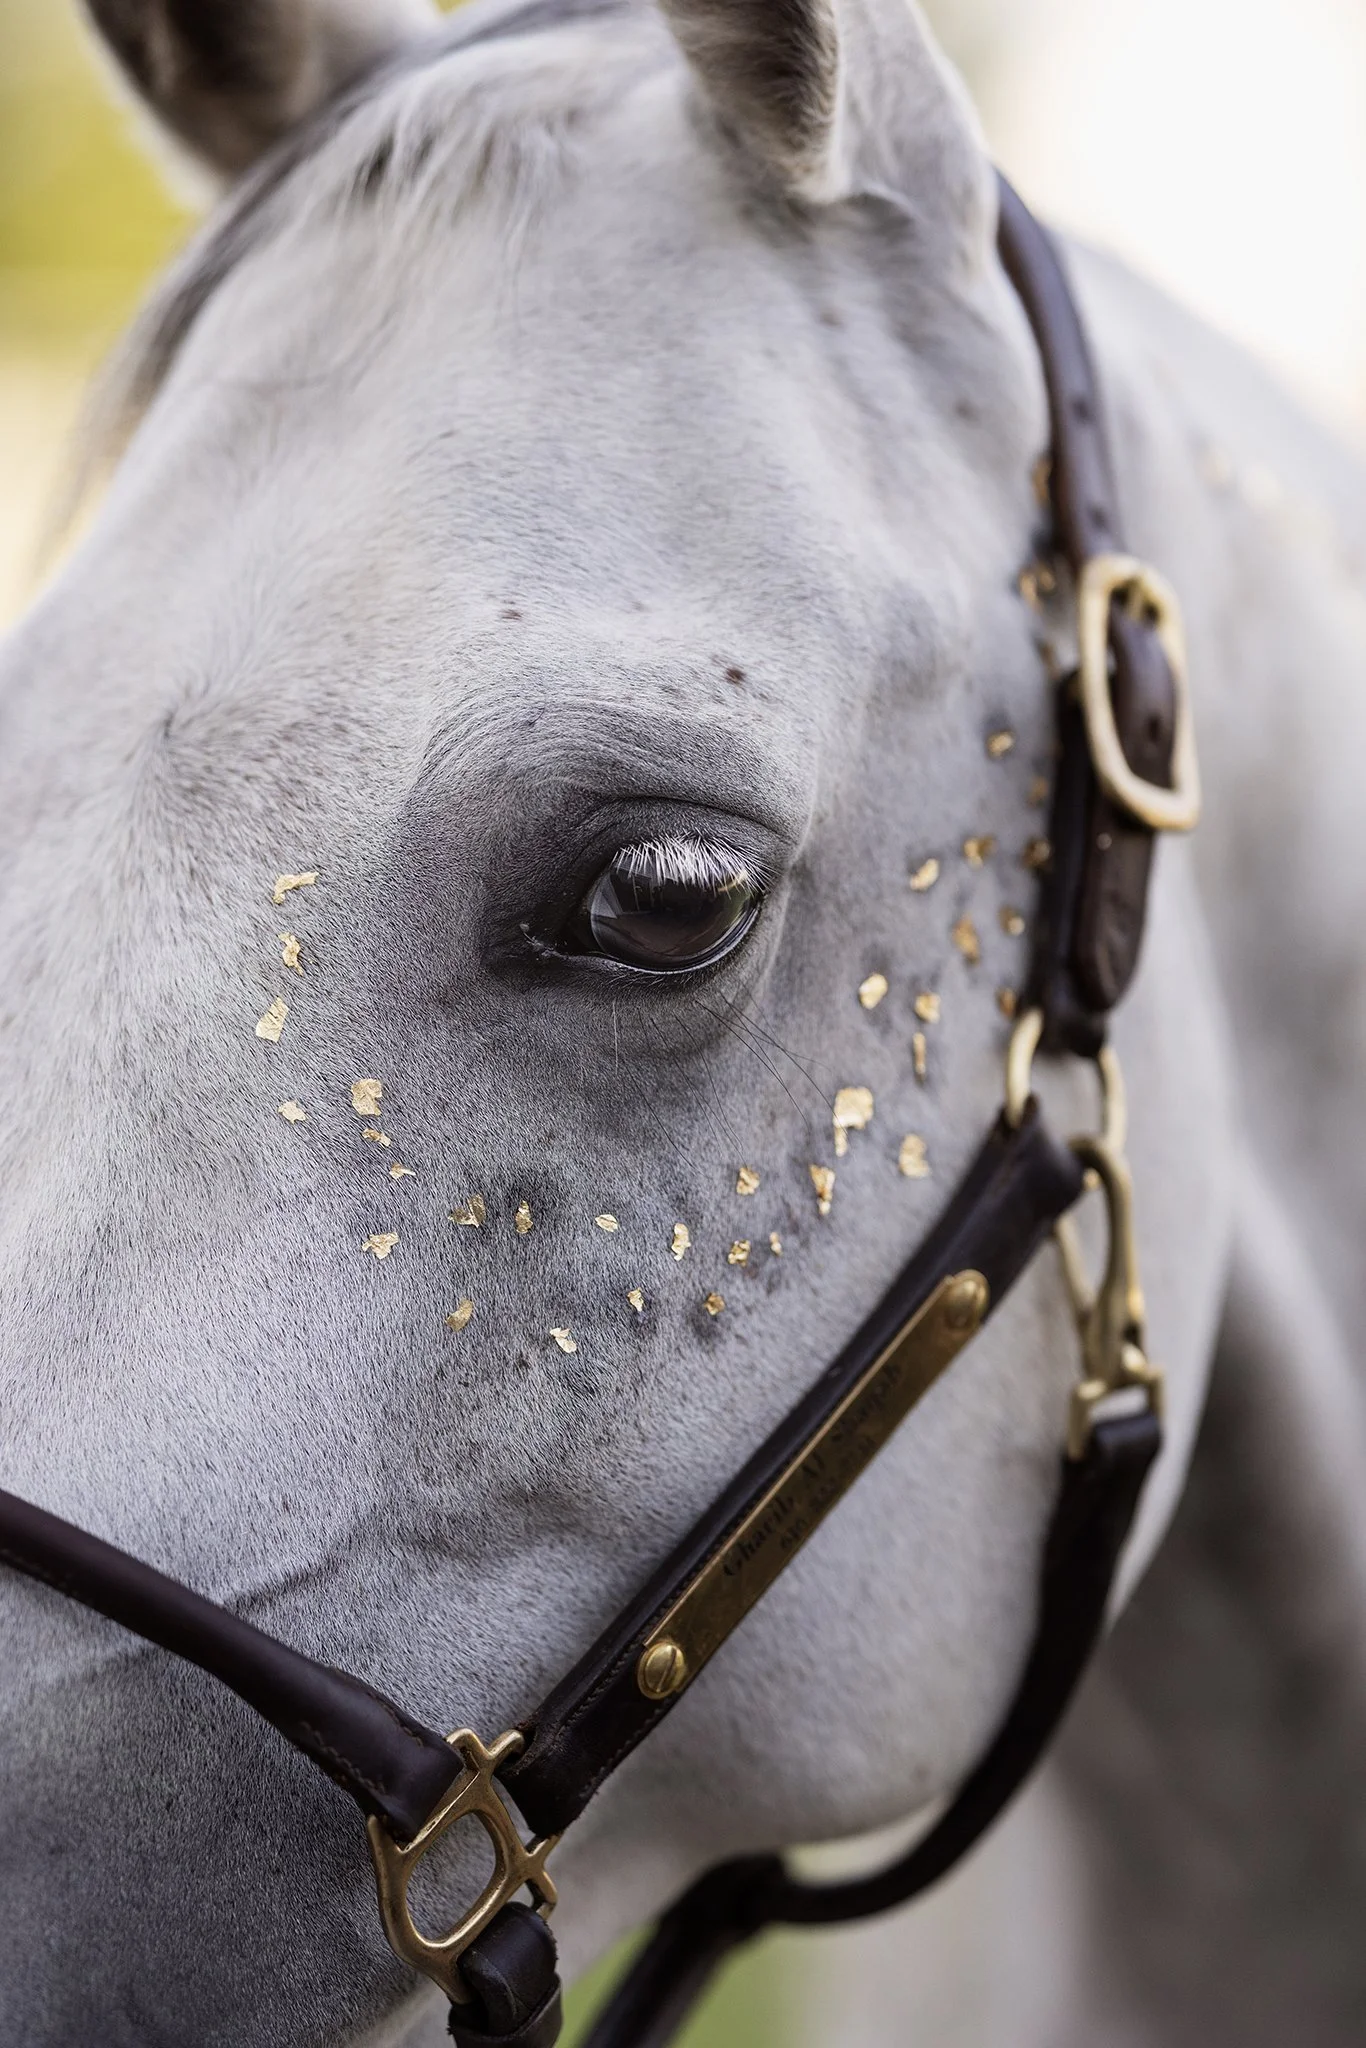
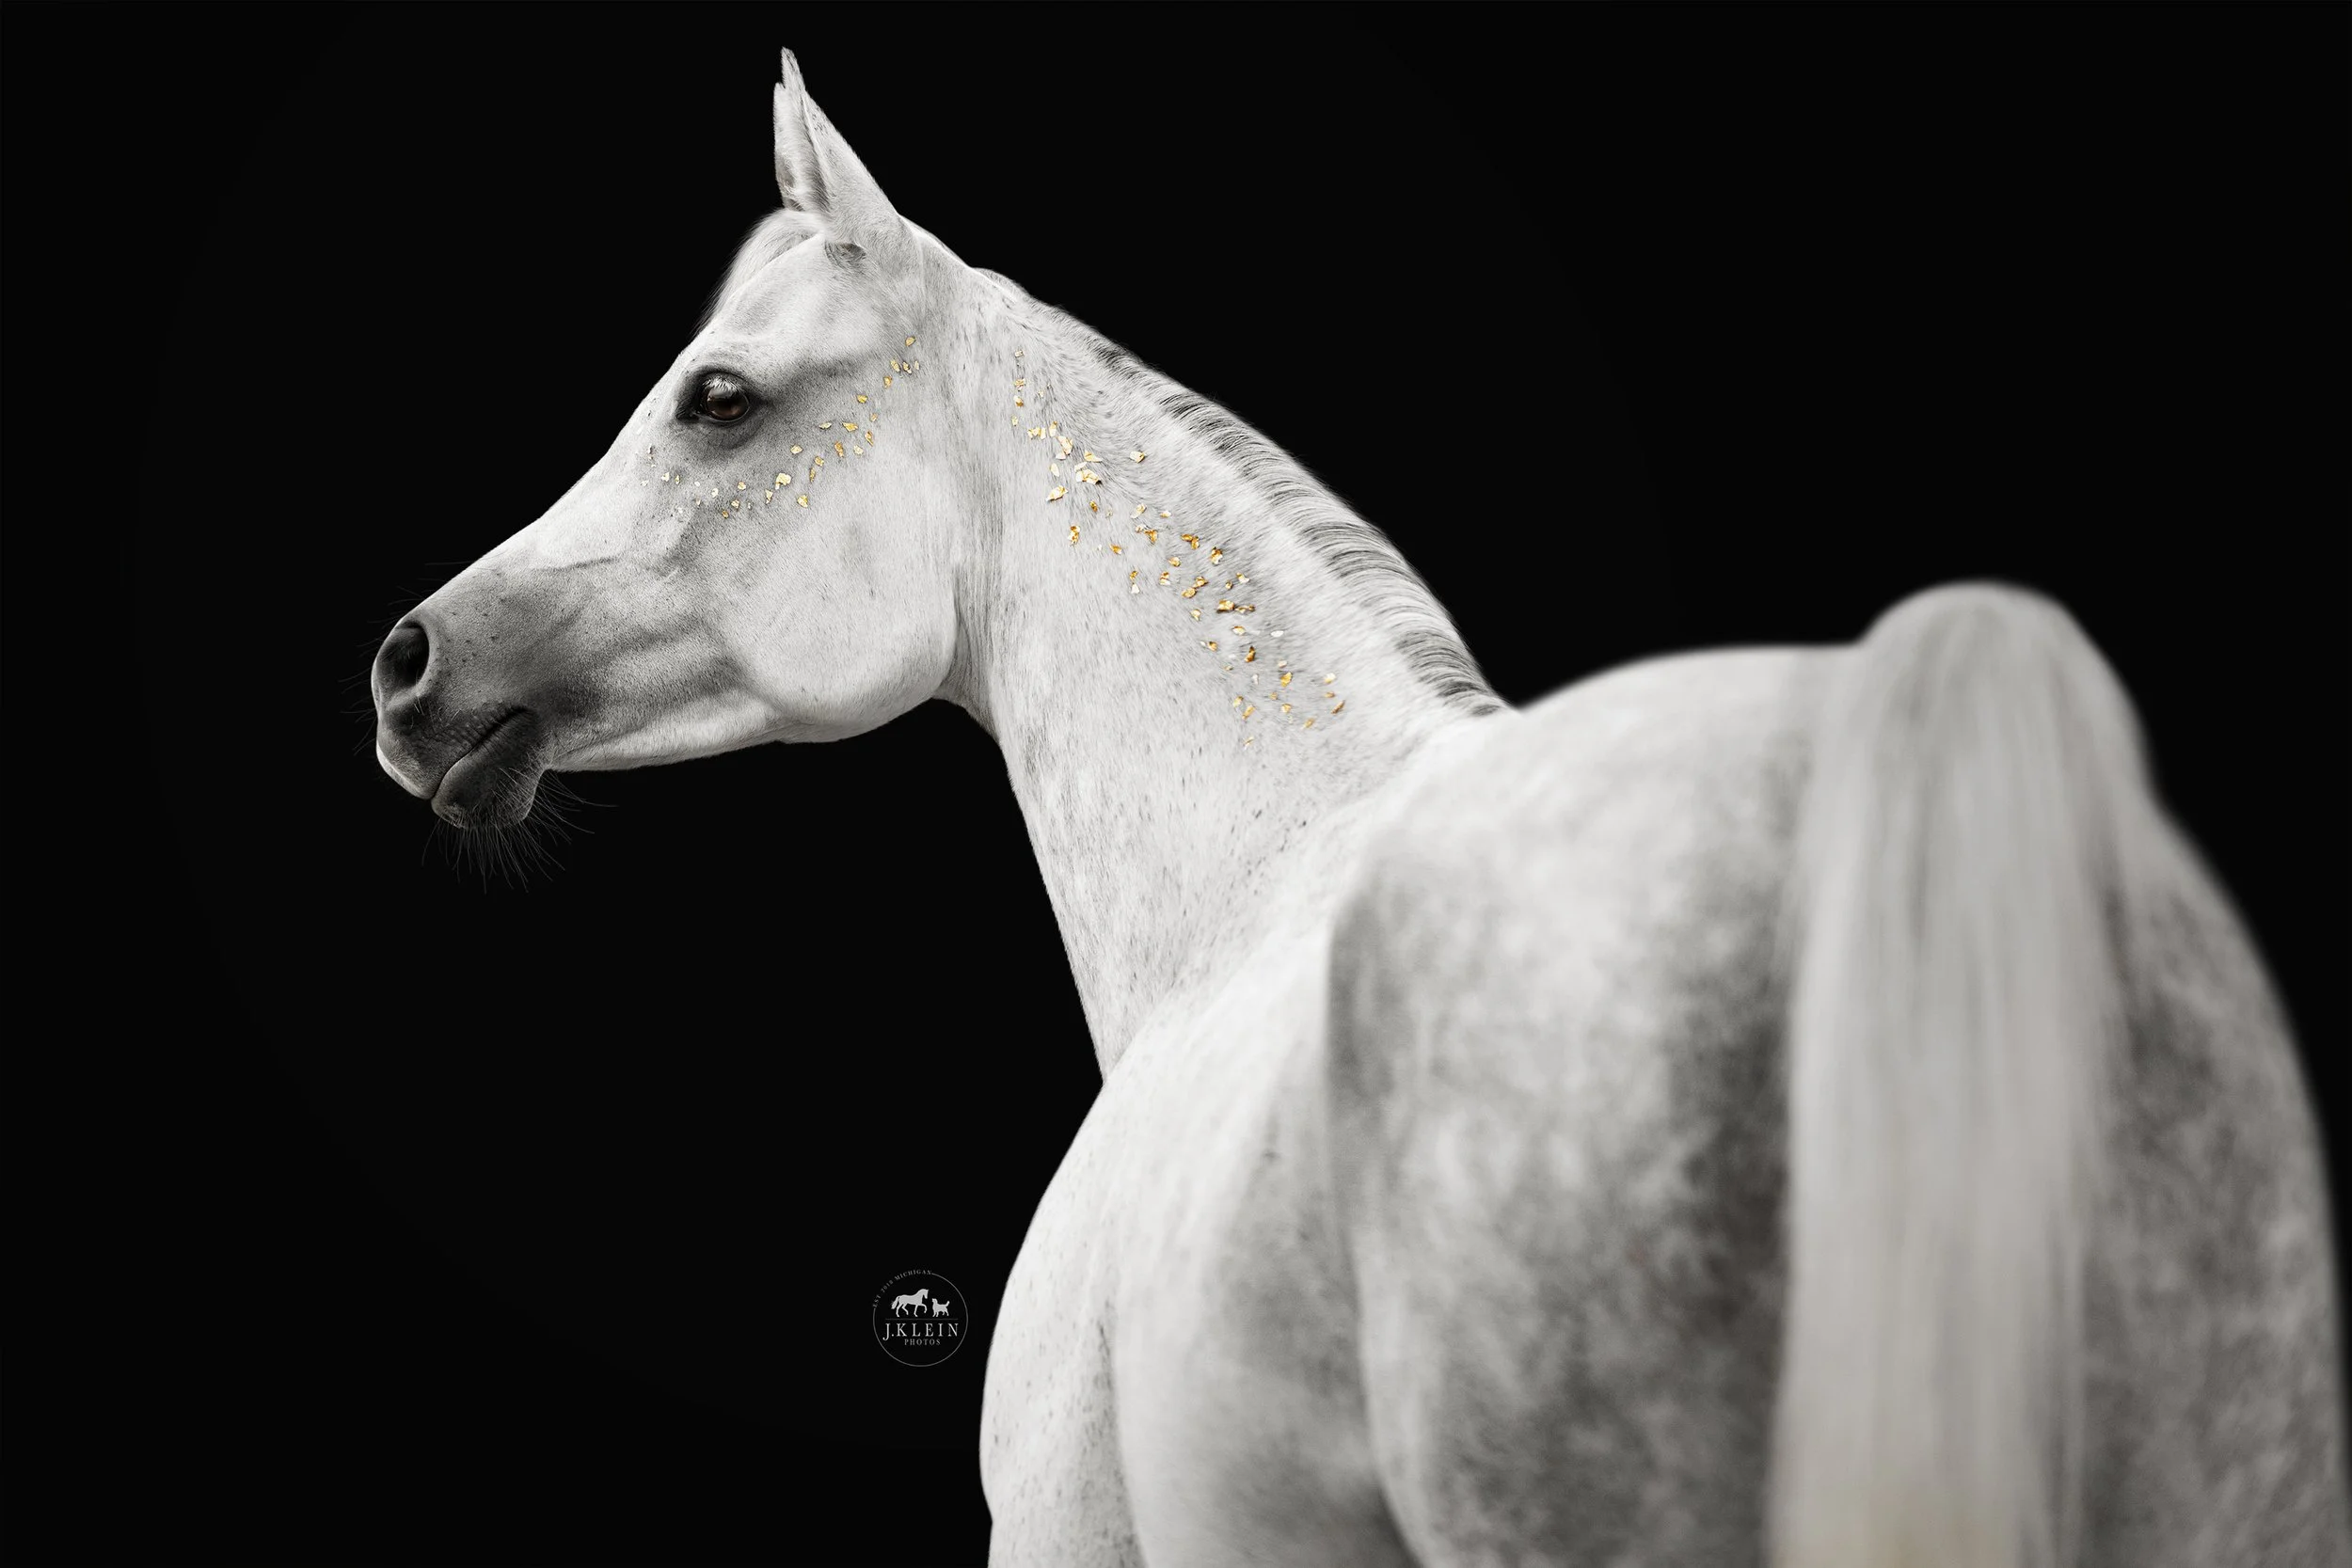
What I Learned from doing Gold Leaf Portraits
Gold leaf portraits have been a trend that comes and goes, with a LOT of photographers trying it, but only a few successfully pulling it off. There is a big learning curve to this style of portraits, and after trying it myself, I am here to share my thoughts on the entire process!
SUPPLIES USED:
THINGS TO CONSIDER…
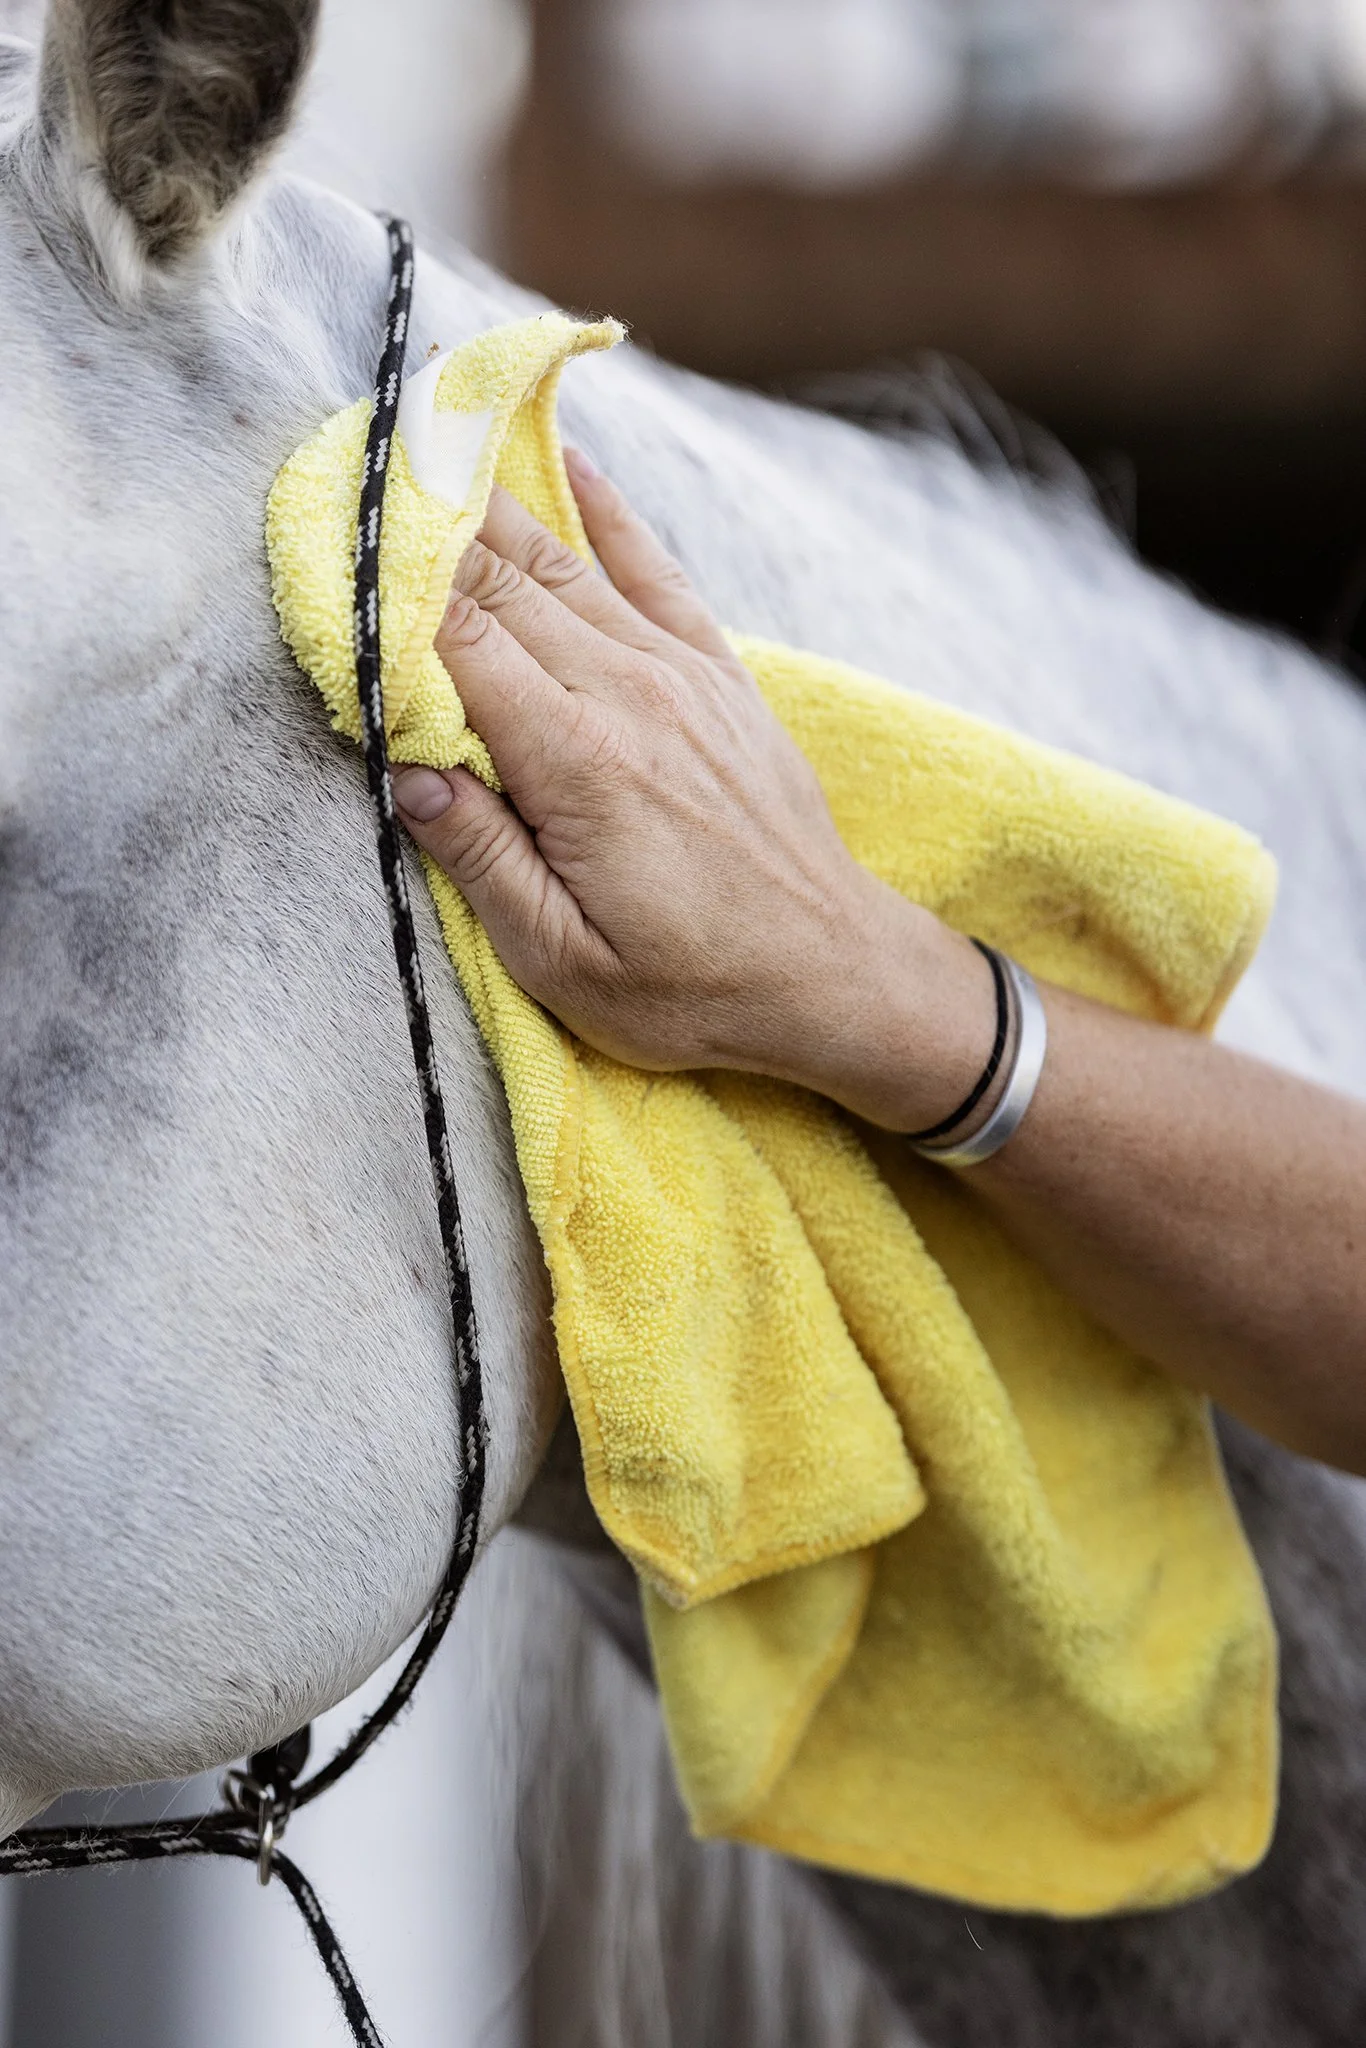
The client, a good friend of mine, Alisa, bathed and groomed her horse prior to my assistant and I getting there. When we arrived, we looked at the lighting available between her barn, garage and run in shed, needed flat lighting, level but not slippery footing for shoes, and a wide enough doorway that her horse could stand comfortably in. For that time of day, none of those options were ideal, but Alisa did have a cement pad outside of her basement door, that offered flat lighting, level footing, and some grit to it.
Before we could begin the process of applying the gold leaf to her horse’s head and neck, we discussed what color we wanted to work with - Gold or Silver, agreeing that due to her horse being primarily gray, that the silver wouldn’t make the POP effect we wanted. We did not take into consideration his fleabitten speckles. These speckles added texture to his coat, making the gold leaf’s texture less of a visual impact.
We then discussed where we wanted to apply it, taking into consideration the contours of bone and muscle, choosing areas that would highlight his best features and accent his Arabian dished nose and arched neck.
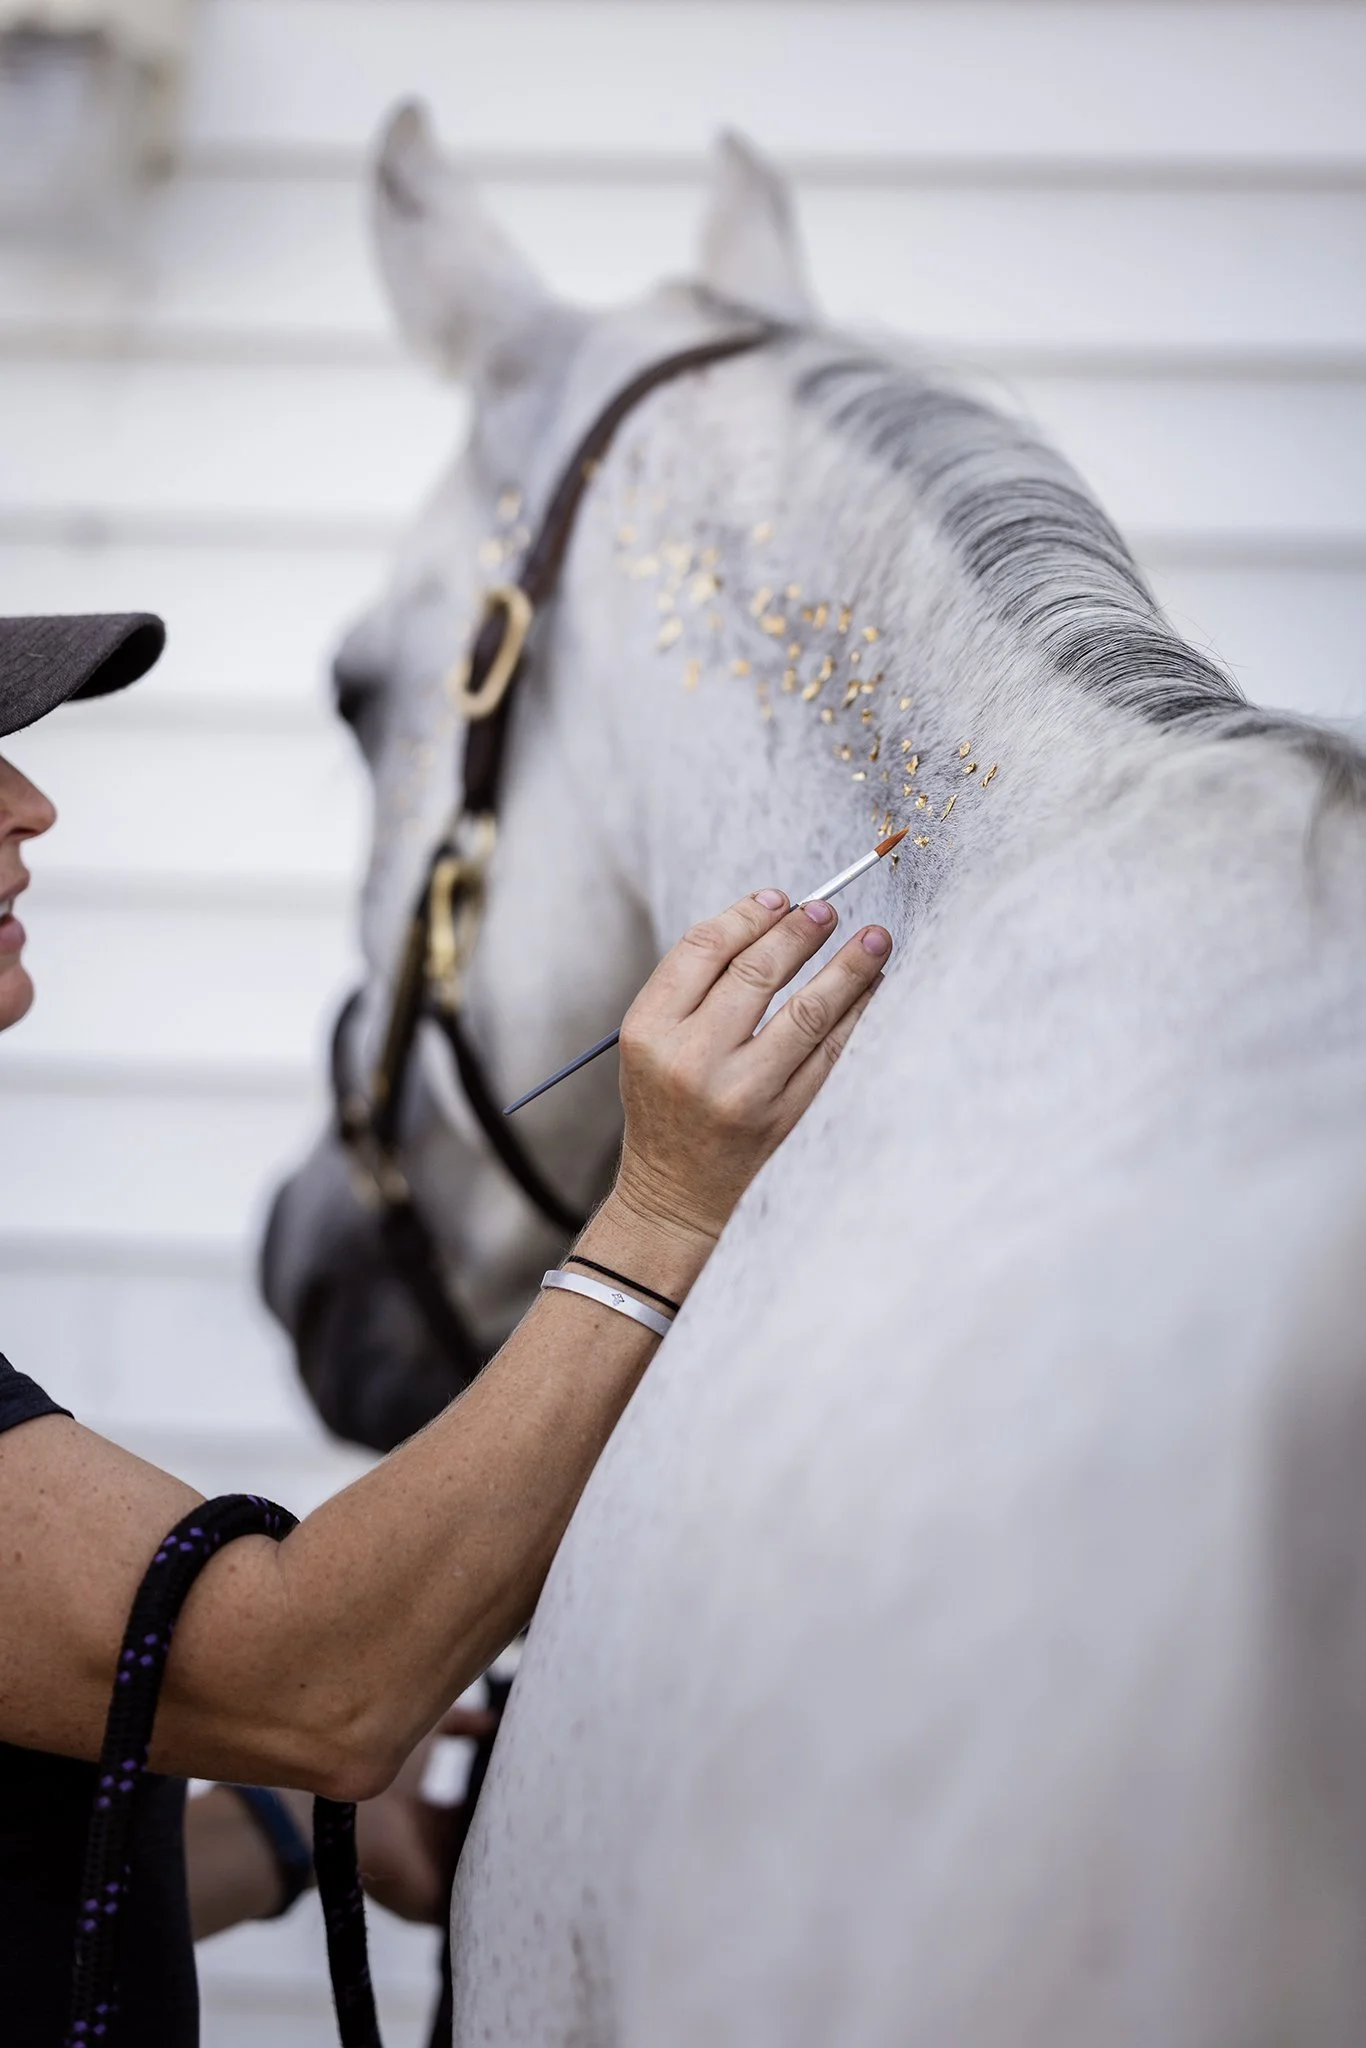
My assistant prepped the small gold leaf pieces - which we learned would easily blow away in the wind. She resorted to holding the sheet for us to pull a small piece off of when ready. She was also holding the tub of vaseline close to us so it was easier and quicker to apply it.
Alisa’s horse is wonderfully trained to stand quietly, so she continued to hold the lead while to apply the vaseline and gold leaf to his face. I was struggling trying to apply anything to the horse’s thicker neck hair, without making a complete mess, or getting vaseline and gold leaf all over myself.

METHODS USED…
Apply a small bit of vaseline to the horse, then add a small gold piece to the spot of vaseline.
Apply vaseline to the brush, grab a bit of gold leaf on the tip, and then try to roll it onto the horse’s coat.
Someone applied the vaseline with a brush, while someone else applies a larger piece of gold leaf to see if it would stick/rip off.
Applying vaseline and then dumping a bunch of small pieces over the neck, hoping they would stick as they landed on the neck.
Eliminating myself as I was covered in vaseline and making everything sticky and greasy! I switched to photographing the BTS photos instead.


Along the way, we also learned that because the halter had a bit of movement to them, any gold we placed near the halter was getting smudged off, making more of a mess.
And we also learned quickly that shorter face hair was MUCH easier to apply the gold leaf to then the longer neck hair, agreeing that a clipped horse would be better, and a wooly horse would be a NIGHTMARE!
Another consideration we learned, was that if we needed to photograph the horse afterward without gold leaf (ex. with the owner or at liberty), we would either ONLY be able to use the opposite side of the horse to hide the vaseline, or we would have to bathe and dry the horse before continuing photos, OR I would have to spend forever editing it off from the horse in photoshop….

The entire time, I am trying to think of an easier, quicker, less messy was of applying this. I HATE wasting time, especially if there is a better route.
Alisa is a wonderful friend, and doing this project with her was an excuse to spend time with her. However - I kept thinking about how time consuming this would be with a client and a horse who didn’t have superior ground manners and patience. I think some of my clients would be able to follow pre-written directions and choose pleasing areas to add the gold leaf to, BEFORE I arrived to photograph the horse. But I would see it being an absolute disaster too, arriving to a frustrated client, and a pissed off horse who needed a bath and time to decompress. … Which means I would have to add at least 45 minutes, if not 60+ minutes to the sessions, where I would show up with the supplies and apply the gold leaf myself. … and then how much more money would I have to add to the session fee to cover my time applying this … but also cleaning it up in photoshop… …. …. is it worth it?


After 30-40 minutes we decided that what we had gotten to stick to the horse, was what we were going to have to work with. The horse was starting to get impatient and we knew that if we gave him a break in his stall, the sawdust and hay would end up sticking to him, making it a HUGE mess and unusable, so opted to change to photographing, and used the 10 minutes we had left of the horse’s patience to create a few portraits.

While editing, I quickly learned a few more things …
The color of the background can make a big difference on how the color of the gold leaf POPs. I tried both a black background and white background, as well as saturating the gold color. The horse POPS from a black background more, and I liked an off white background over a stark white background as another option.
I had SO MUCH vaseline to remove from the horse. As time went on, the vaseline spread to the surrounding hairs, making larger wet spots, which was VERY time consuming to remove around each piece of gold leaf.
The amount of gold leaf we added - took forever - and did not make the impact we wanted. We needed 3-5x more gold leaf over the areas we applied it to, and even then, I felt it was incomplete ending before the withers.
At the end of the day, I changed tactics and went searching for gold leaf photoshop brushes, and found a set on creative market, 24K Metallic Gold Brush Gold Effects. I downloaded them, spent an hour familiarizing myself with the different brushes and the brush settings, before applying them to my images.

It was the answer I was looking for!!!
Holy Moly was using photoshop brushes WAAAYYY easier than what we did! I could pick and choose the size of the gold flakes, place them exactly where I wanted them, and add as much or as little as desired.
NO Mess!
NO extra time needed before photographing!
Ability to photograph the horse afterward without bathing them!
Ability to apply gold leaf to any portraits, providing the clients an option to enjoy the image with or without the embellishments!
BONUS - In photoshop, I can change the gold to whatever color the client desired.

After learning this new trick, I threw away all of my supplies, and added the photoshop brush trick to my tool belt. 1000% worth it. The images above and below are examples of our time, effort, and mess of a job applying it ourselves, vs the image that shows the results of the photoshop brushes applied.


WAS IT WORTH IT?
Yes, because even though the efforts could be considered a “failure,” I gained valuable knowledge on the process, what works and what does not work. I thought outside of the box, and gained new photoshop tools and skillsets that I am confident offering my clients going forward. And I also got to enjoy a memorable evening with my friends - despite being a sticky mess.


Essentials for My Photography Business
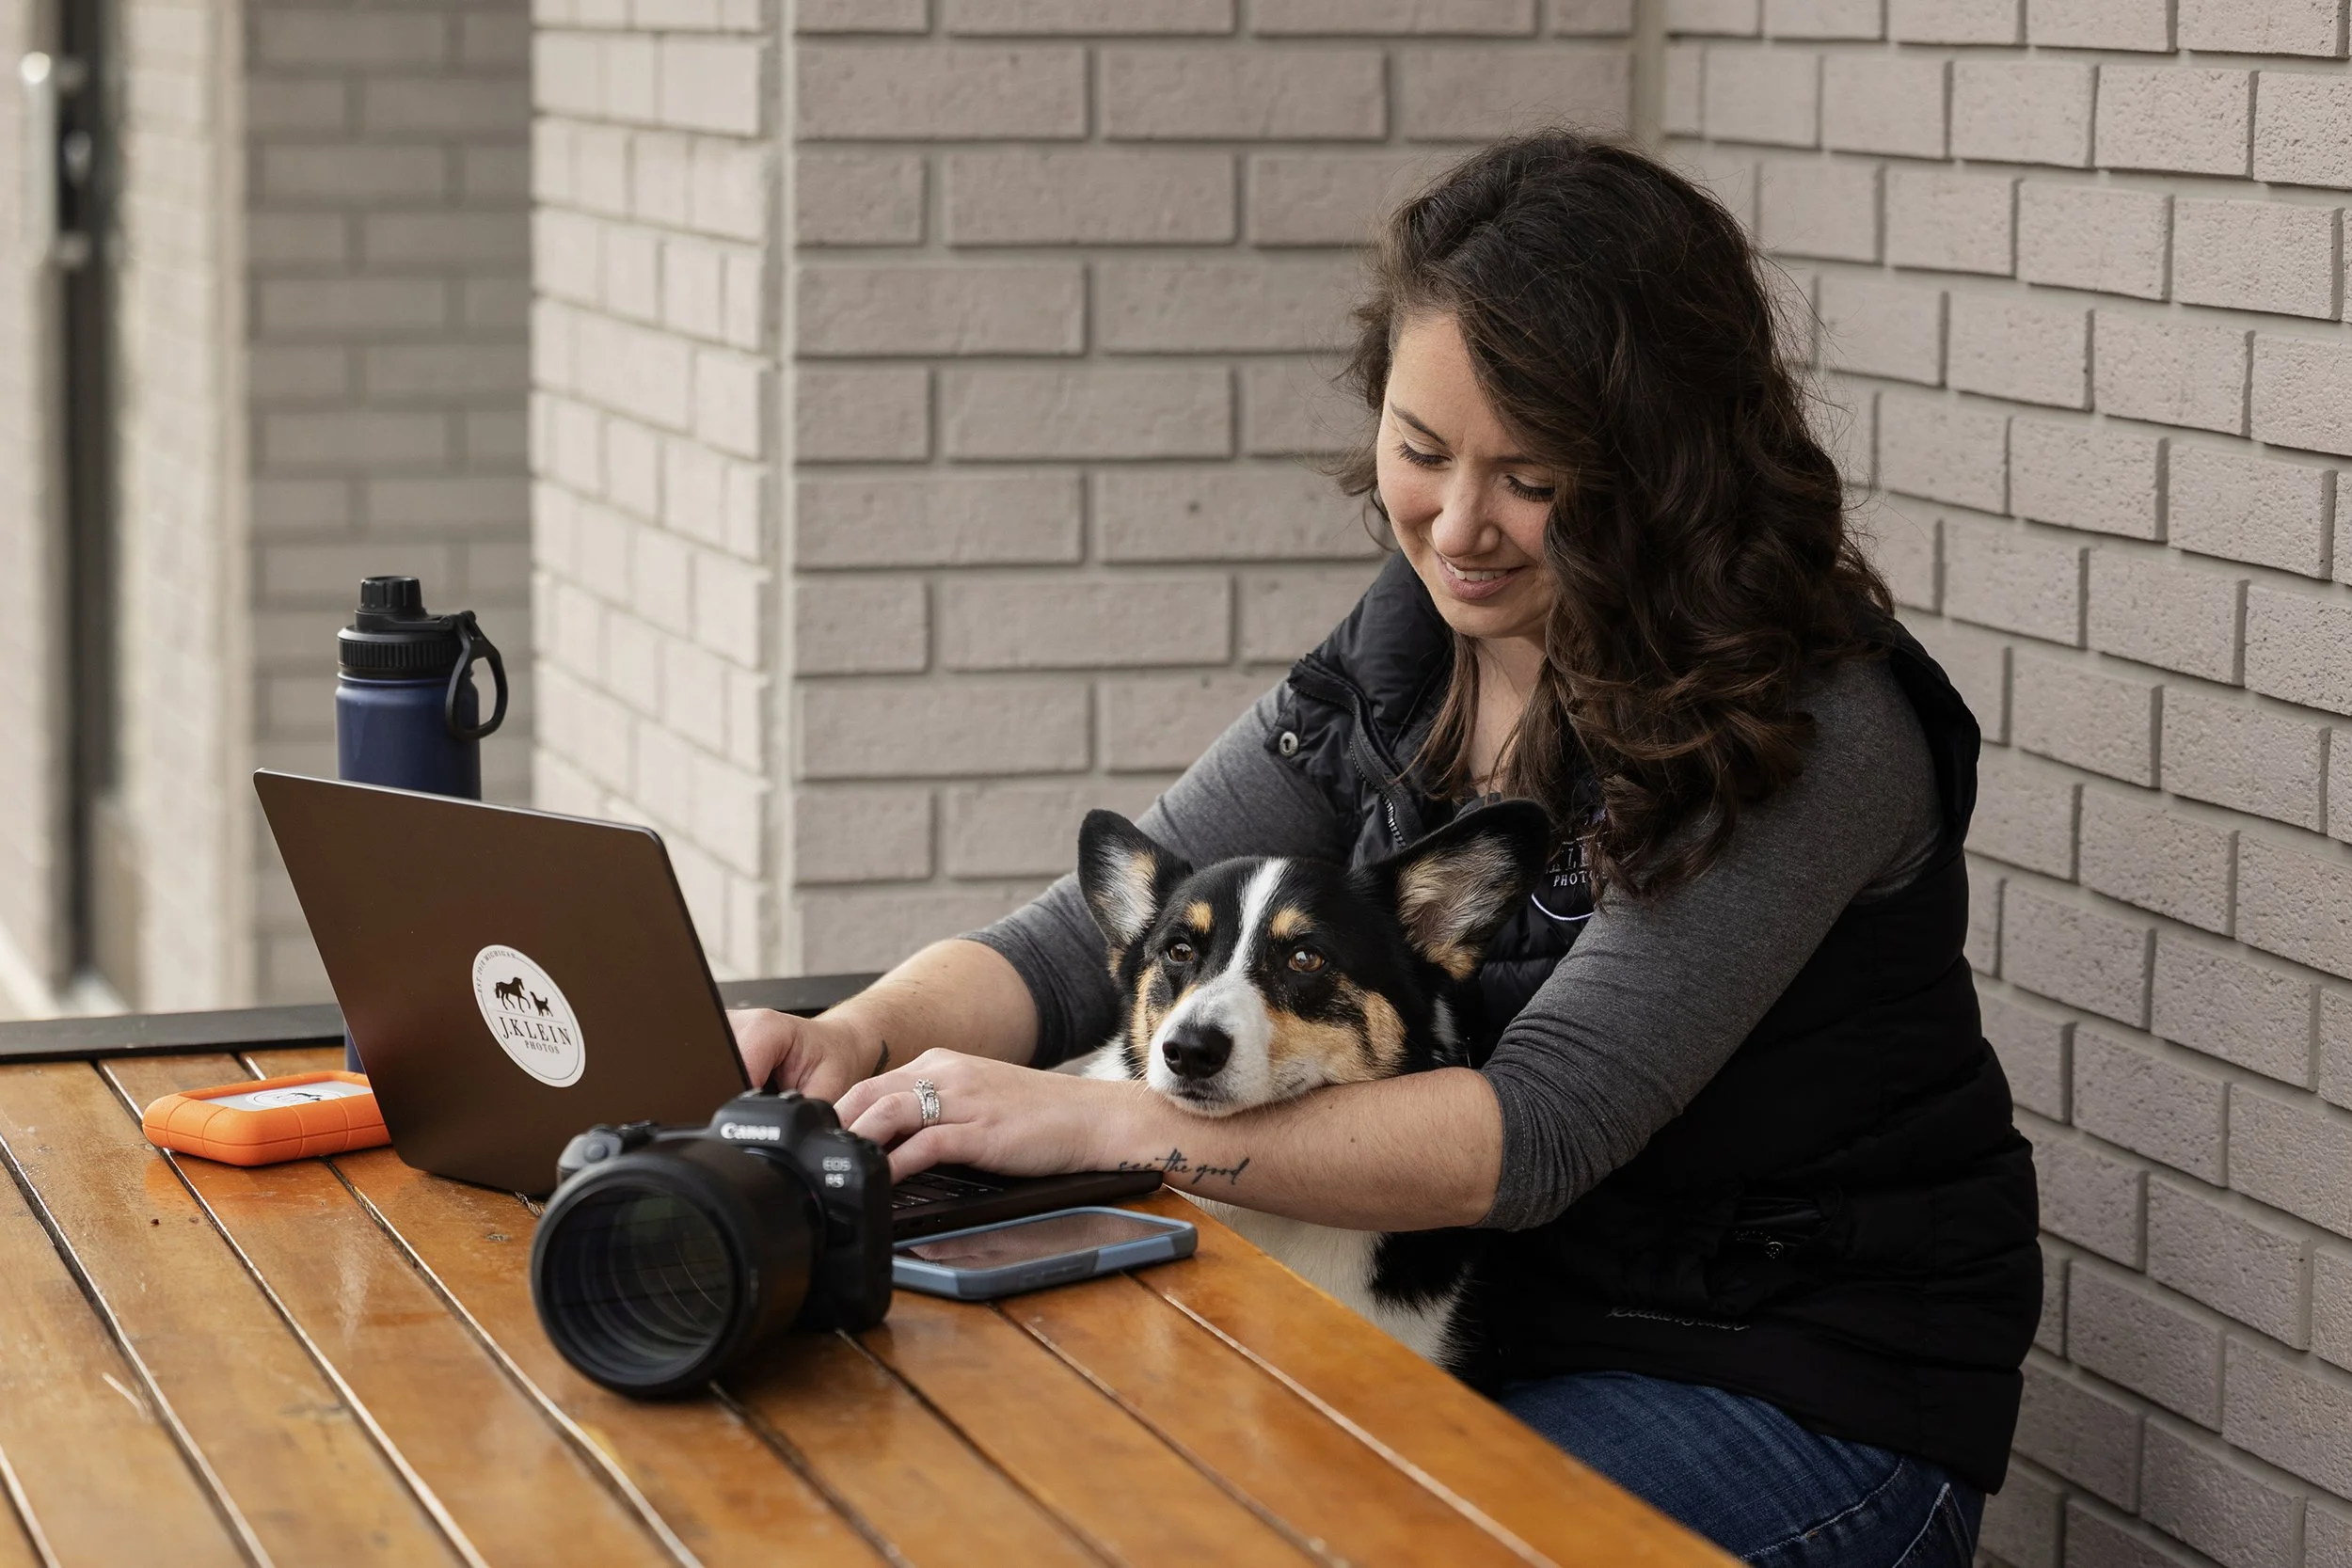
WHAT’S IN MY CAMERA BAG…
2 Canon R5 Camera Bodies (I always have a back up body, just in case anything happens to my main body.)
2 Canon Adapters for EF Lenses
135mm Sigma Art (this is my main lens for both horse and dog portraits)
70-200 RF 70-200mm f/2.8 (this is my main lens for all action shots)
85mm Sigma Art (backup option to my 135mm, but hardly used)
50mm Sigma Art (occasionally used for dog shoots for client requesting wider angle shots)
35mm Sigma Art (used to fine art product shots)
Four Canon Batteries (I can go a full day on 2-3 batteries, but I always like to have backups!)
16 SANDISK 128GB 200/mbs SD Cards
Kiorafoto Card Holder
3 Lens Cloths
Ulanzi Hot Shoe Phone Mount
Meta Glasses
Lowepro ProTactic camera bag

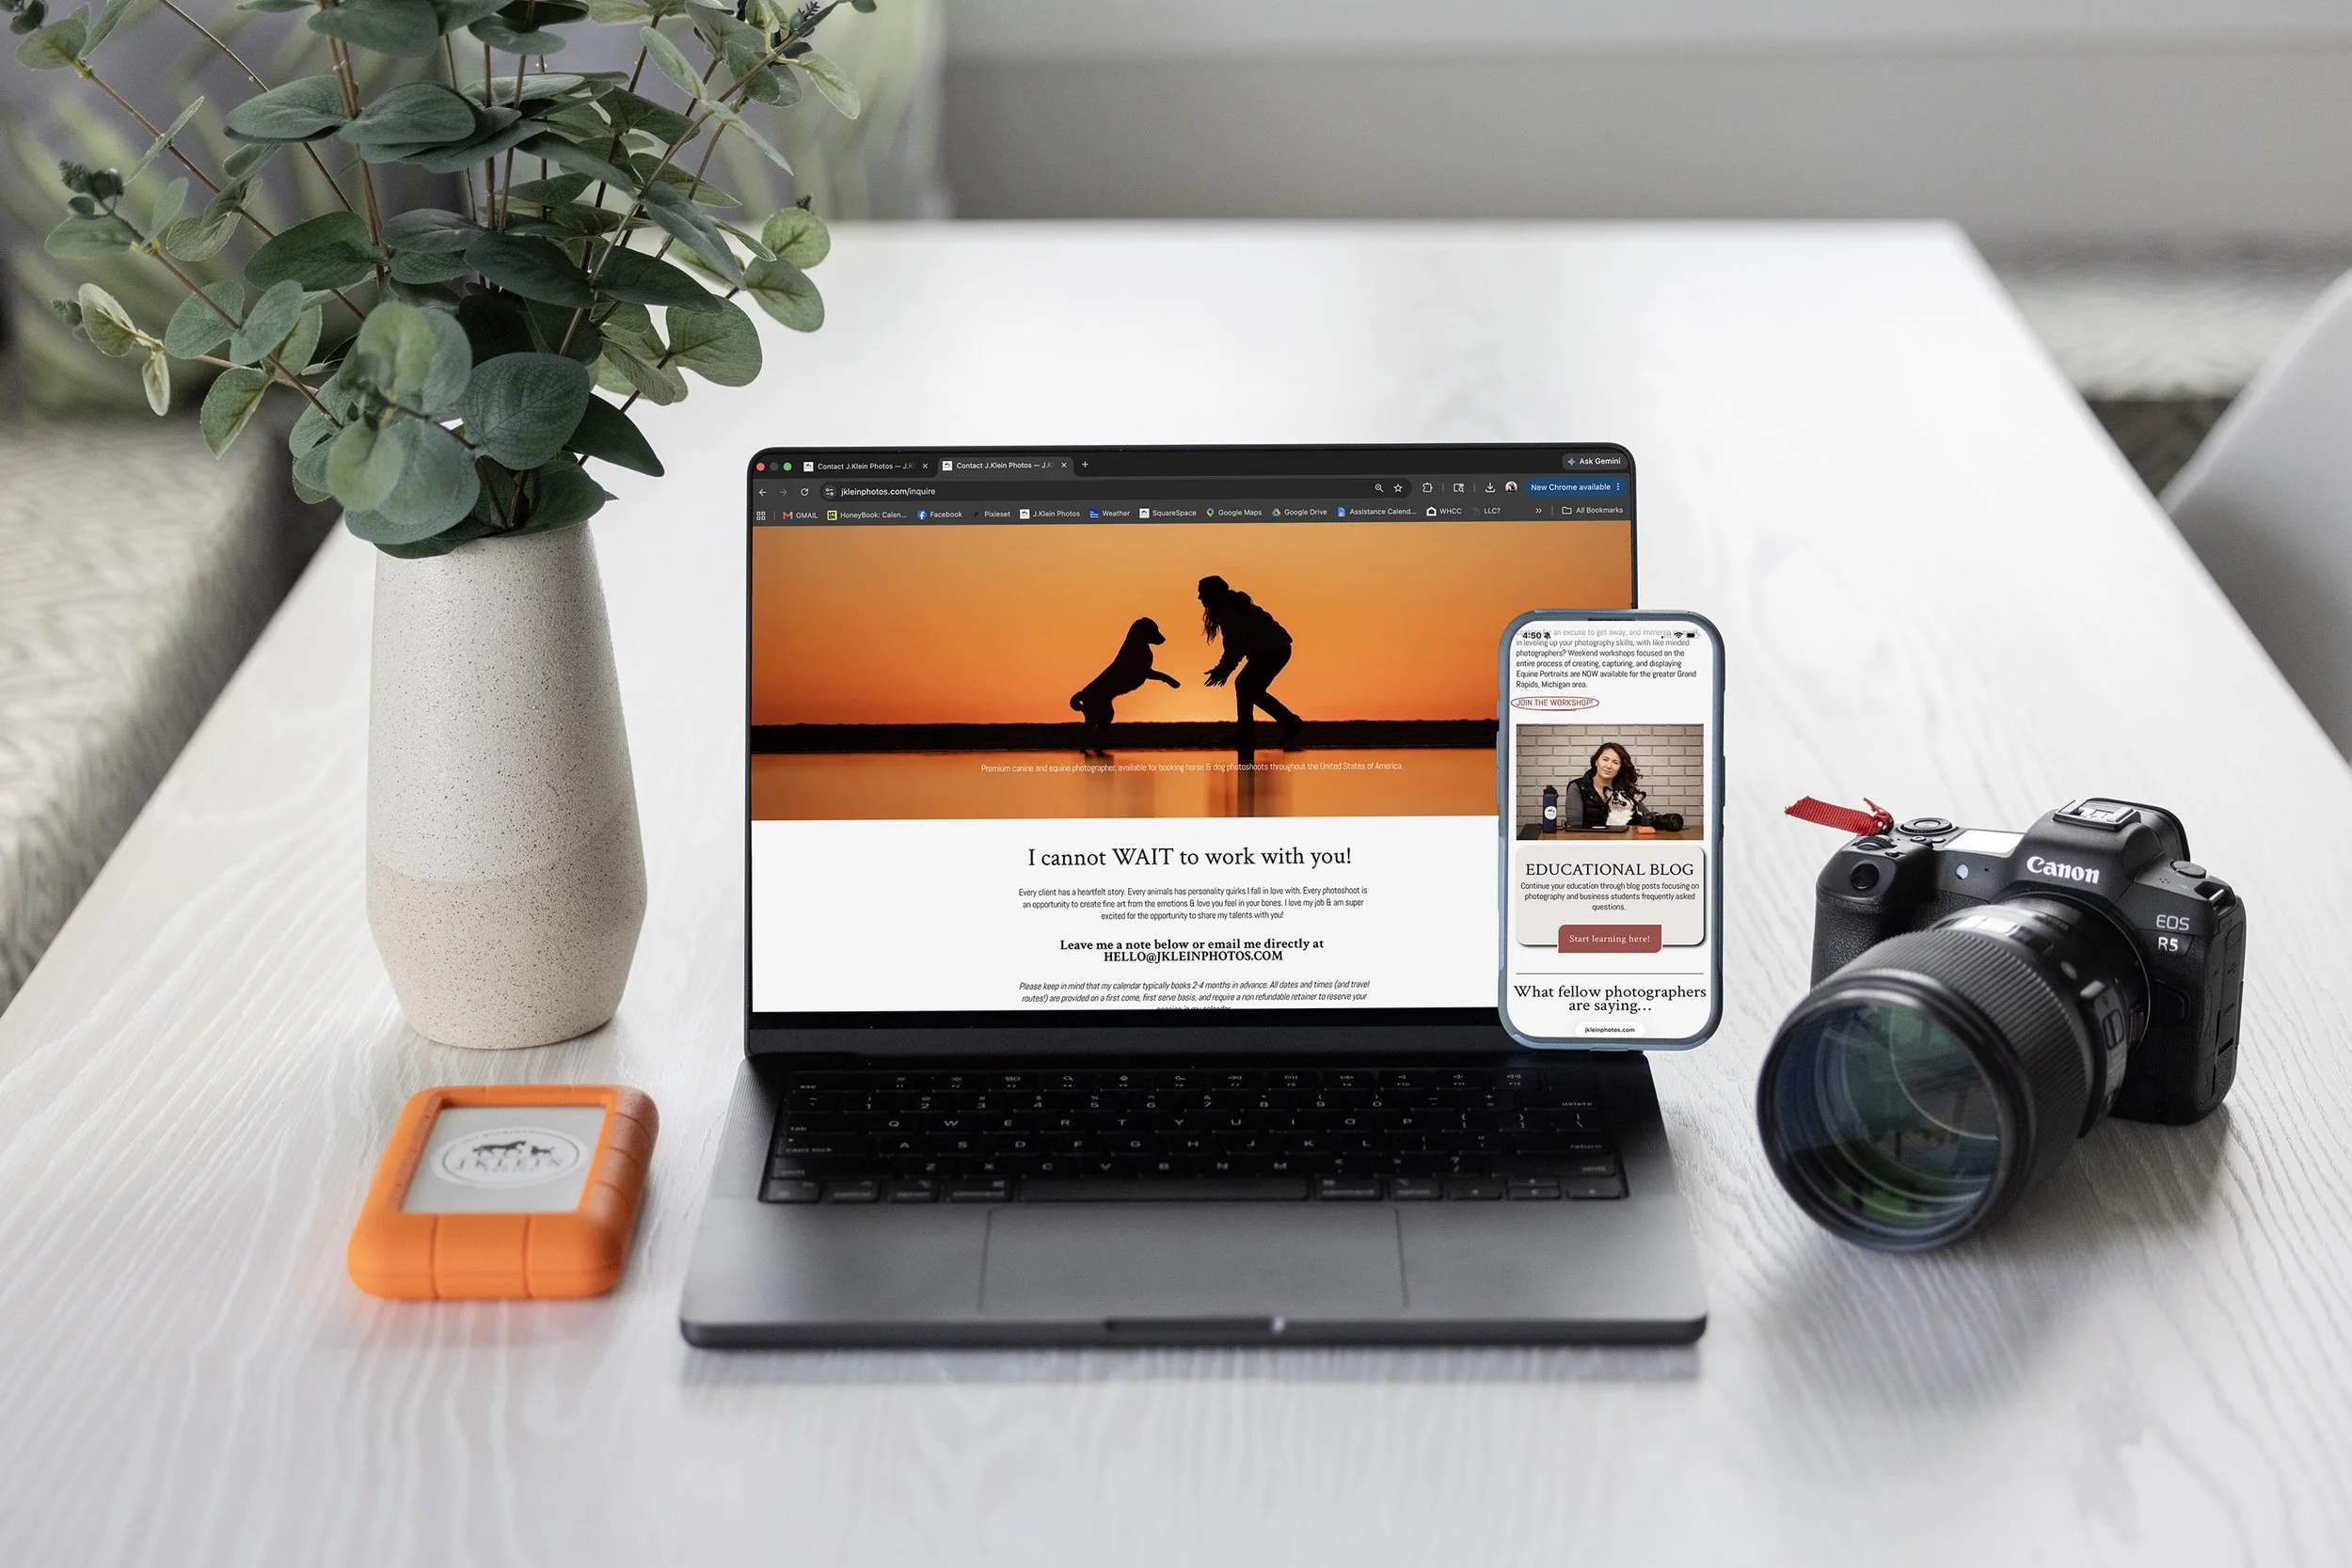
THE OFFICE ESSENTIALS…
24” iMac (This is my office computer.)
14” MacBook Pro (This is my main computer that I take when I travel or want to work outside of the office.)
Lacie 5tb Rugged Hard Drives (I usually will go through 2-3 of these in 1 year.)
Beats Headphones (for when I need music, podcasts, or audiobooks when I edit.)
Loop earplugs (for when travel gets to be too loud and it’s difficult for me to focus)

EDITING SOFTWARE…
Adobe Photoshop + Camera Raw (All of my editing is done through these programs.)
Adobe Bridge (I use this for file management and organization)
Screenshot (I use this for recording edits for reels and educational tutorials)

THE BUSINESS ORGANIZATION…
HoneyBook (My CRM system where I keep my schedule, email contracts and invoices, and correspond with clients. Here’s my referral link if you’re interested in Honeybook! https://share.honeybook.com/jesse89745)
Pixieset (This is where my online galleries are delivered to clients, and where they can make fine art purchases. Here is my referral link if you’re interested in PIxieset : https://pixieset.com/ref/51YgqhOGLo)
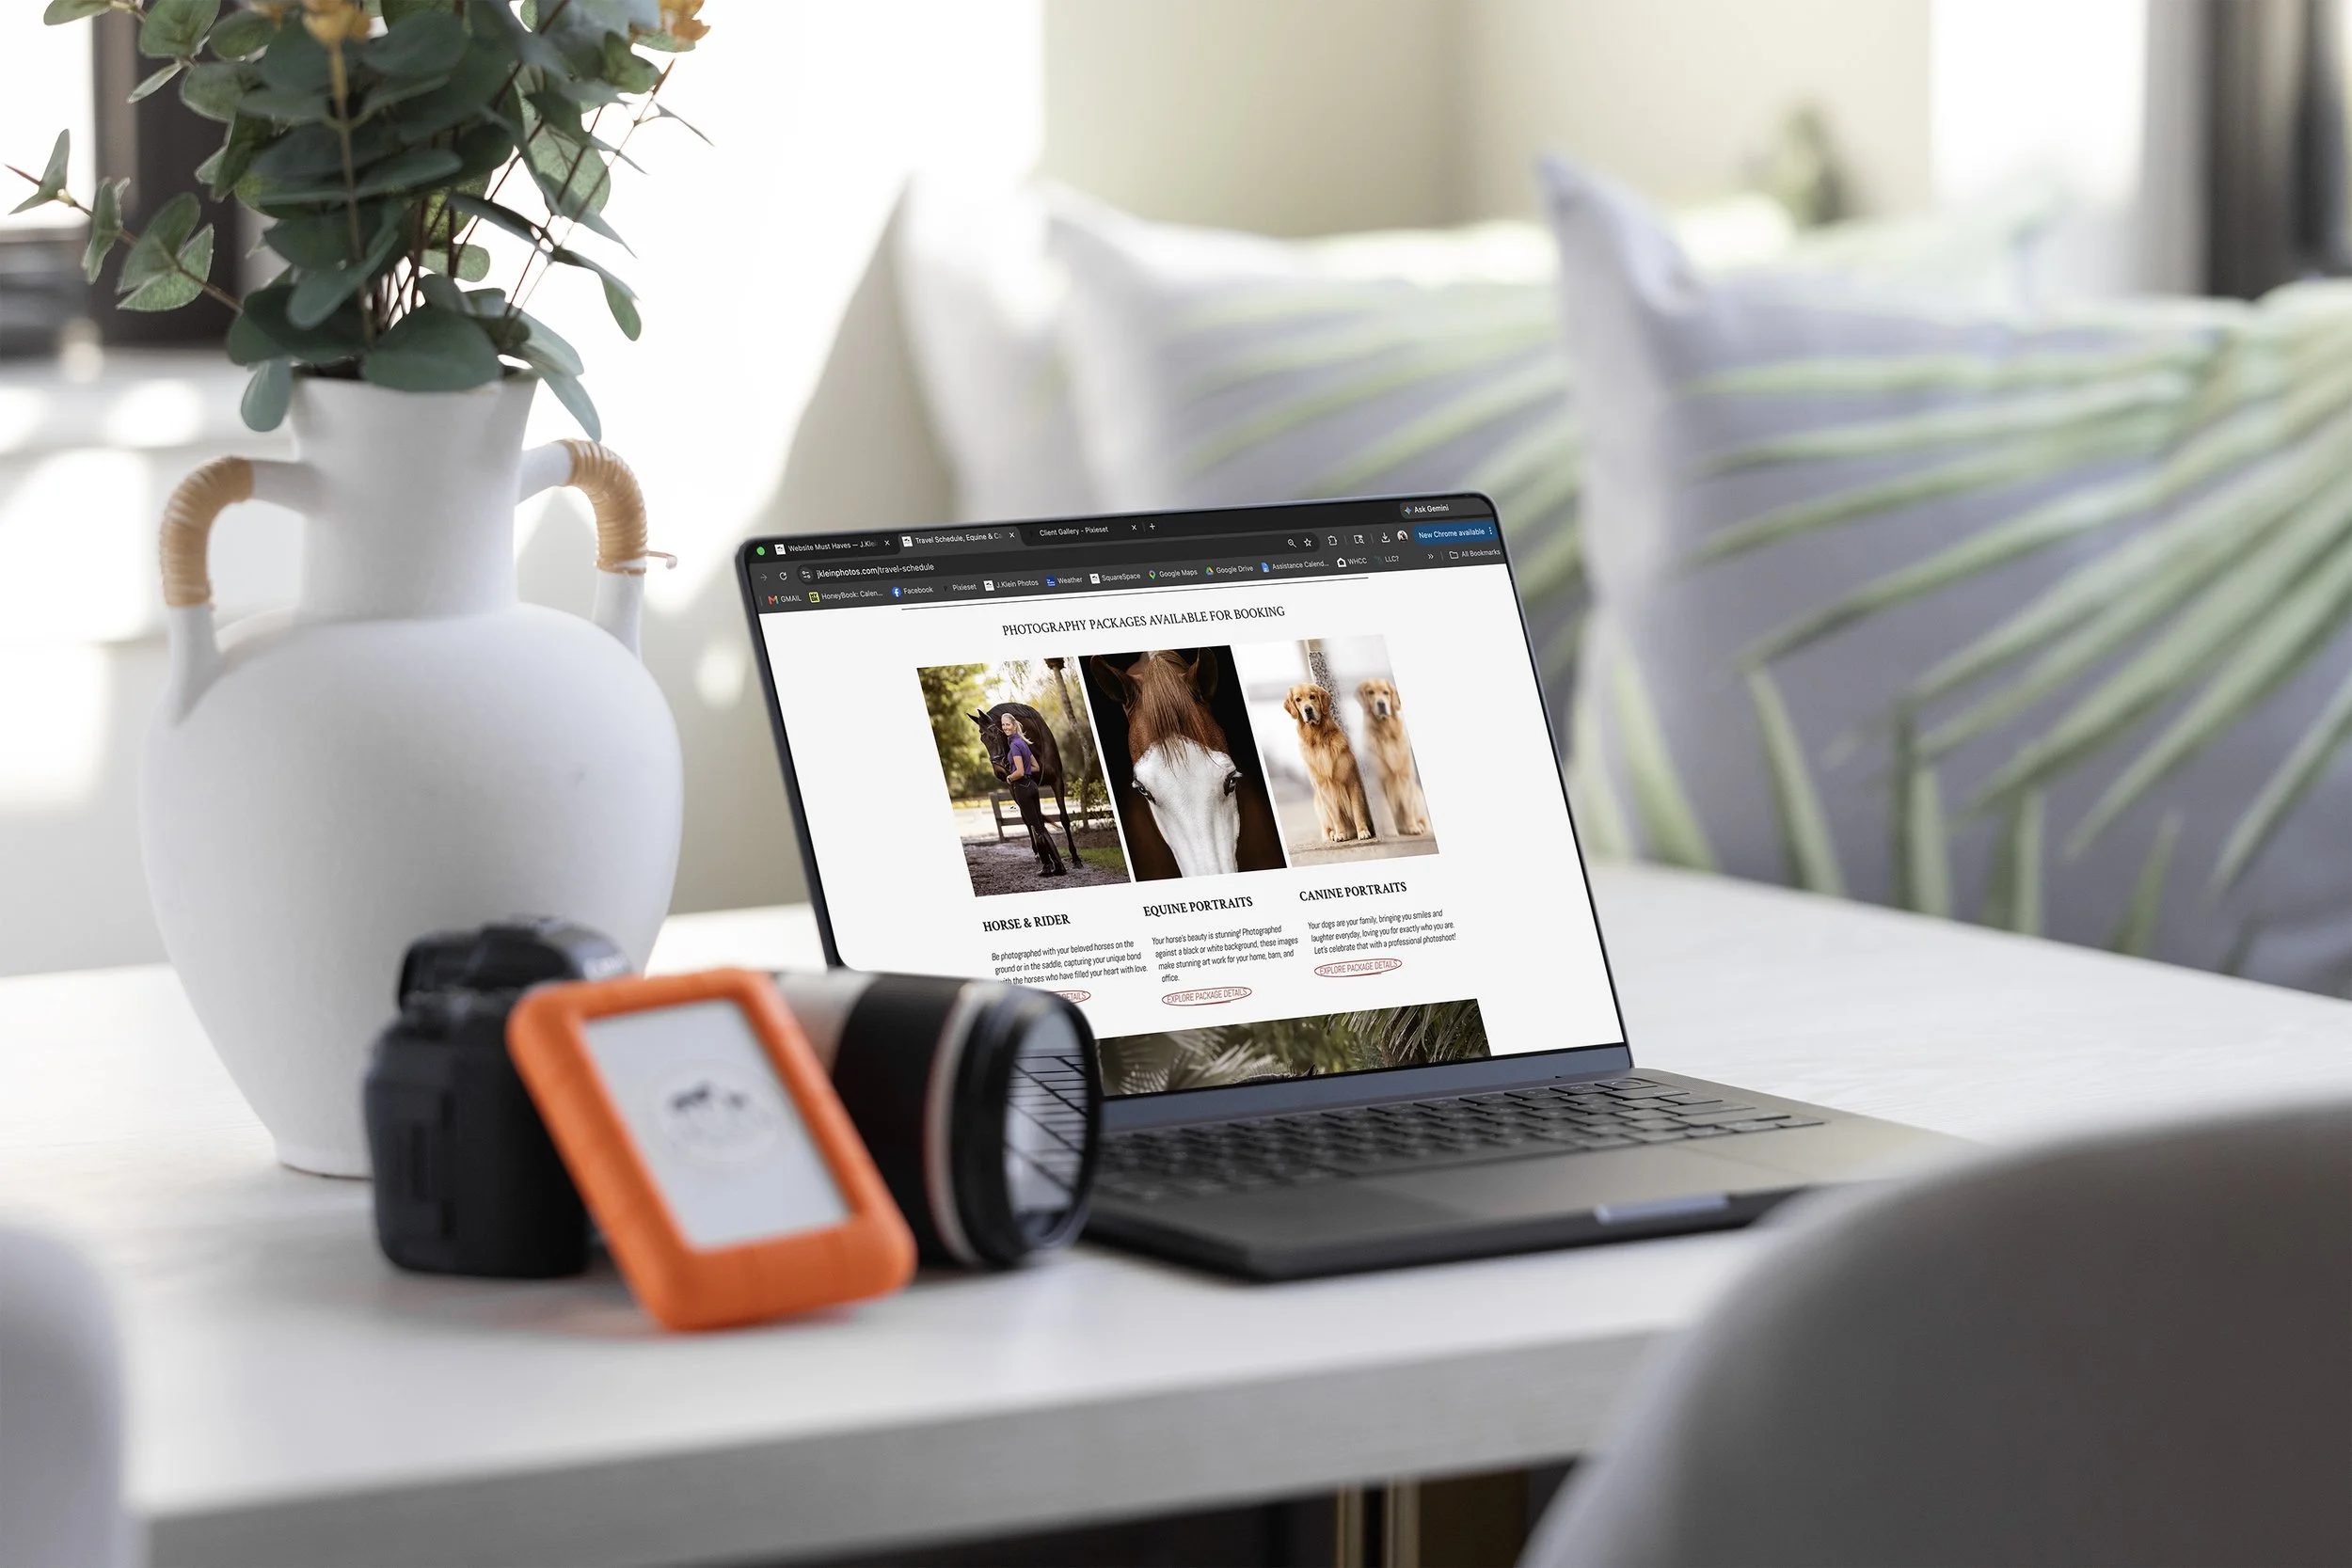
Squarespace (My website - what you’re on now!)


Photographing Dogs in Woodland Locations
I will be the first to admit.... Woodland locations are my weak point. Read below to hear why…
SCHEDULING…
Scheduling earlier in the day, will give you more light in darker forests, but in lighter forests you'll end up with spotty lighting.
Scheduling for a location with flat elevation means you'll have light longer, but if there is a difference in elevation, you may lose the light 2+ hours earlier than expected.
Scheduling a darker dog, means shooting an hour sooner so you can capture details without trashing your photos with grainy ISO, where a lighter dog, you may want to do later in the day, so they POP from a darker background.
Portraits don't require as much light, because the dog isn't moving, or at least not moving FAST, but with actions shots - you need MORE light for a higher shutter to stop the action.
Also... do your trails run in the direction you want for lighting? Is this a trail you need to schedule for a morning or evening shoot to achieve that lighting for those specific spots in the trail you want to use?
TRAIL DIFFICULTIES & TEXTURES…
Wild forests are going to have a lot of clutter from fallen trees, branches, and may have smaller vegetation that smaller dogs drown in.
Maintained trails in state parks may offer more options for cleaner backgrounds, but have more foot traffic, and the possibility of hikers with off leash dogs that don't have manners or a recall.
Woodland trails often require more hiking to get to the good spots, which means more time for water breaks and rests, so the dog can close it's mouth comfortably for photos.
But - an older dog, or one with physical limitations, may not do well at a woodland location, especially if it has elevation changes.
Clients too - Do they have a physical limitation we need to be respectful of? A narrow trail with multiple high energy dogs, and a client with physical limitations, is an accident waiting to happen...
COLOR IS A DECIDING FACTOR…
Does your client want a vibrant POP of greens, which you would get in a hardwood forest, or do they want the subtle grays and browns, which would be found in a softwood forest? How is that going to effect the coloring of the dog's coat, and the lighting - which is VERY different in a softwood vs hardwood forests.
WEATHER COMPLICATIONS…
A woodland location after a rain is going to be wet, making EVERY piece of dirt, pine needle, leaves, etc., stick to the dog's coat, which means hauling grooming tools and towels with you.
A short haired, single coat dog would give you more grace on a wet trail, but anything with a longer or double coat is going to be a disaster. This means more editing, and potentially a much shorter shoot, because when the dog is wet ... well, you can't dry a dog in photoshop....
There's a lot bouncing around in my head that I have to consider... but instead of shying away from the challenge, I am doing my best to lean into it, try new things, learn from mistakes, and hone the skills until I am confident and comfortable with woodland photoshoots.
So bare with me, and if I talk to myself or seem a bit lost on the trail during our shoot, just know it's because I'm calculating a LOT in my head, but it will be beneficial for you and your resulting photos! Promise.
CANINE PHOTOGRAPHY WORKSHOPS
Want to level up your canine photography, client experience, and overall sales? I offer three day workshops for a limited number of canine photographers, in Muskegon, Michigan. These workshops are PACKED with 10 hour days of education split between a classroom setting, photographing with dogs models in a variety of locations.

EDIT LIKE A PROFESSIONAL!
Want to learn how to use Adobe Photoshop to edit your dog photos like a professional? Downloadable, step by step editing tutorials are now available for you to learn J.Klein Photos exact thought and editing process behind her signature style!

Travel Tips from an Equine + Canine Photographer
Being a traveling photographer has its perks and downfalls. I never expected to be traveling throughout the country on a monthly basis, and while it’s hard to be away from home, I’ve learned some valuable tips and tricks to making each photography trip a success!
I wanted to share 15 travel tips with you, I hopes of making your traveling dreams possible too!

Direct flights are the best option. The airlines have the power to change your connecting flight times, which can easily turn a 2 hour travel time into a 24+ hour travel time, which could affect your photoshoot schedule with clients.
Some days are cheaper than others to fly on, so double check prices on different days of the week.
If you prefer flying through a specific airline, I would recommend looking into their membership or credit card perks. This could grant you ability to fly your assistant for free, have private room access in airports, discounts on hotels and/or rental cars, and more!
If you aren’t particular to one airline, I would recommend looking into credit cards offered through banks, such as chase or capitol one, to see what travel benefits for your needs best.

Carry on your camera gear. I’ve heard horror stories of photographers checking camera gear iI’m and having it completely destroyed or lost/stolen.
If you plan to have it in the overhead bin, paying extra to have early boarding or in zones 1-3 boarding, provides you with overhead space. If you’re in zone 5-7, and the overhead bins are full, you will have to check your bags as luggage.
I keep all essentials in my camera bag. This includes two camera bodies, two + lenses, four fully charged batteries, a battery charger, 14 sd cards (64-138gb ea.), my hard drive, laptop, charging cords for laptop and phone, beats and extra cash/second id.
I always have two camera bodies and at least two lenses at all times in my bag. If for some reason, a body or lens gets dropped or malfunctions, you can continue working with your backup and continue photographing and providing a seamless experience for clients, attending to your broken gear after returning home from your trip.

When/if leaving your camera bag in the car, take hard drive and sd cards with you. There’s nothing worse than having your car broken into and your bag stolen. Yes, gear can be replaced, but telling a client you lost their images and may or may not be able to revisit and reshoot, isn’t the professional experience you want to provide.
Book hotels when the weekly weather report is posted OR pay extra for refundable cancellations. When I travel, I will typically cover a 6 hour radius of the airport I fly in/out of, and if weather changes, my schedule will change too. It’s not fun having to pay for a hotel room 5 hours away, and a new hotel room closer, when you have to adjust plans to work around weather.
Plan in extra time. If you need to change dates/times for weather, or if clients and their animals need more time, or if you need a break to recharge, it’s better to have that option than have to cancel a client. Extra time is great for when you’re traveling around the holidays, or having to travel around a large event that causes traffic or road closures.
If you can pay extra for travel insurance, esp on flights, hotel and rental car, you may be able to receive a refund or credit toward another trip.

Have all of the important addresses, client phone numbers and photoshoot details accessible offline in case you don’t have cell service, and available for your assistant and your emergency contacts. Ive ended up having to backtrack during travel to find cell service, in order to contact the client or the photoshoot location, which cut into client time and wasn’t as professional of an experience as I wanted to provide.
I include in my important addresses local grocery stores and coffee shops. It’s cheaper(and healthier) to buy food from a grocery store than eating out 3X a day. Many hotels offer suits, where you have a kitchenette to cook in!
Life app - I have the life app, which allows both my husband, my emergency contacts, and my travel assistant to keep track of my location. This is an extra step of safety, but traveling and working on private properties with first time clients can be sketchy, and it’s better to be safe than sorry.
If the property makes us nervous pulling in, I do send my husband a photo of license plates parked at the location.

When booking photoshoots for sunrise or sunset, keep in mind if you’re going to have elevation changes. Sunrise in the plains will be immediate, but sunrise in the mountains may be delayed depending on the elevation of the peaks. Same for sunset.
Use google map to your advantage! 3-4 months prior to a trip, I use google maps to locate barns or equine facilities that are listed on google. Pastures and outdoor arena are VERY easy to spot on google maps! From there, I can locate the business details, contact info and social media pages, reaching out to let them know I will be in the area on select days with availability for additional photoshoots.
I can research quality locations for dog shoots on the route to barns, fitting in those additional sessions for my dog clients.

Social media is great to provide your travel schedule to followers regularly, but curating an email list with past clients and those interested in your services is the best way to solidify photoshoots. If I don’t have a trip planned to requested areas of travel, I’ll offer the client the opportunity to either join my email list, and when I have 5+ clients in that area ready to book, I’ll set dates and travel plans. OR if the client prefers a more flexible a schedule, I provide a custom travel quote that will cover for a private trip to capture their photography needs ASAP.
Consider having a non refundable retainer for booking photoshoots. This ensures that your travel expenses are covered, even if the client cancels their photoshoot. I’ve flown across the country to end up being completely ghosted by a client before (and yes, I called, texted and emailed- all of which I could see were being opened and read), but I luckily had a nonrefundable retainer that ensured I only lost my time, and not additional funds for unexpectedly unnecessary travel.

I hope these travel tips helped provide you with easier planning, an enjoyable trip, and more time behind the camera!

Want to learn more?
Hop over to the Educational side of my business to download freebies, video tutorials, photoshop tools, or to book your private mentorship or reserve a spot in the next photography workshop!

The Trick to Black vs White Background Equine Portraits
"What's the trick to creating BLACK background equine portraits, vs WHITE background equine portraits?"
Lighting. It's all about the lighting.
*To start off, I ONLY use natural lighting, no artificial lights or reflectors. I achieve this by using a fully shaded doorway to the barn, wide enough where the horse can comfortably stand parallel to the edge of the door. This is most often the aisle way or a wide doorway into an indoor arena. I then adjust my camera settings to best capture the horse, ignoring the exposure of the environment around the horse as it will be fully replaced in editing.*

Black backgrounds - you want the shadows to wrap around the horse.
Below are examples of raw images that show the shadows wrapping around the horse, and the edited versions against the more suitable black background.


White backgrounds - you want the light to wrap around the horse.
Below are examples of raw images that have light wrapping around the horse, and the edited versions against the more suitable white background.


If you have an image with DARK shadows, it's going to be VERY obvious and look out of place against a white background. Below are some examples.
Can you see the shadows wrapping in the first (raw) image? Specifically by the withers, shoulder and the tail area? Now look at the edited version against the black background - which looks much more natural, and then the white background - which doesn’t match the lighting at all. Can you see the difference?


Here’s another comparison of the lighting setup being ideal for black backgrounds. Can you see how the shadows and dark points on the horse are TOO dark and don’t match the white background? Especially near the withers, the elbow and back of the legs. Can you see the difference?


If you have an image with halo or back lighting, it's going to be VERY obvious when you place it against a black background.
Below is an example of a lighting setup that would be ideal for white backgrounds. Check out the lighting that is coming from the left of the horse, wrapping around the neck, chest, face, and legs. It’s even spilling over the croup a little too. This creates a much more pleasing white background portrait than the black.


Now if the client wants a mix of both, or doesn't know if they want a black or white background, your #1 job is to find a location that has a more balanced lighting, where you can more easily lift lighter shadows and/or control an any extra light wrapping around the horse.
OR you can photograph specific poses in a location that is more suitable to black background portraits, then shift to a new location to photograph additional poses that are more suitable for white background portraits.
So let’s talk poses.
Poses where the horse’s body is perpendicular to the edge of the door, are going to be more suitable for black background portraits, simply because the lighting naturally gets darker as you go further into the barn. (If you have my Equine Portrait Posing Guide, some of the poses that are easier to shoot as black backgrounds are, Straight Forward, Ground Stretch, Booty Pop, The Walk Away, and 45*.)


Poses where the horse is parallel to the edge of the door, are going to be easier and more pleasing to edit for white background portraits. (If you have my Equine Portrait Posing Guide, some of the poses that area easier to shoot as white backgrounds are, Profile, Full Body Shot, Bow, Tail, Curtsey and Criss Cross.)


I hope this was helpful, and that you are able to approach black and white background equine portraits with a new mindset! And don’t forget to give yourself some grace as you learn to read the lighting - it takes time to hone that skill. But - nothing can be considered a failure, as long as you are learning something new every time you try. 💕 Now go have fun with your cameras at the barn!

Want to learn more?
I offer private virtual and in person mentorships, group workshops, and downloadable courses!

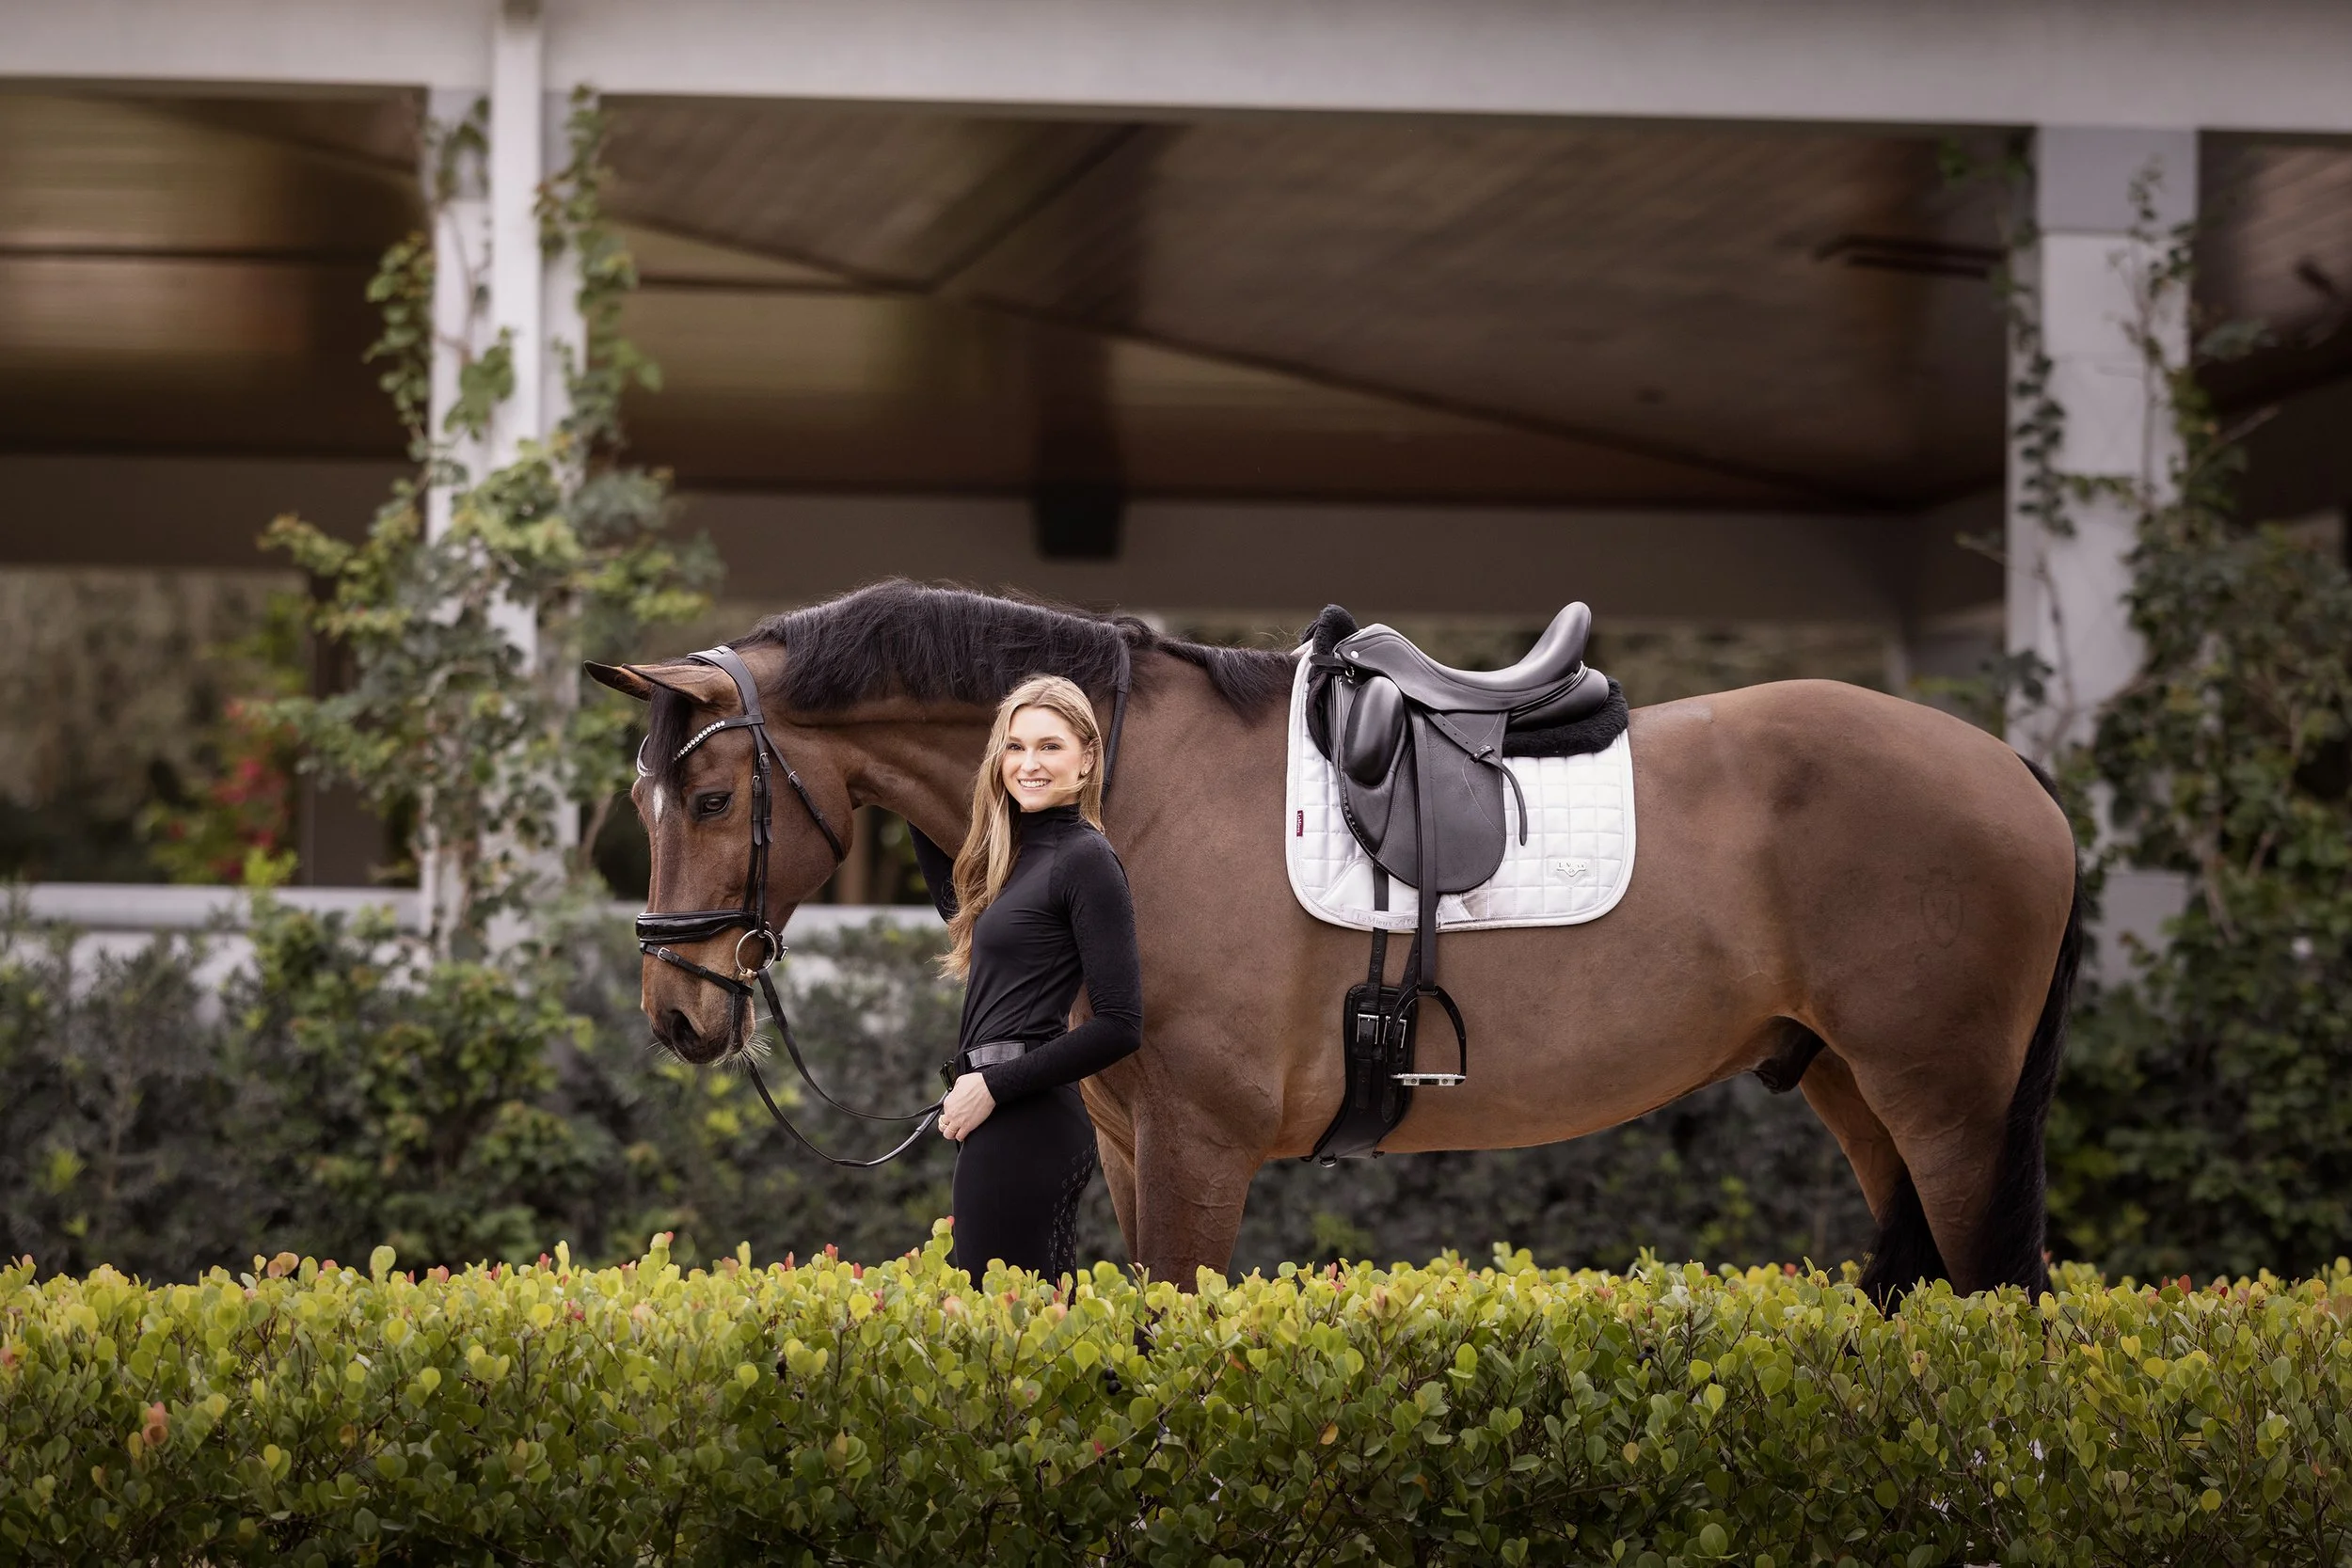
Posing Guide for Photographing Horses
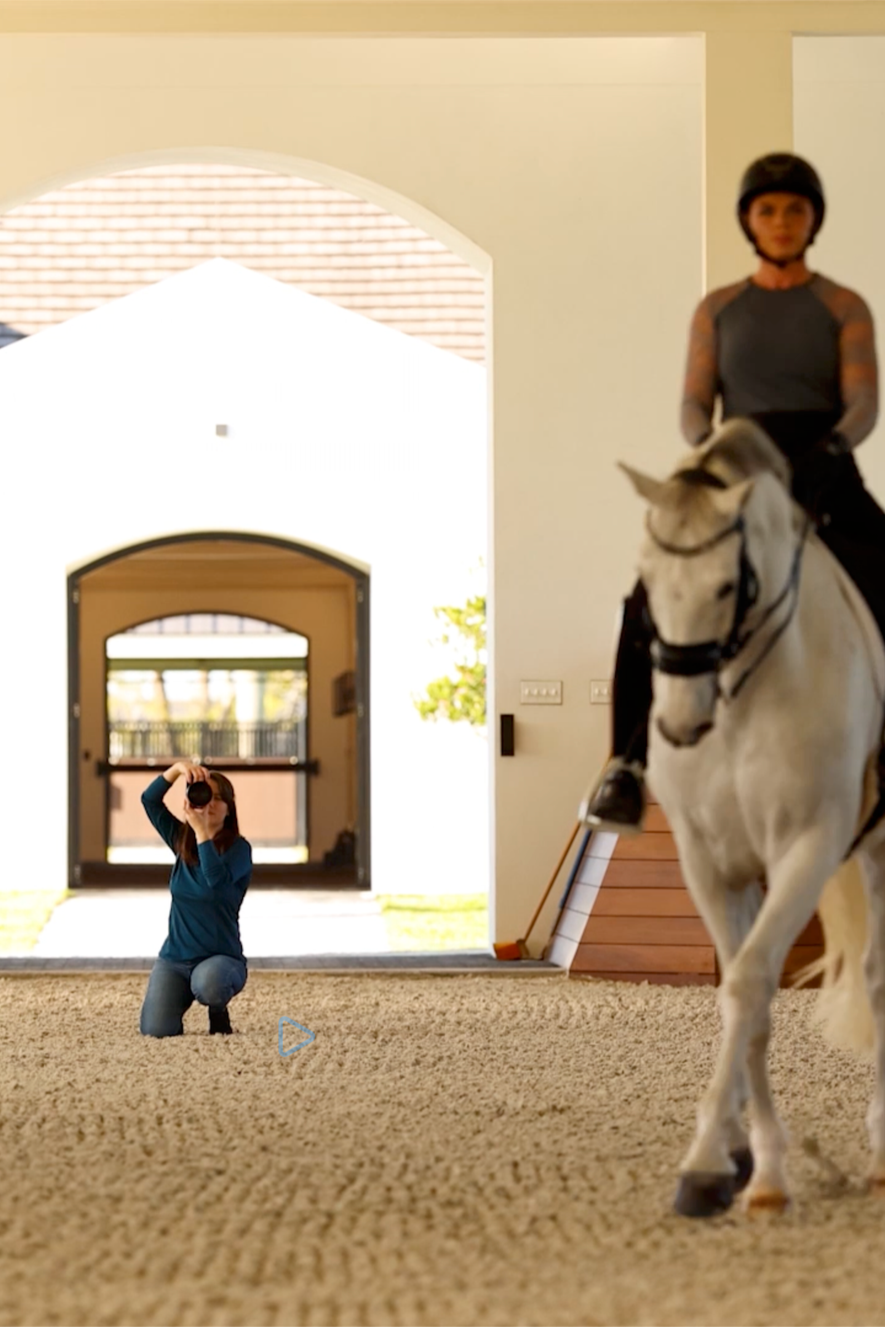
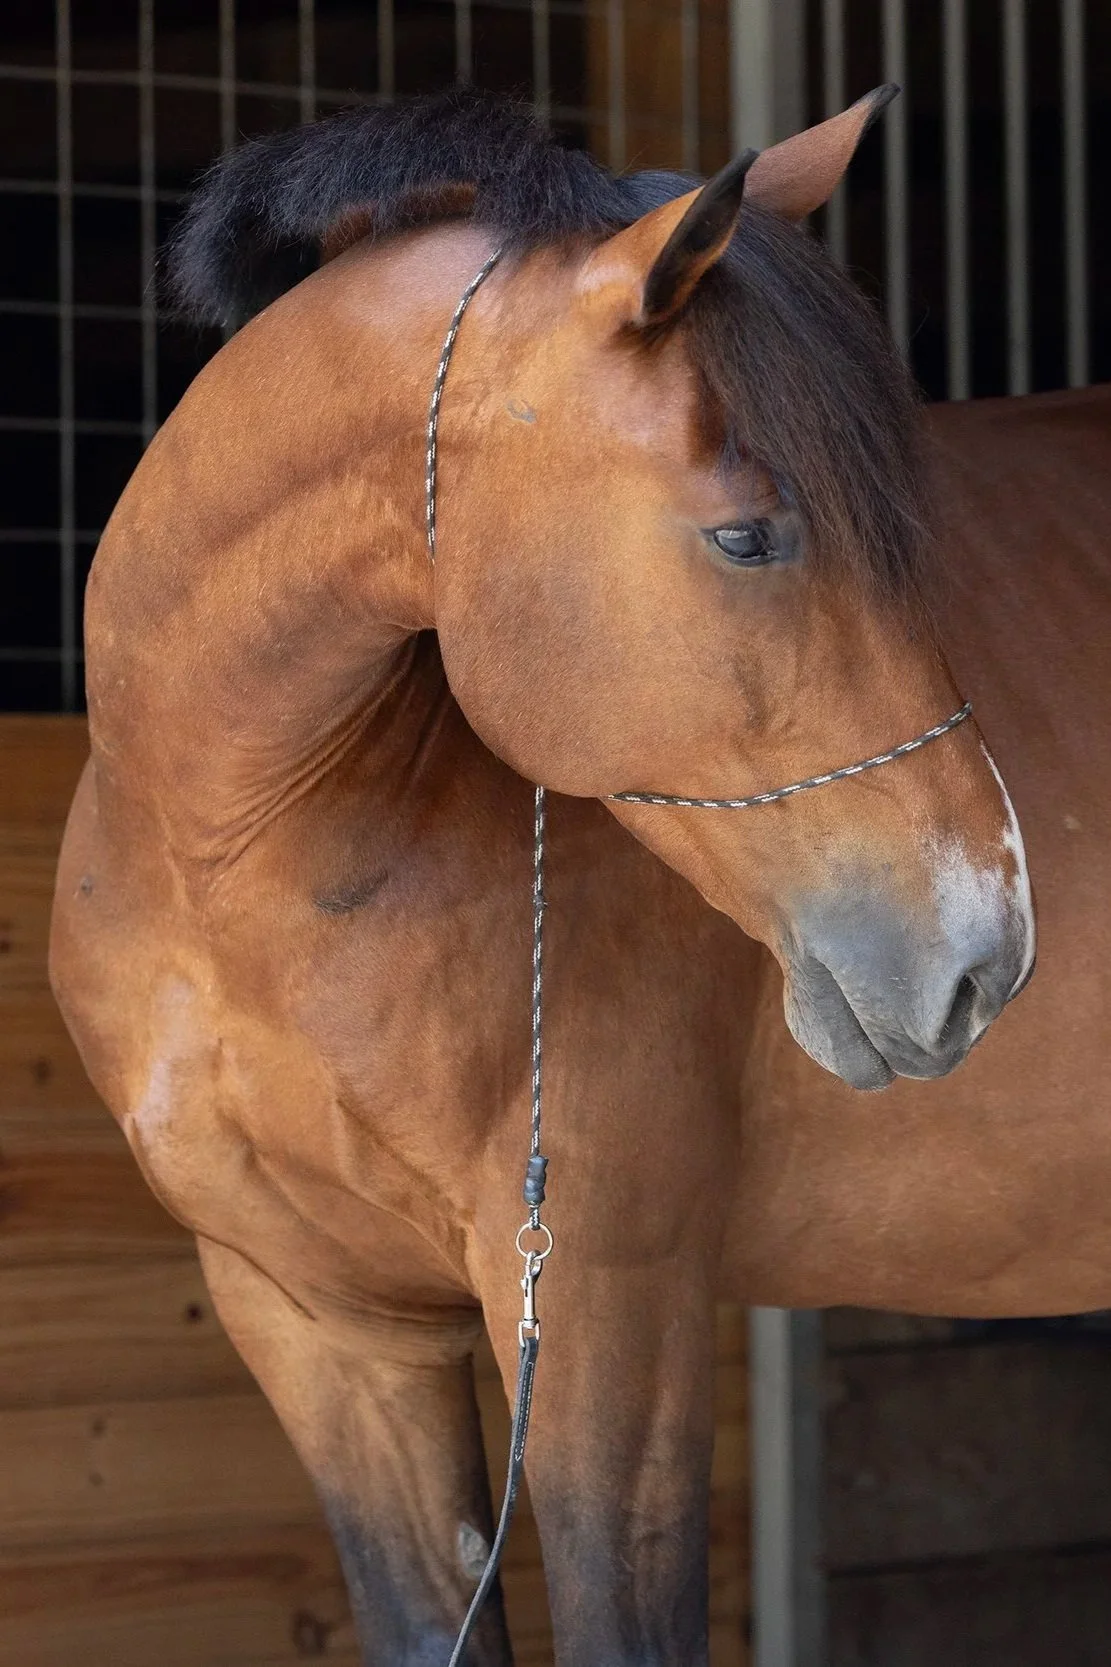
How you pose a horse for a portrait can make or break your photograph. Here are my best tips to set yourself up for success and elevate your photos of horses. (Images below are straight from my camera, and have not been retouched.)
1. Know the horse breed and/or riding discipline. There is a BIG difference on how you would photographing a hackney pony who drives, vs a quarter horse that dominates the western pleasure world. A big of research a head of time on the breed and/or discipline can set you up for success, but when in doubt, don’t be afraid to ask the client, as it shows you care about the details of their images.

2. Legs. Nothing makes my eyes twitch more when I see a horse standing like a drunk giraffe. Take the time to either square the horse’s hooves, park them out, or stack them as desired. If the horse won’t allow for their legs to be placed, I always prefer to see all four legs, or will capture the horse in motion, taking a step forward.

3. Elbows. When you reposition a horse, especially when asking with a turn on the forehand or haunches, step the horse back and then forward to ensure all four hooves are going the same direction. This will also ensure that elbows or hip bones aren’t popped out.

4. Weight distribution. Nobody wants a photo of their horse looking like a wet noodle blowing in the wind. Make sure the horse’s weight is balanced centered over their front hooves. This will ensure that their chest and shoulders are equally balanced in your photos too.

5. Butts. I like big butts and I can not lie! Well, actually I like round butts, and not triangular butts. Make sure your back legs are set under the hocks (or further out if breed standard calls for parking out), especially for the back leg closest to the camera. This gives the butt a rounder and more muscular appearance, vs a triangular and weak hind end.

6. Muscle Tone. Engage those muscles! This can transform your horse from a lazy couch potato into a show stopping and awe striking horse.

7. Bending. Under bent will shorten their neck, or make it appear as if they have NO neck. Over bent will stretch out the topline and turn your horse into a drunk giraffe with unbalanced weight. Learn your angles or be ready to shoot through the movement!

8. Ears up! Unless you’re getting bloopers or the horse is listening to communication coming from two different directions, those ears should be up and forward. This gives the horse the air of more confidence, desire to either connect with the viewer, or commit to the movement they are doing in the image.

9. Details. Take a moment to fix the details before you photograph. Reposition bridle keepers, adjust the reins so their loops are even, remove the grass from the horse’s mouth, wipe off slime, clean out dirt from the nostrils, rebrush flyaway manes or forelocks, etc. etc. These seem like little things, but when your little details are in order, they will make your image go from good to GREAT!

10. Expression. This is most important, to the horse AND the owner. If your horse is showing tension or discomfort, you should not be photographing portraiture work until their needs are addressed. Focus on creating an atmosphere when your horse is comfortable and happy to engage. This will result in positive body language and expressions, making it a much more desirable image for fine art and/or sentimental portraits for your clients.

I hope this was helpful! Give yourself some grace as you learn to recognize, and either work with the horse’s behavior or find a clear way to instruct the owner to correct these horse posing details. Now go grab your camera and have fun at the barn!
Want to learn more?
I offer private virtual and in person mentorships, group workshops, and downloadable courses!
Equine Portrait Posing Guide
A step by step guide to learn my 20+ poses for fine art Equine Portraits using natural lighting. Available as a PDF download.
Horse & Rider Posing Guide
A step by step guide to learn my go-to poses when photographing Horses & Rider. Available as a PDF download.